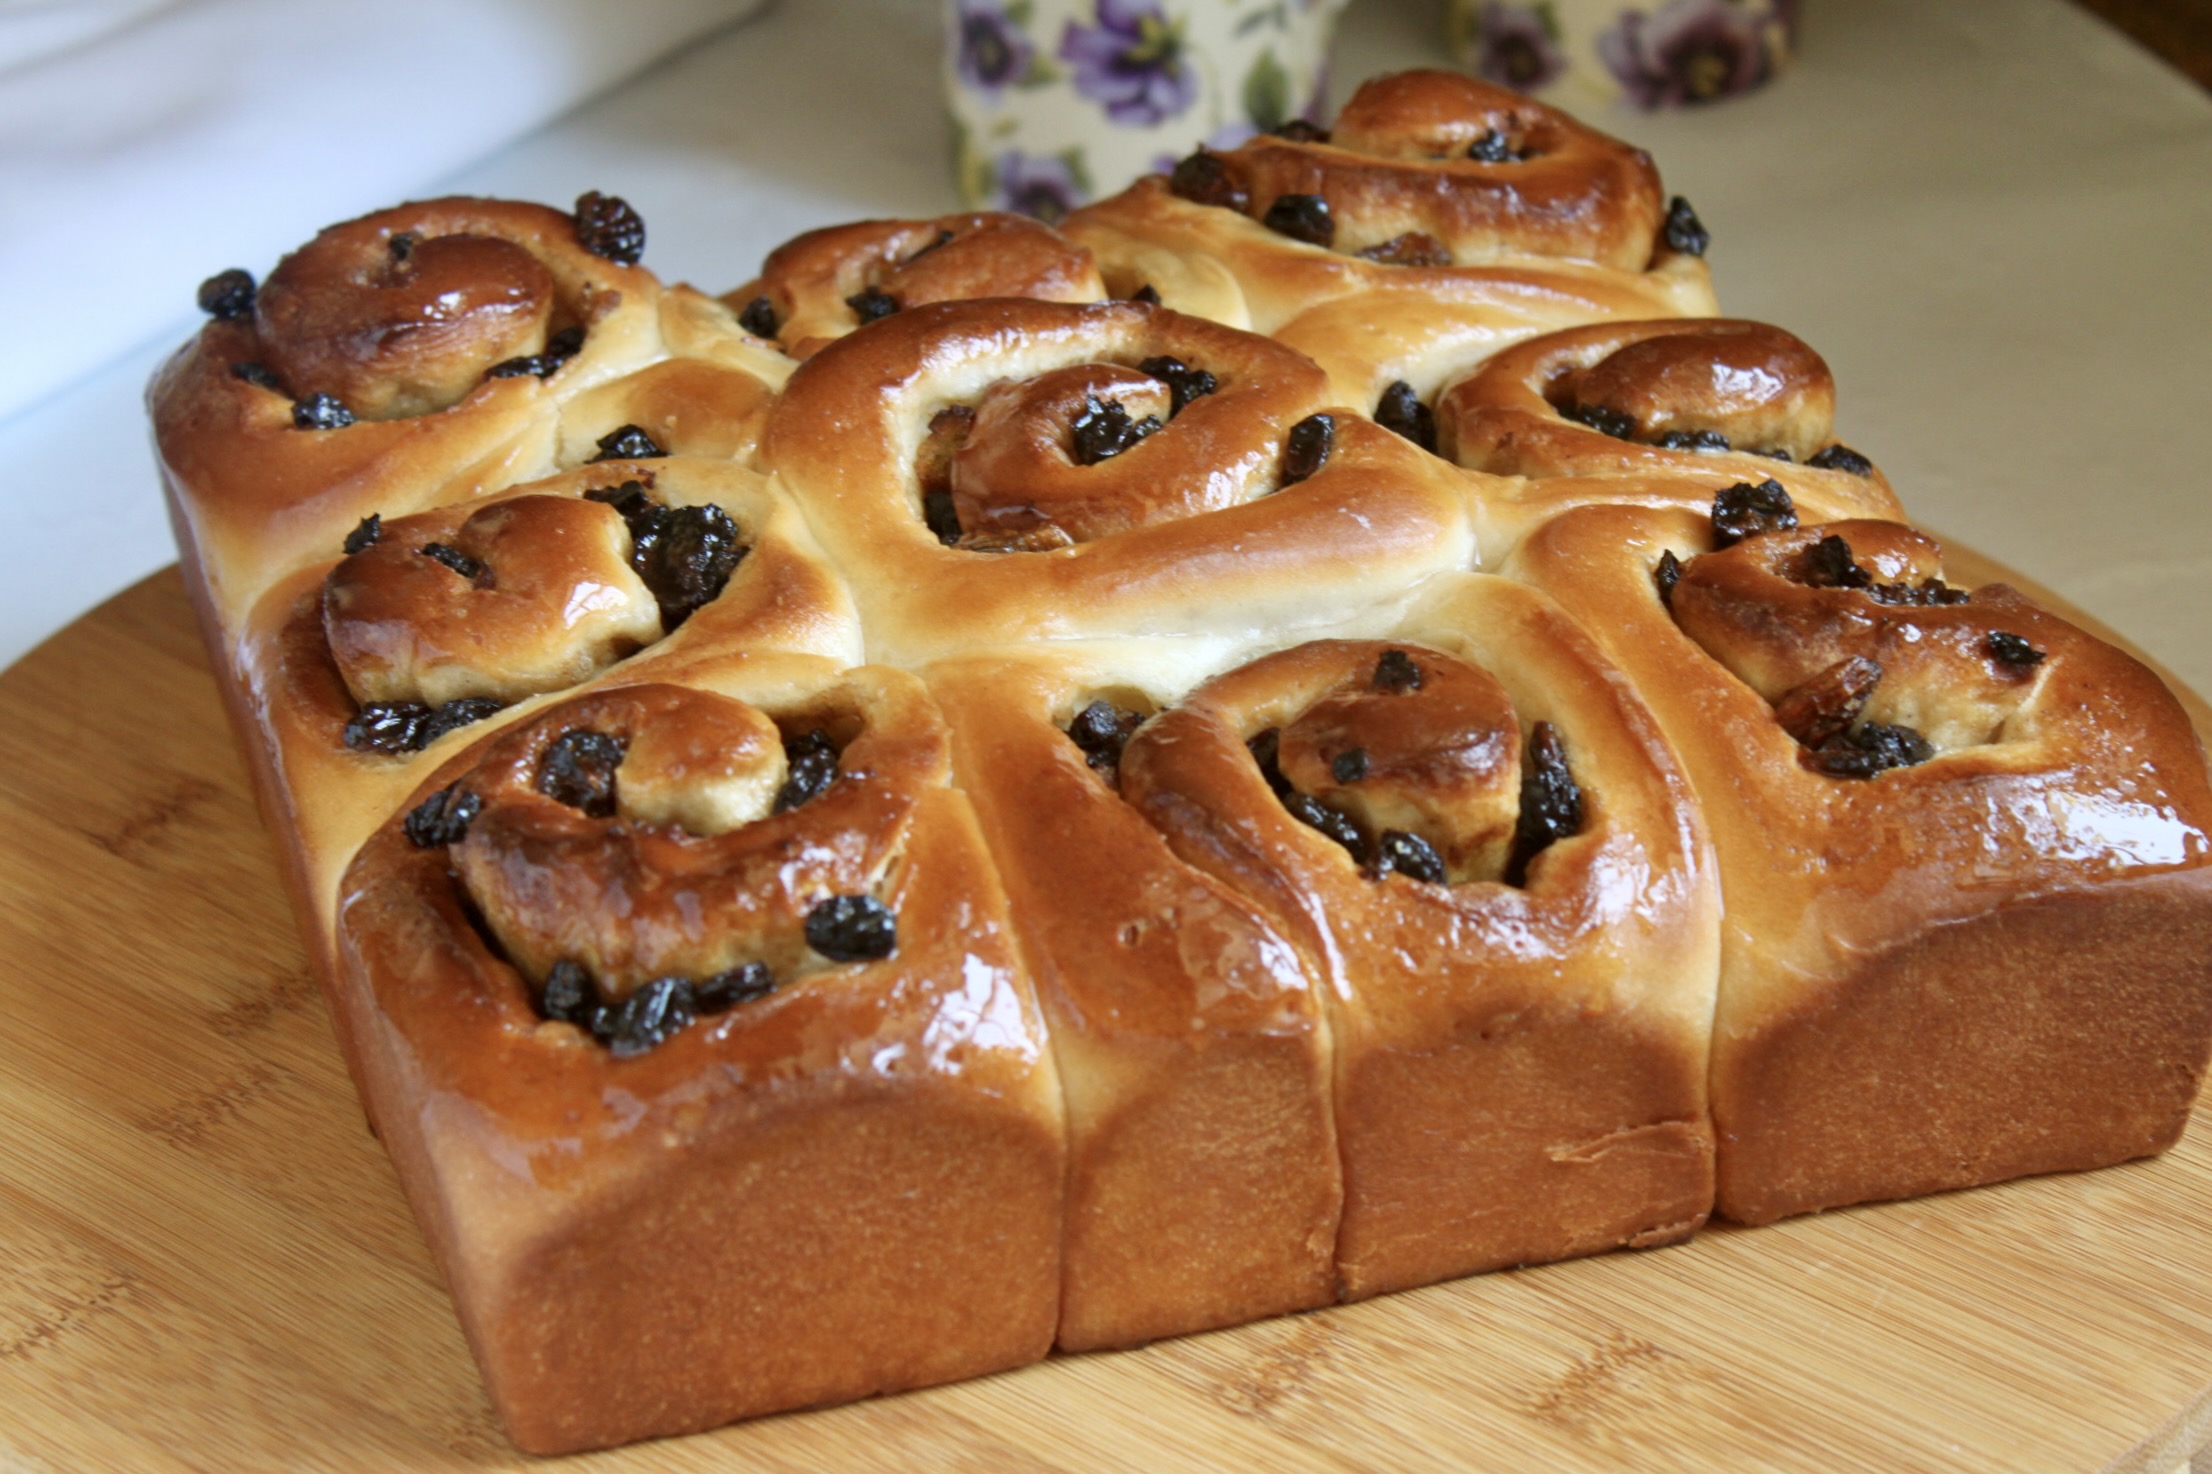
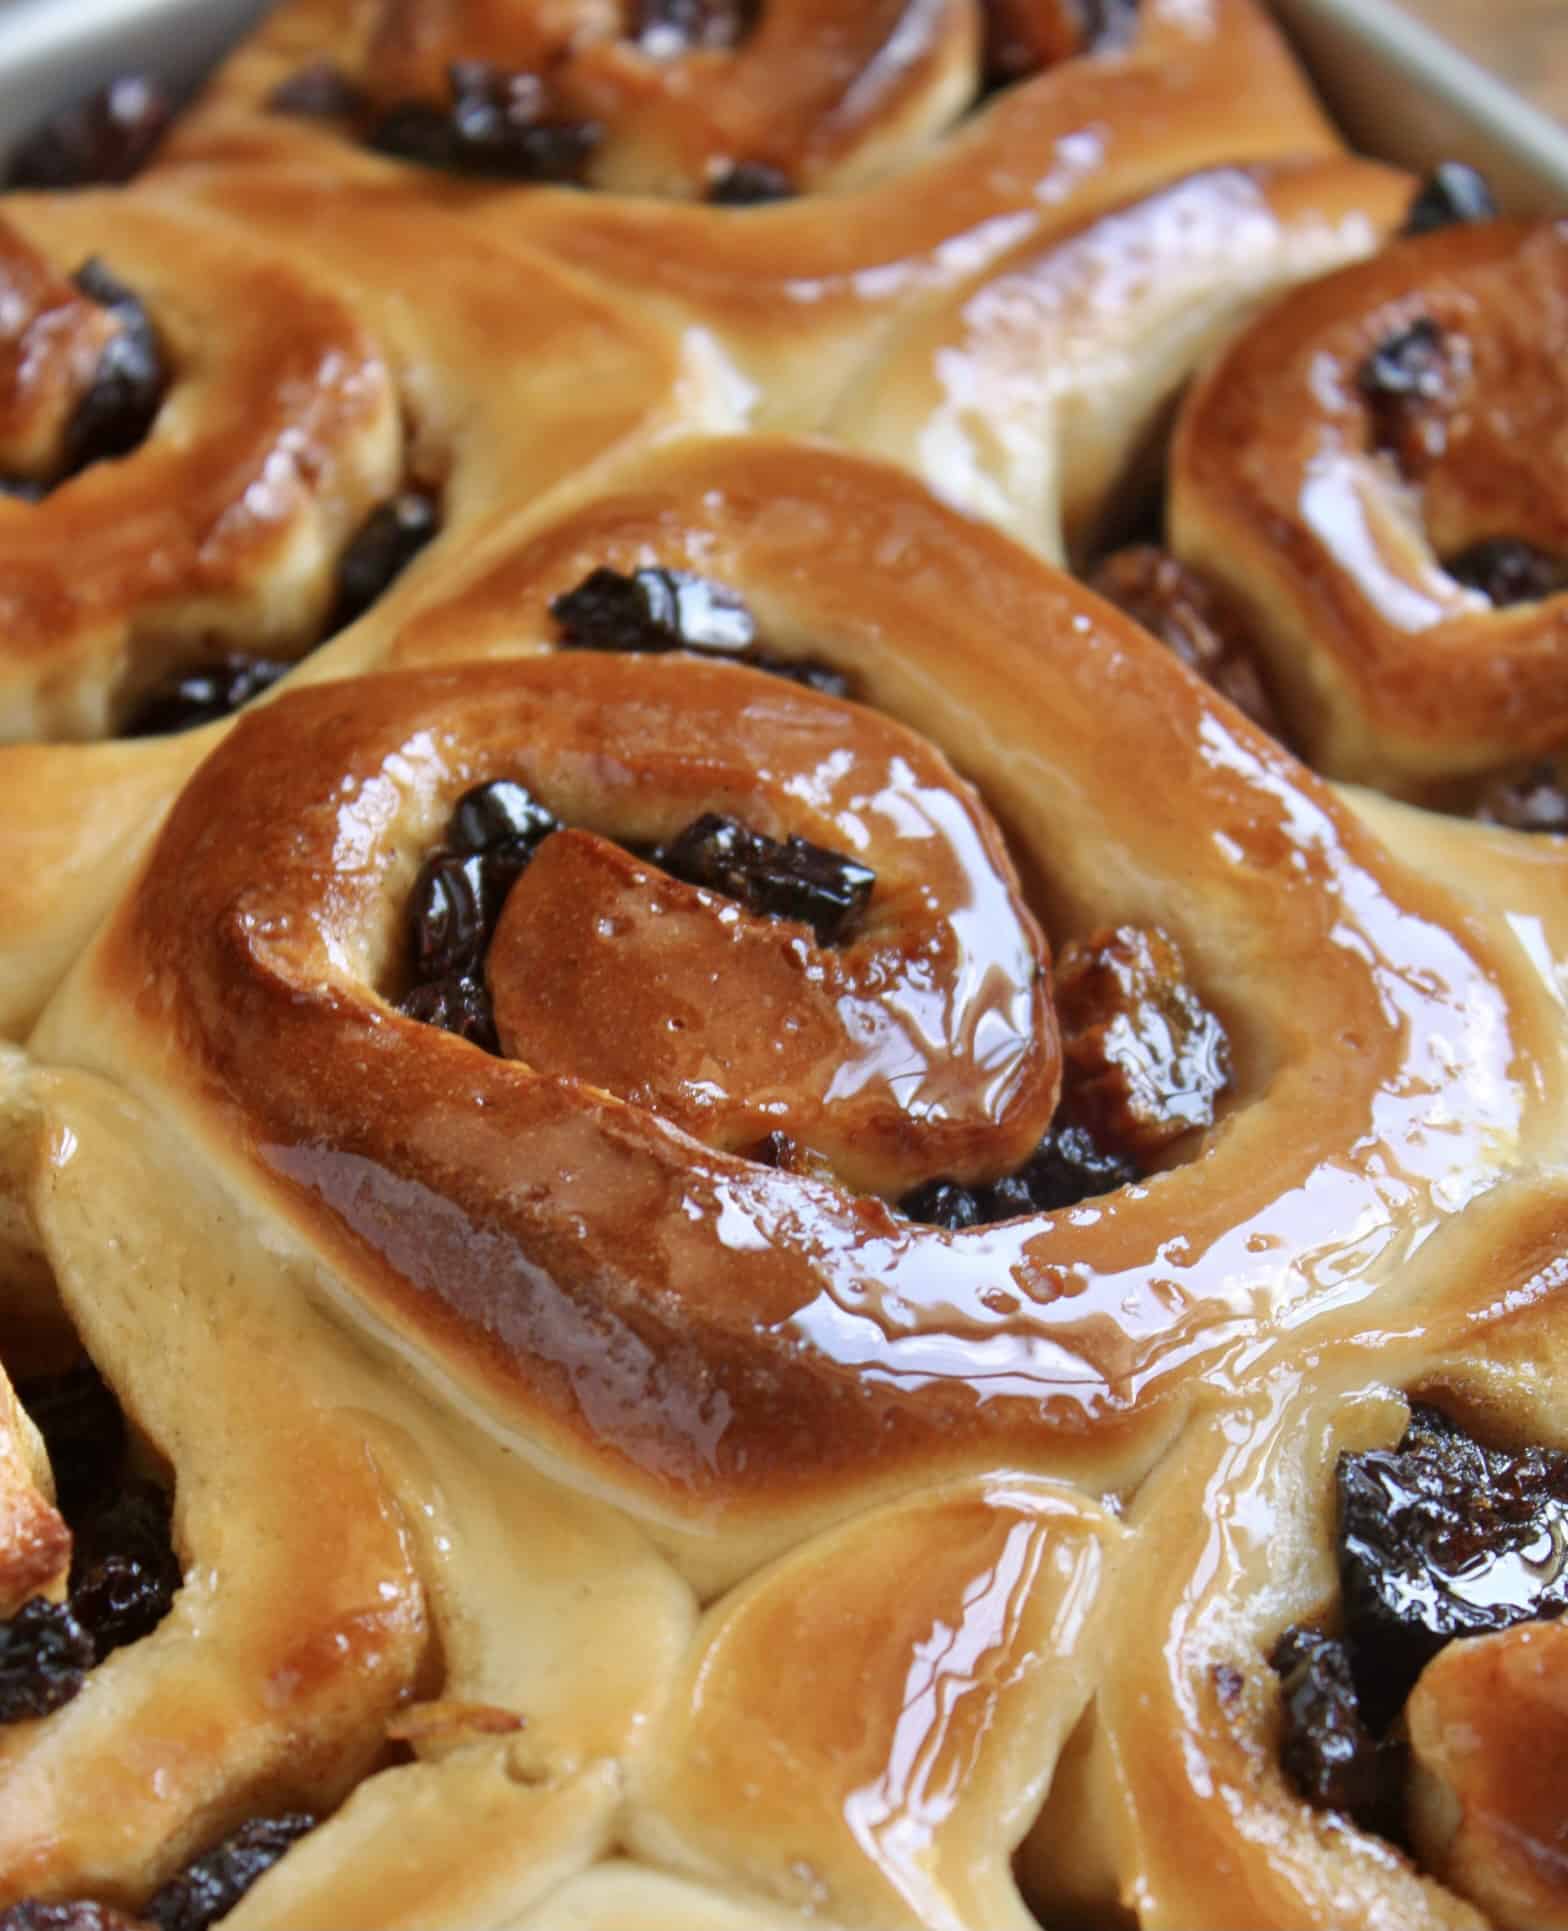
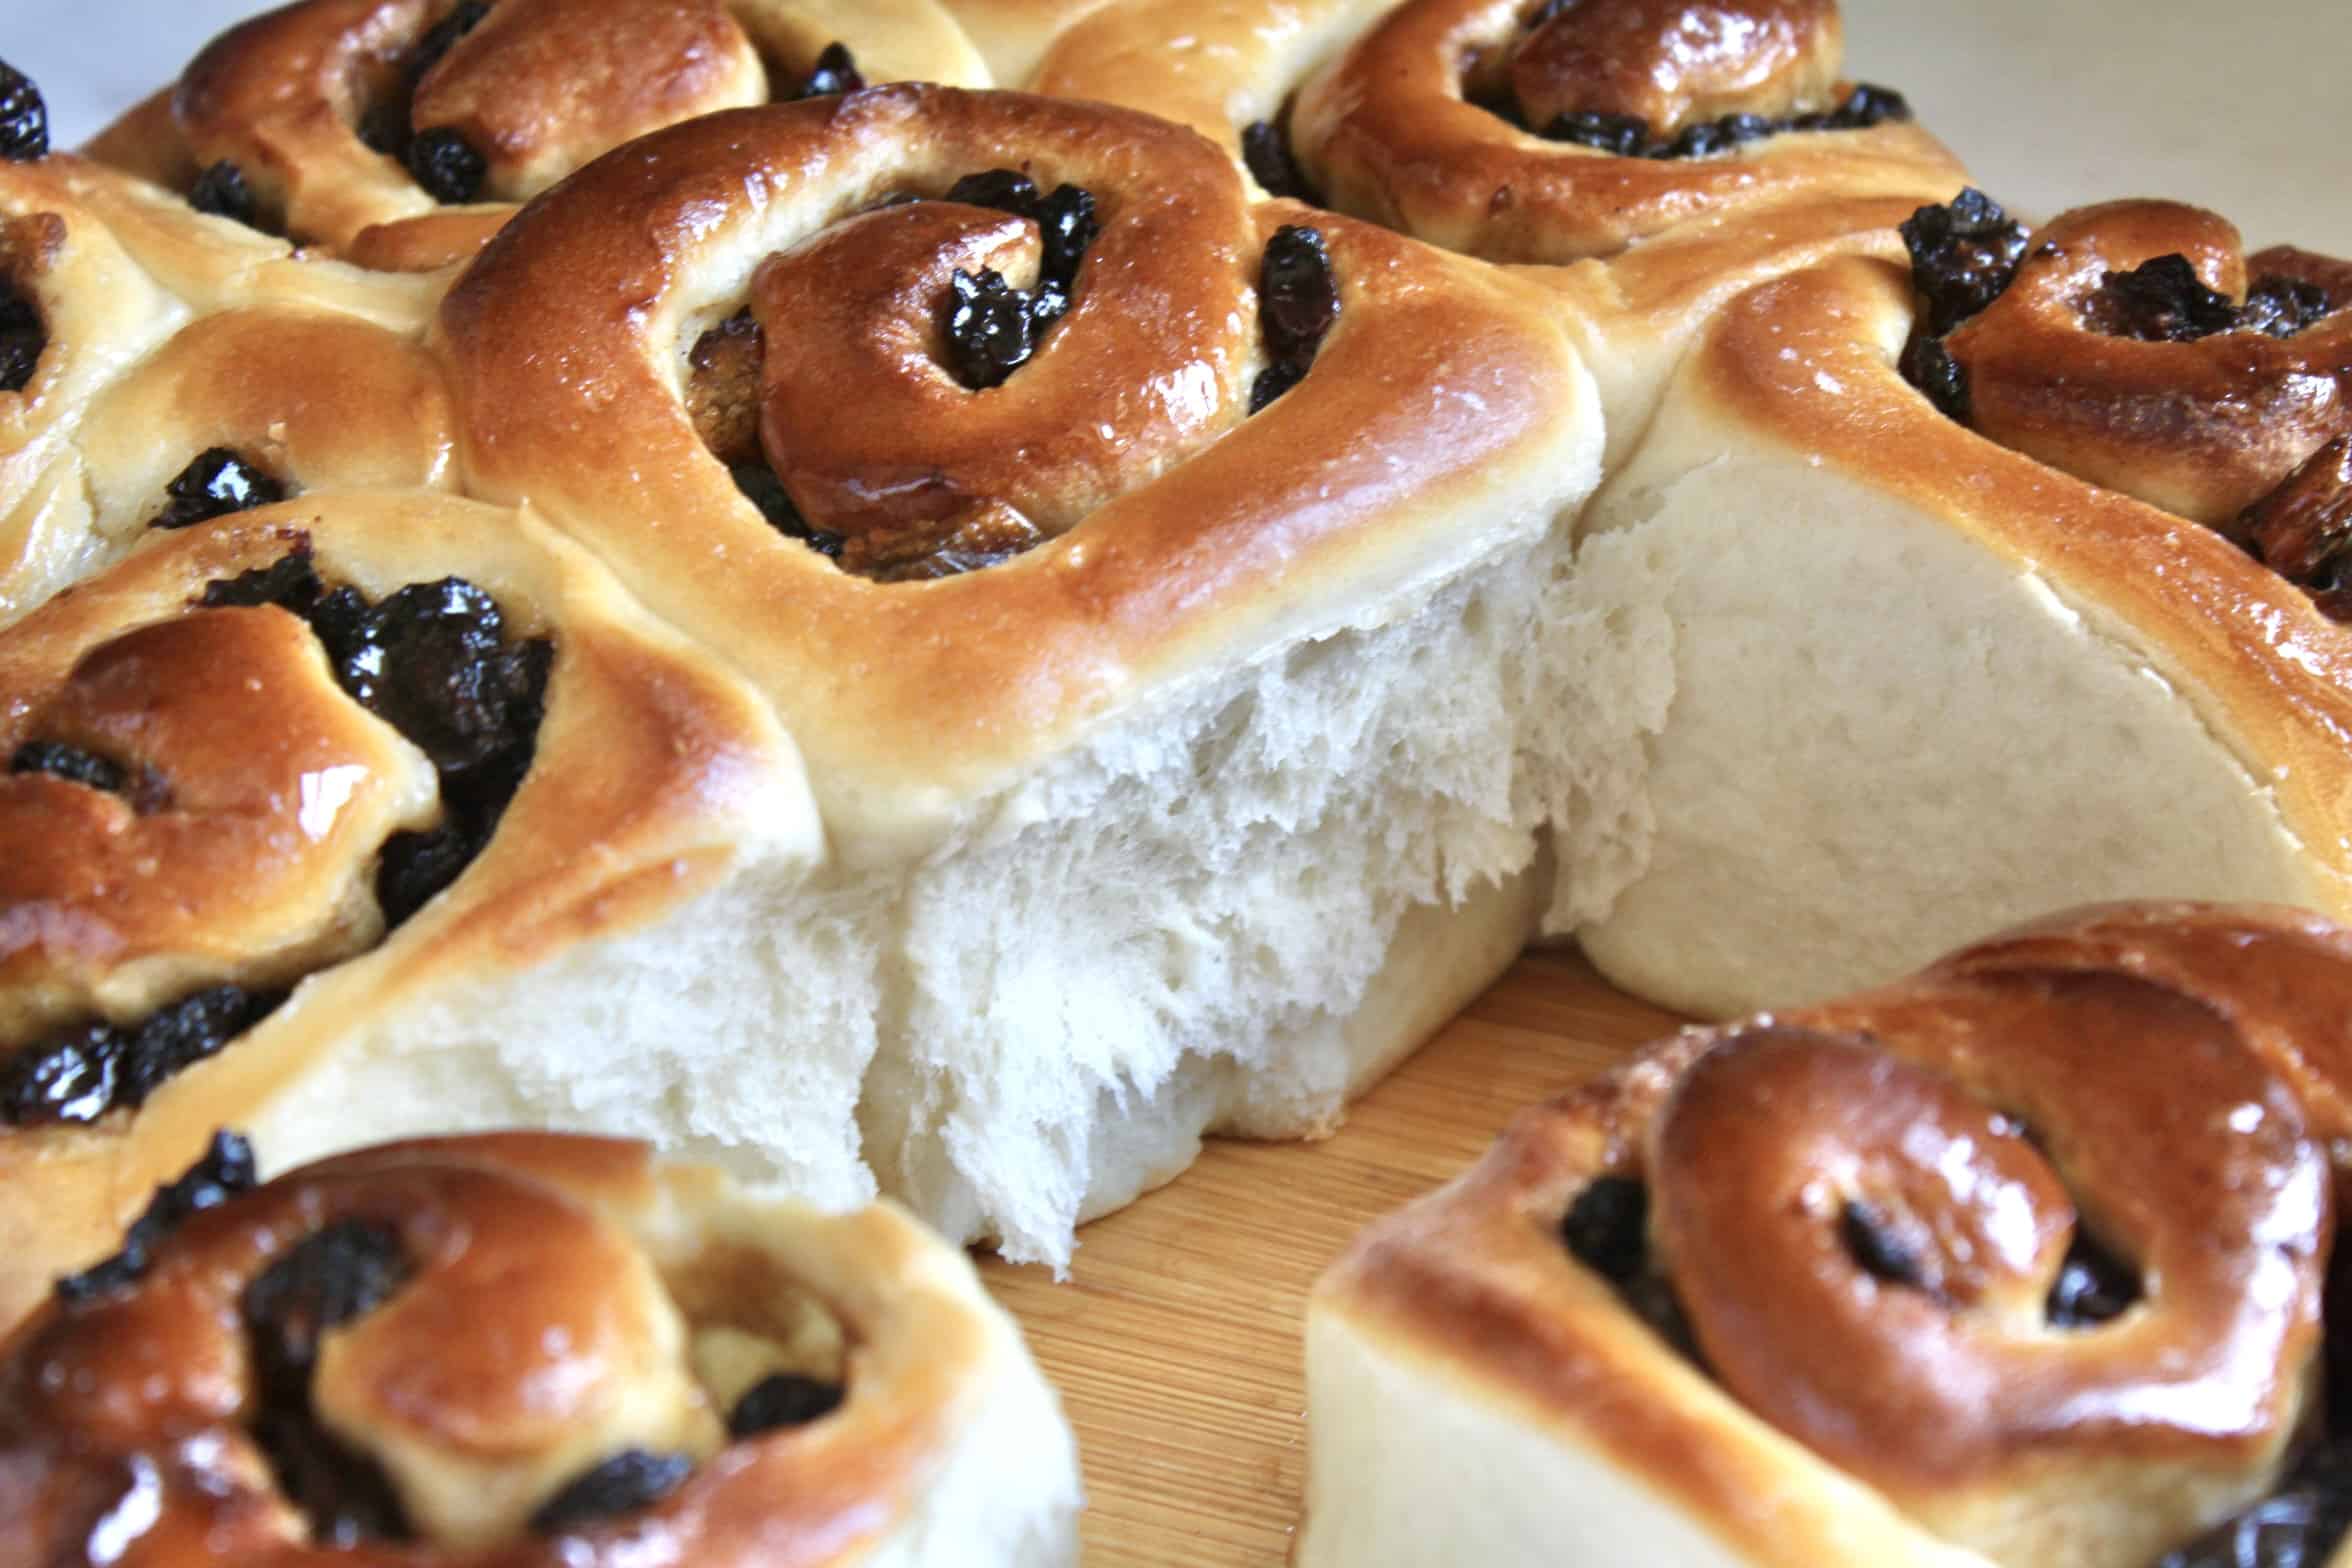
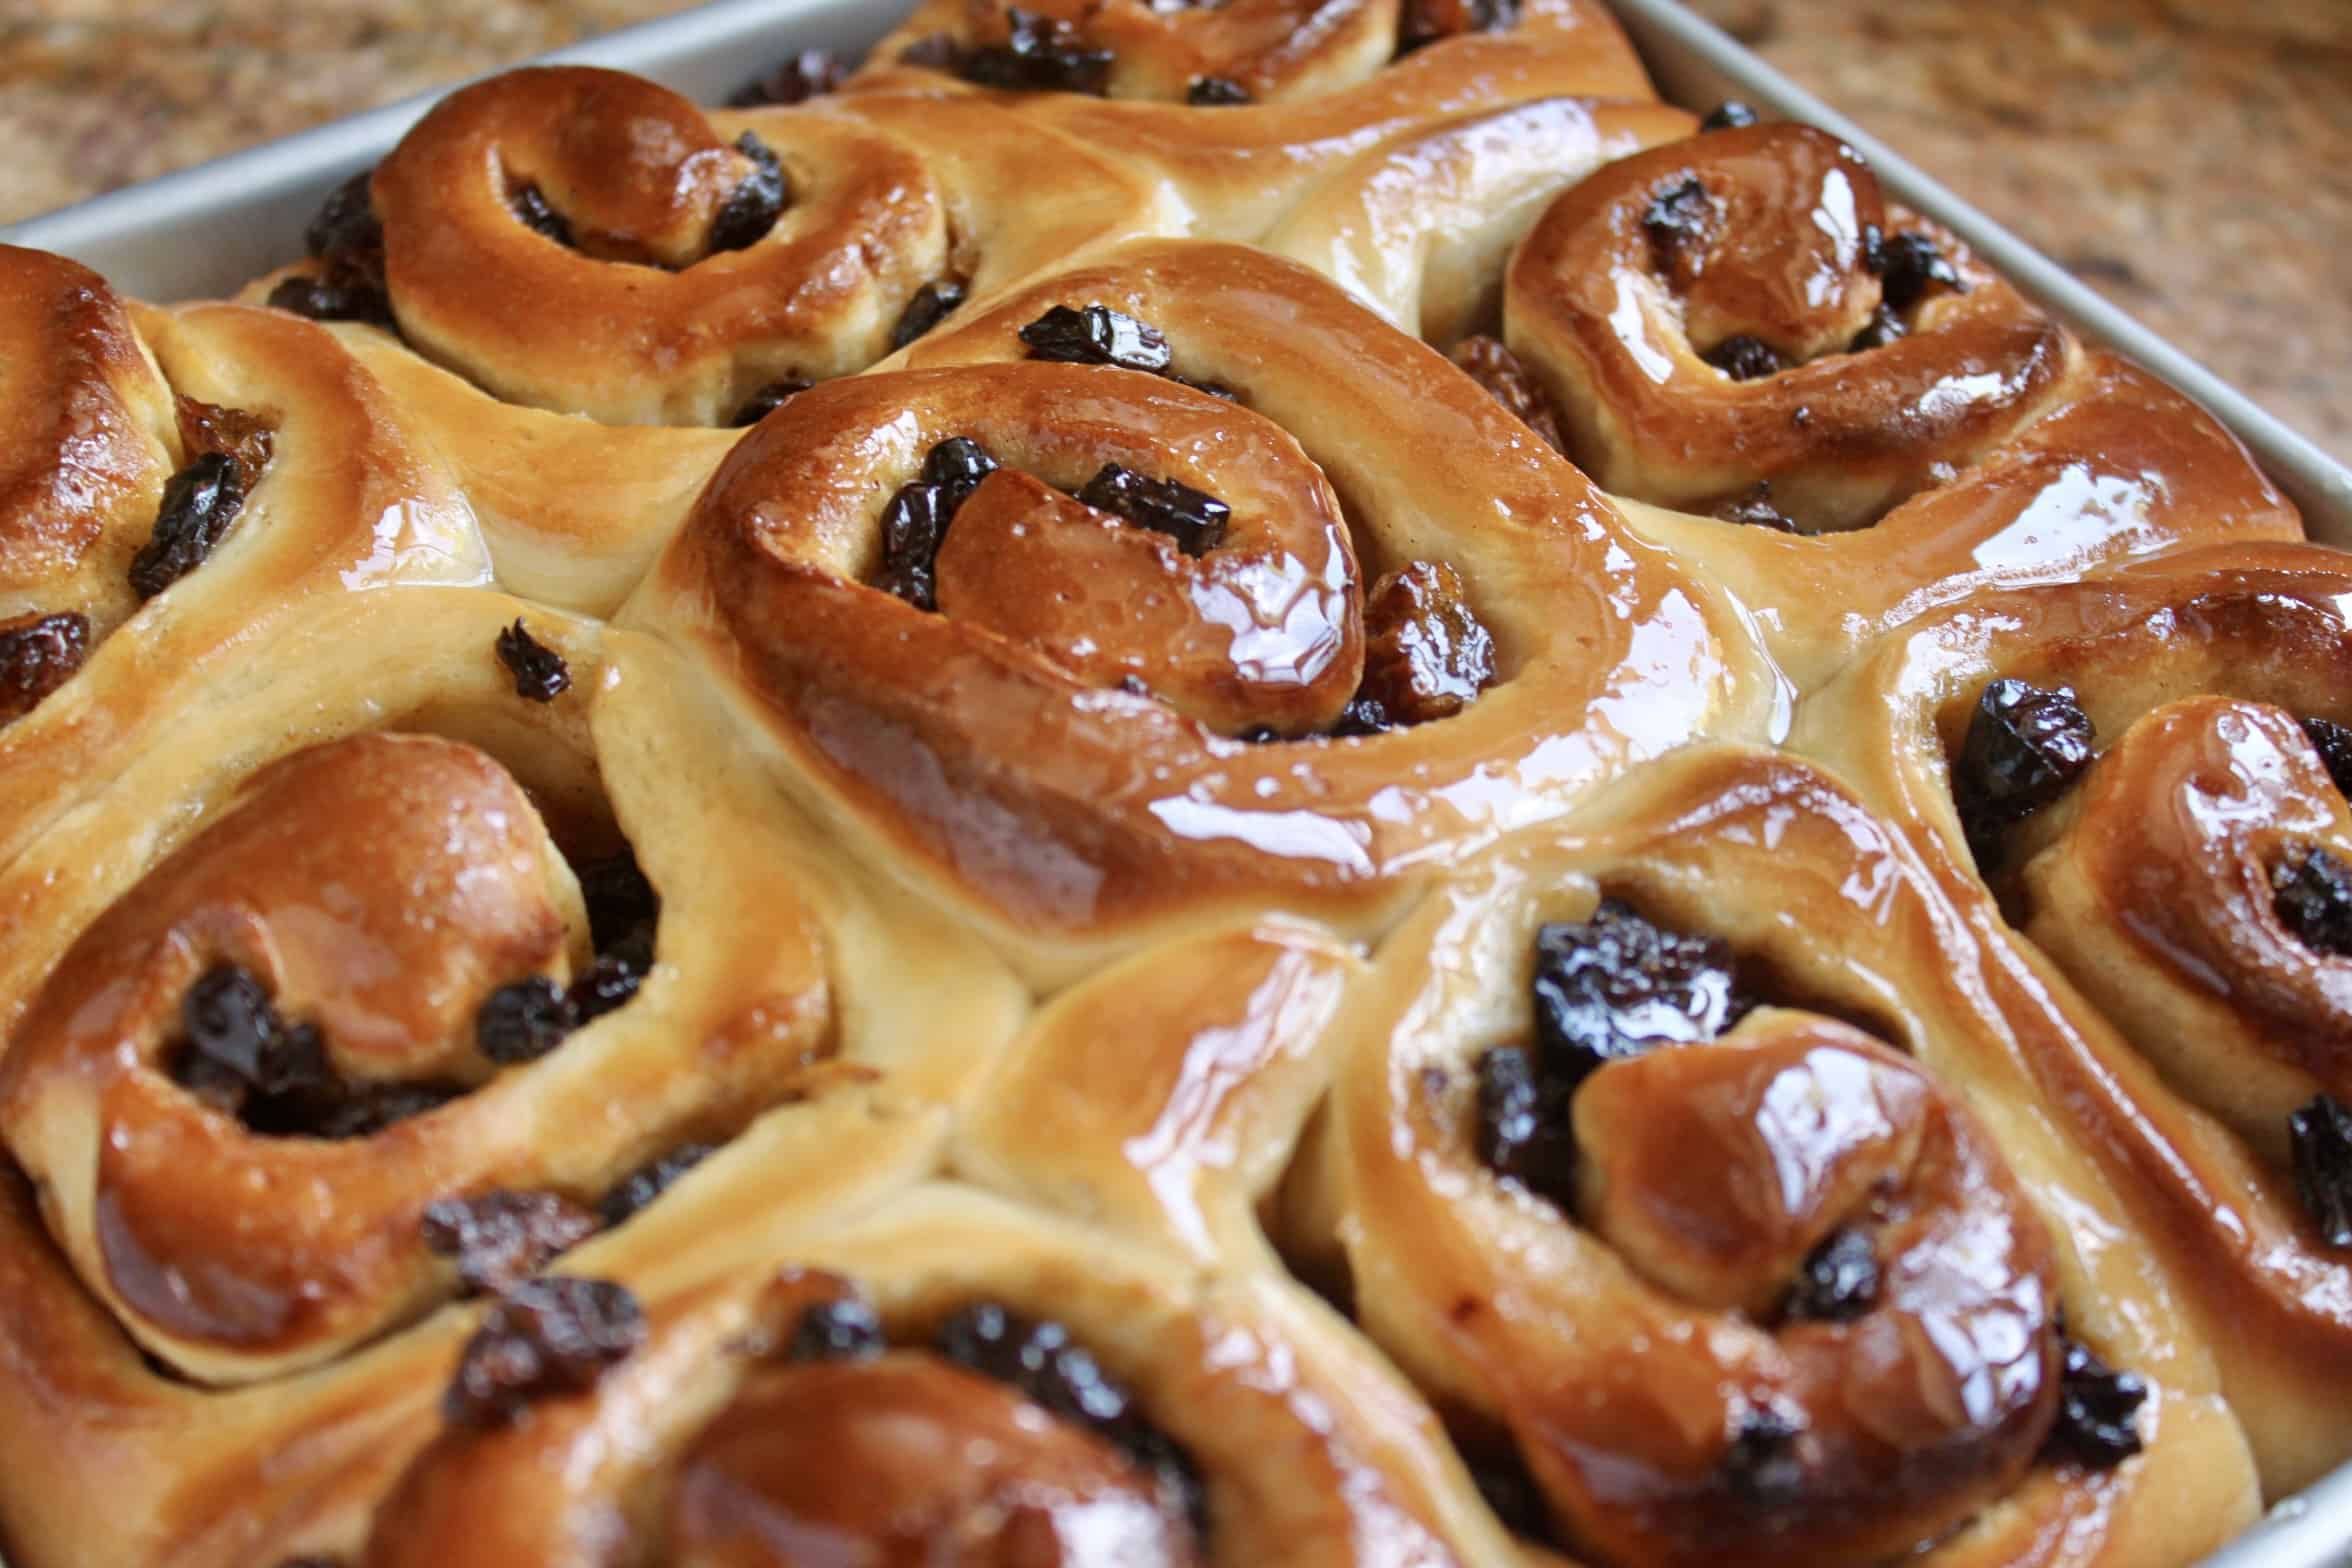
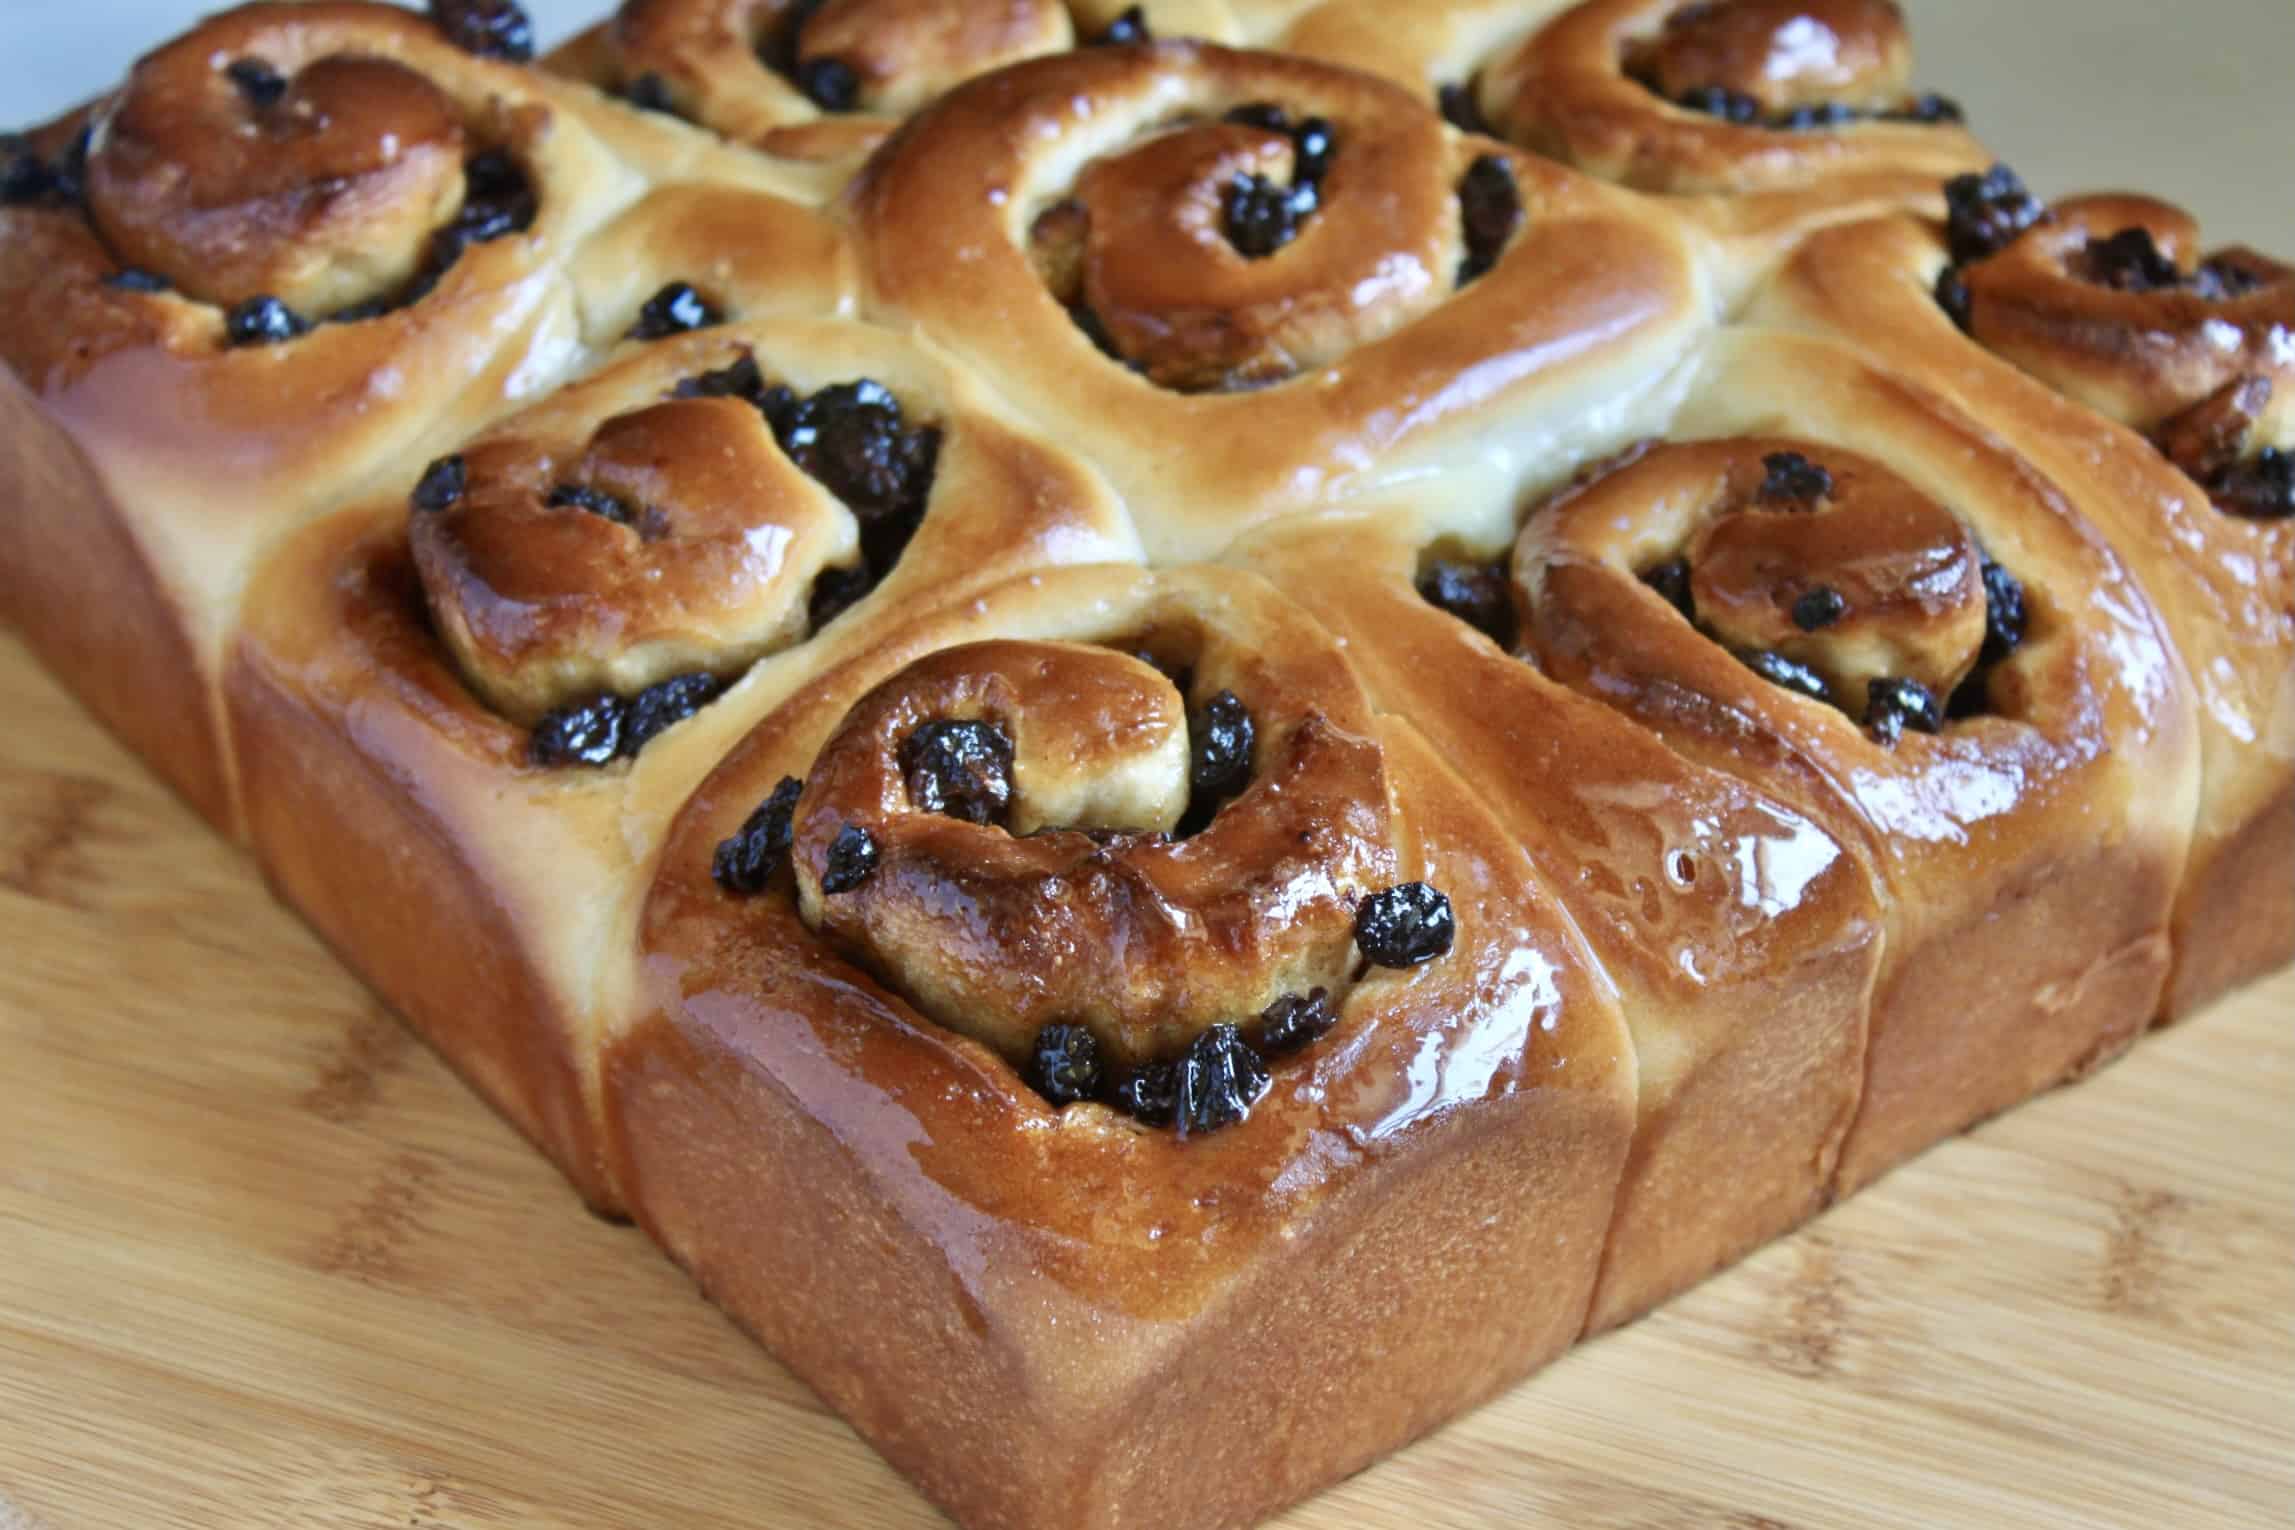
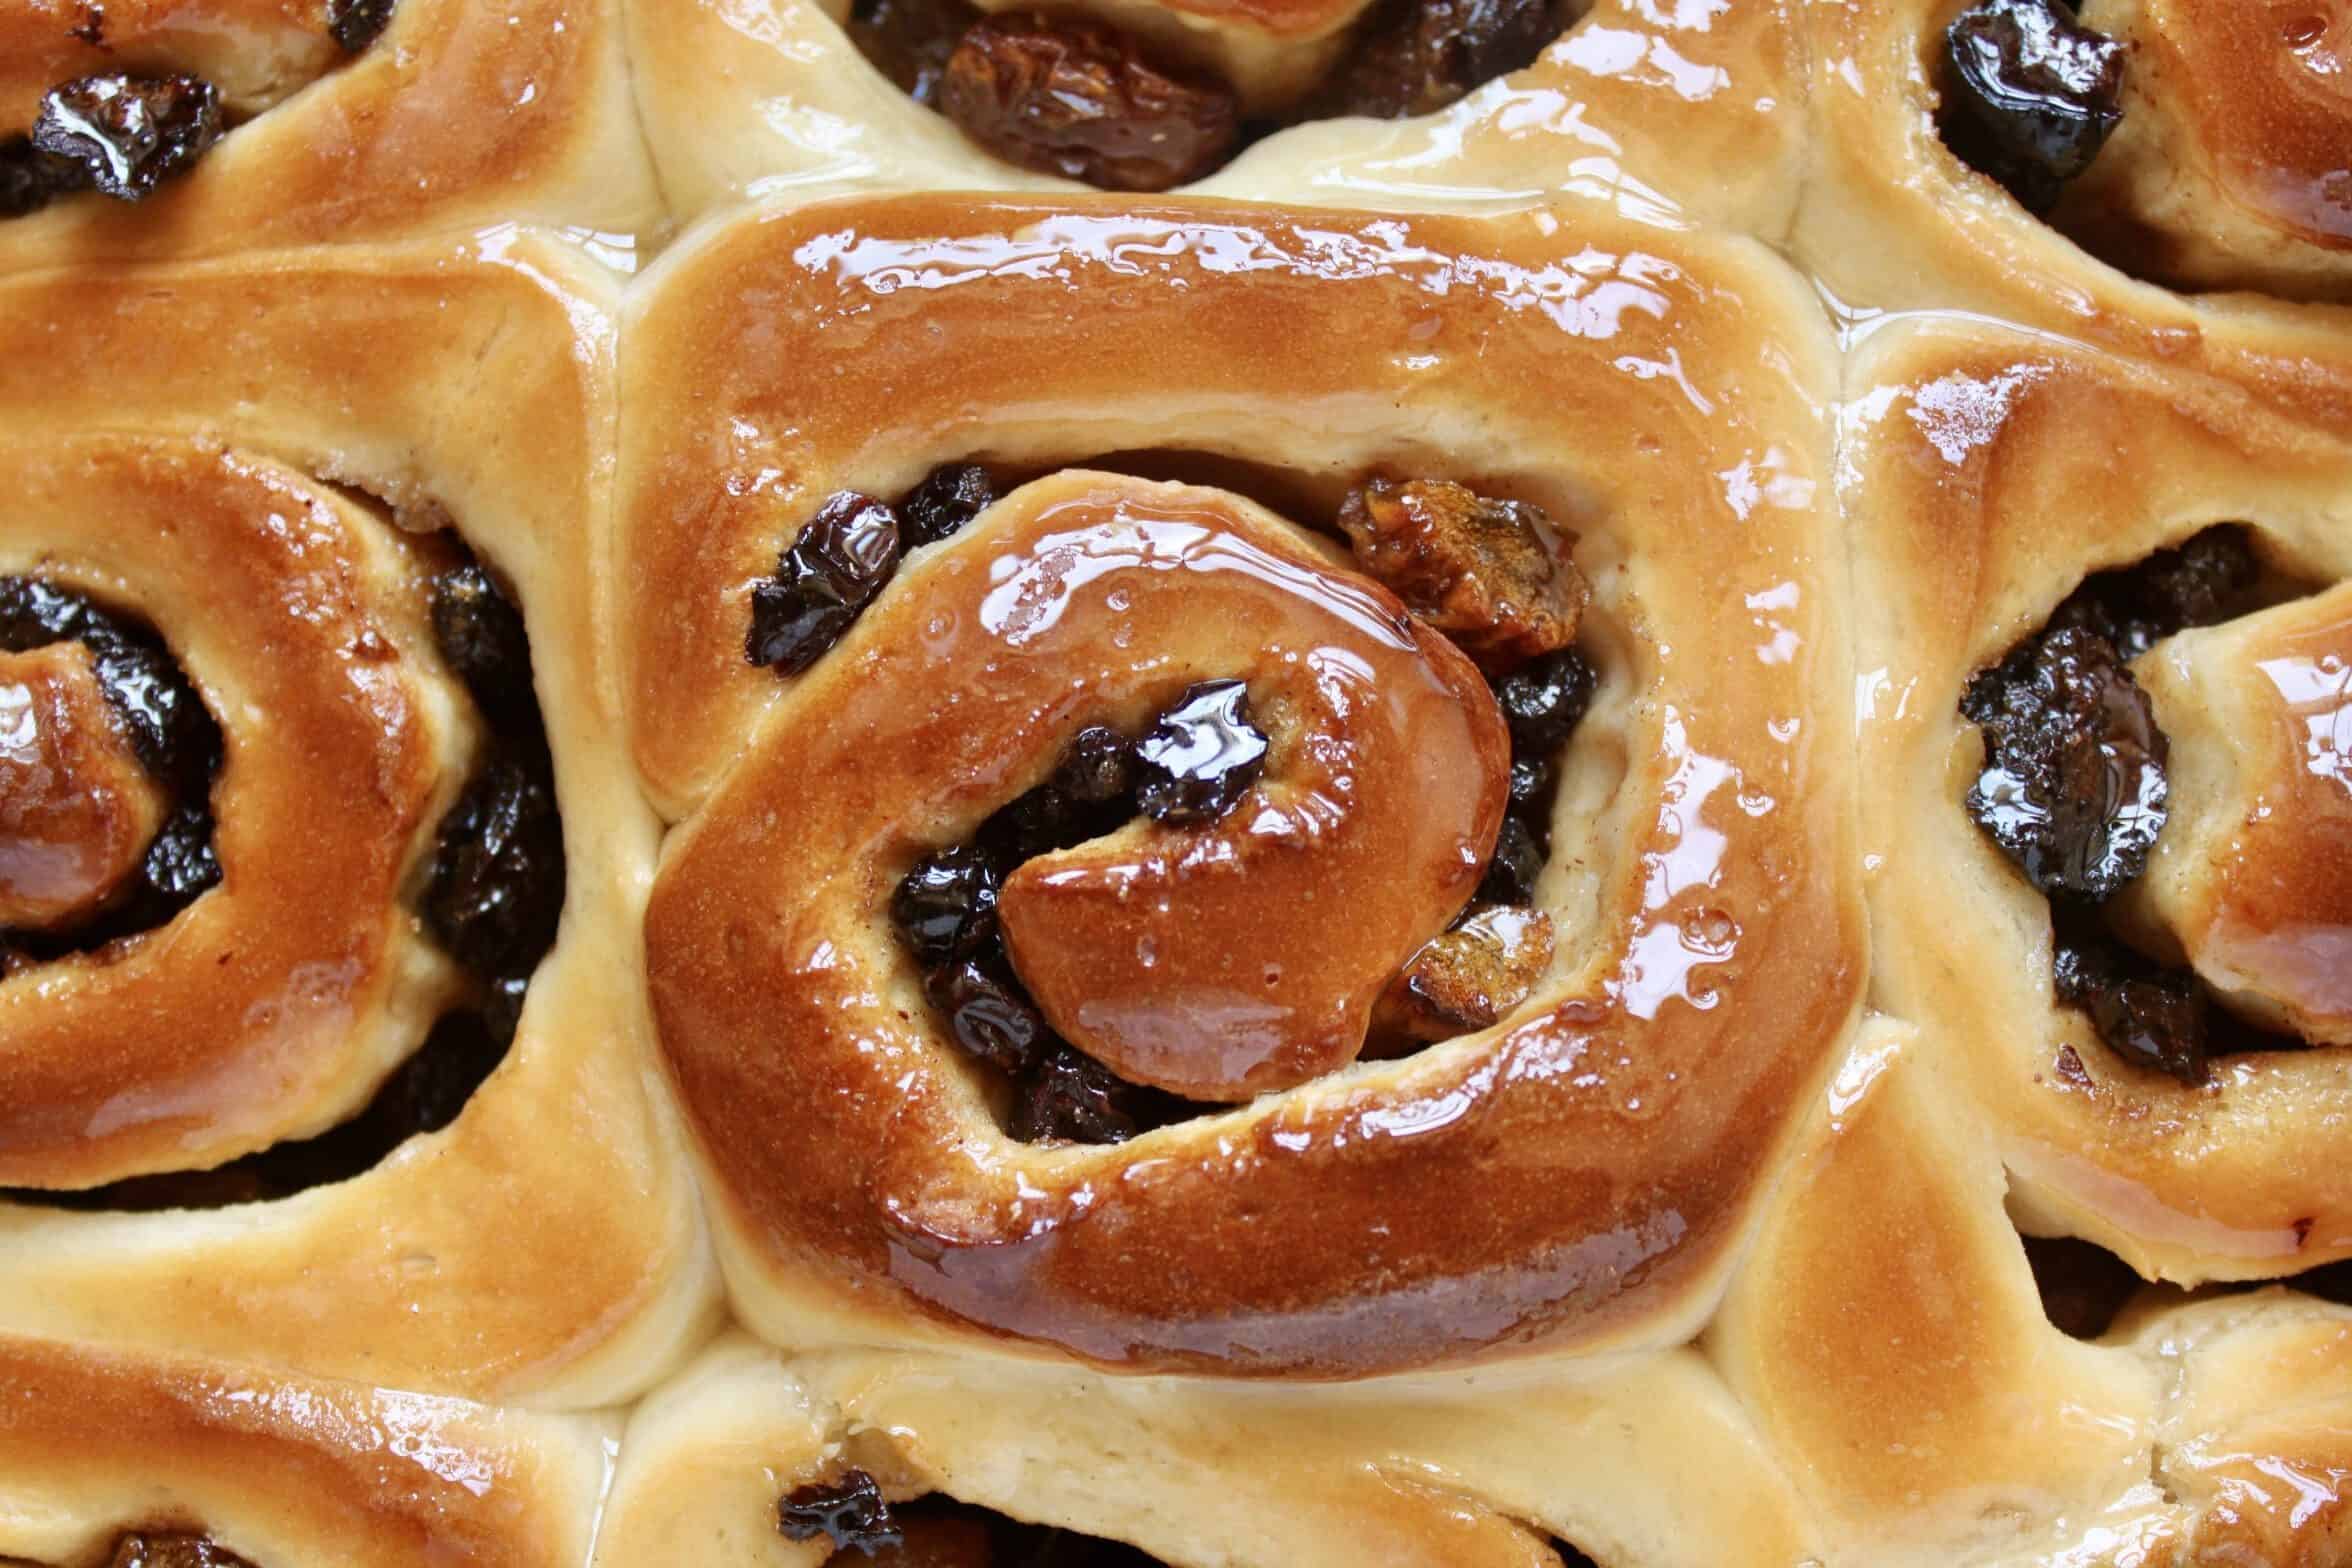
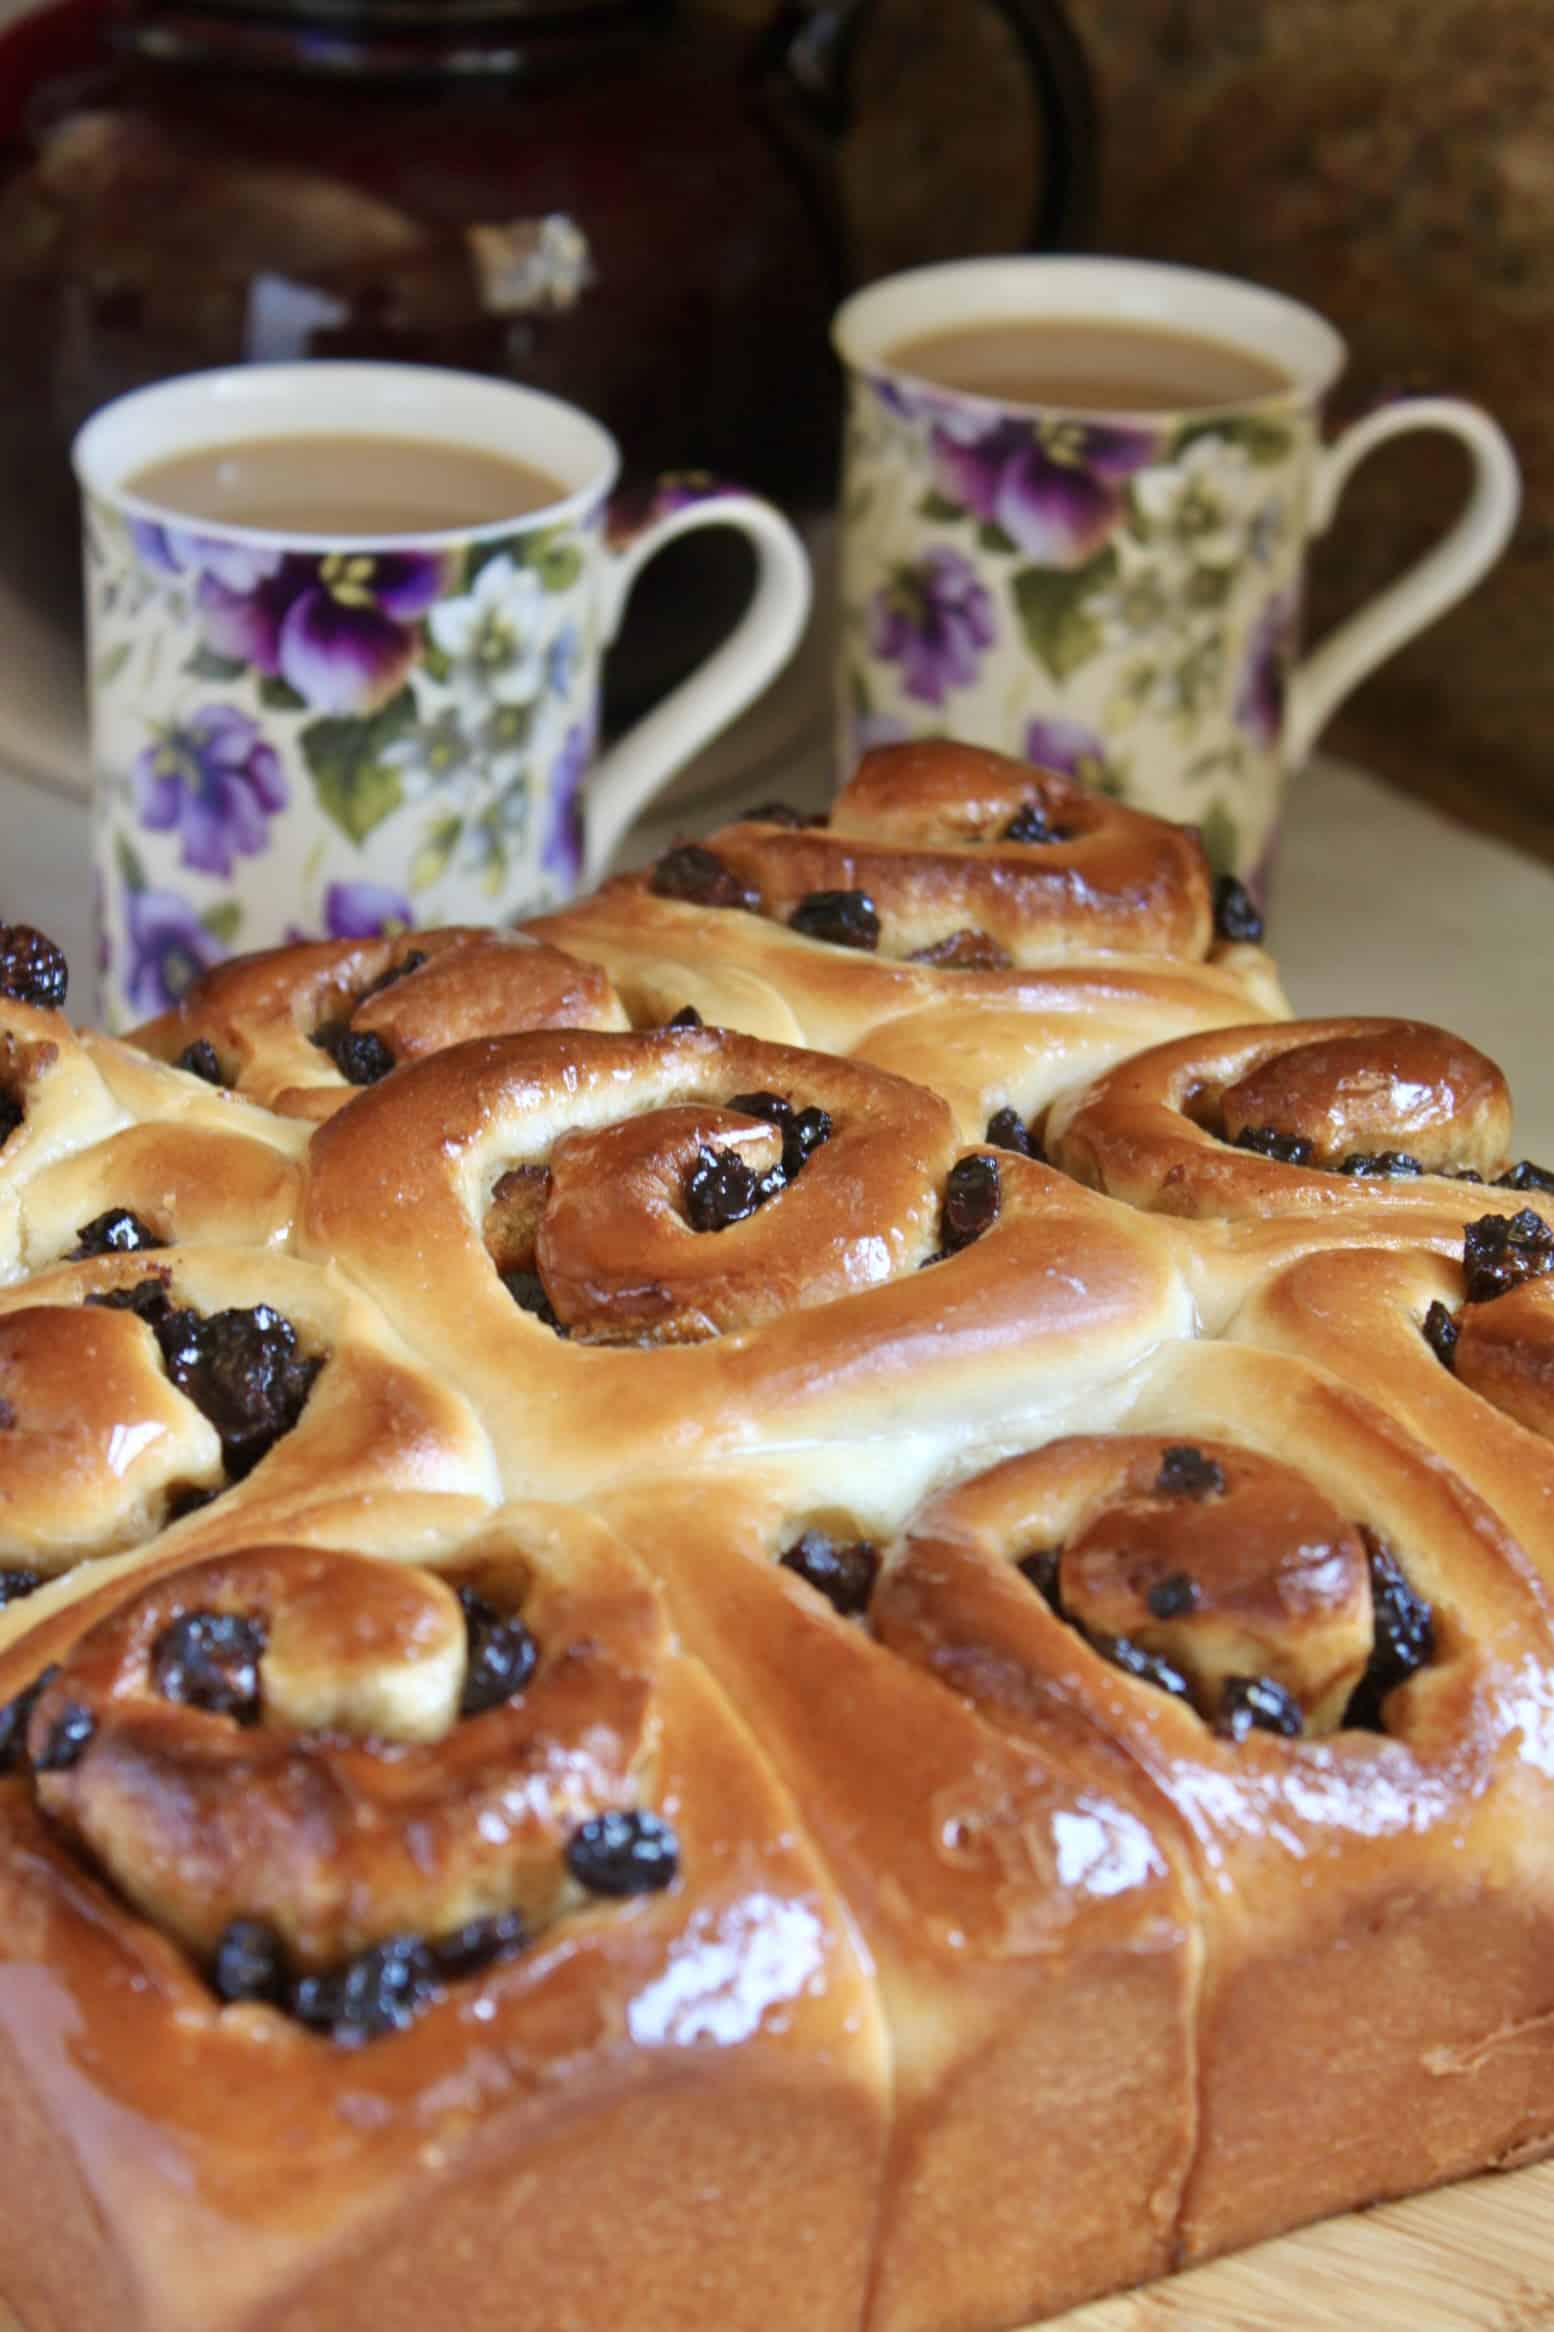
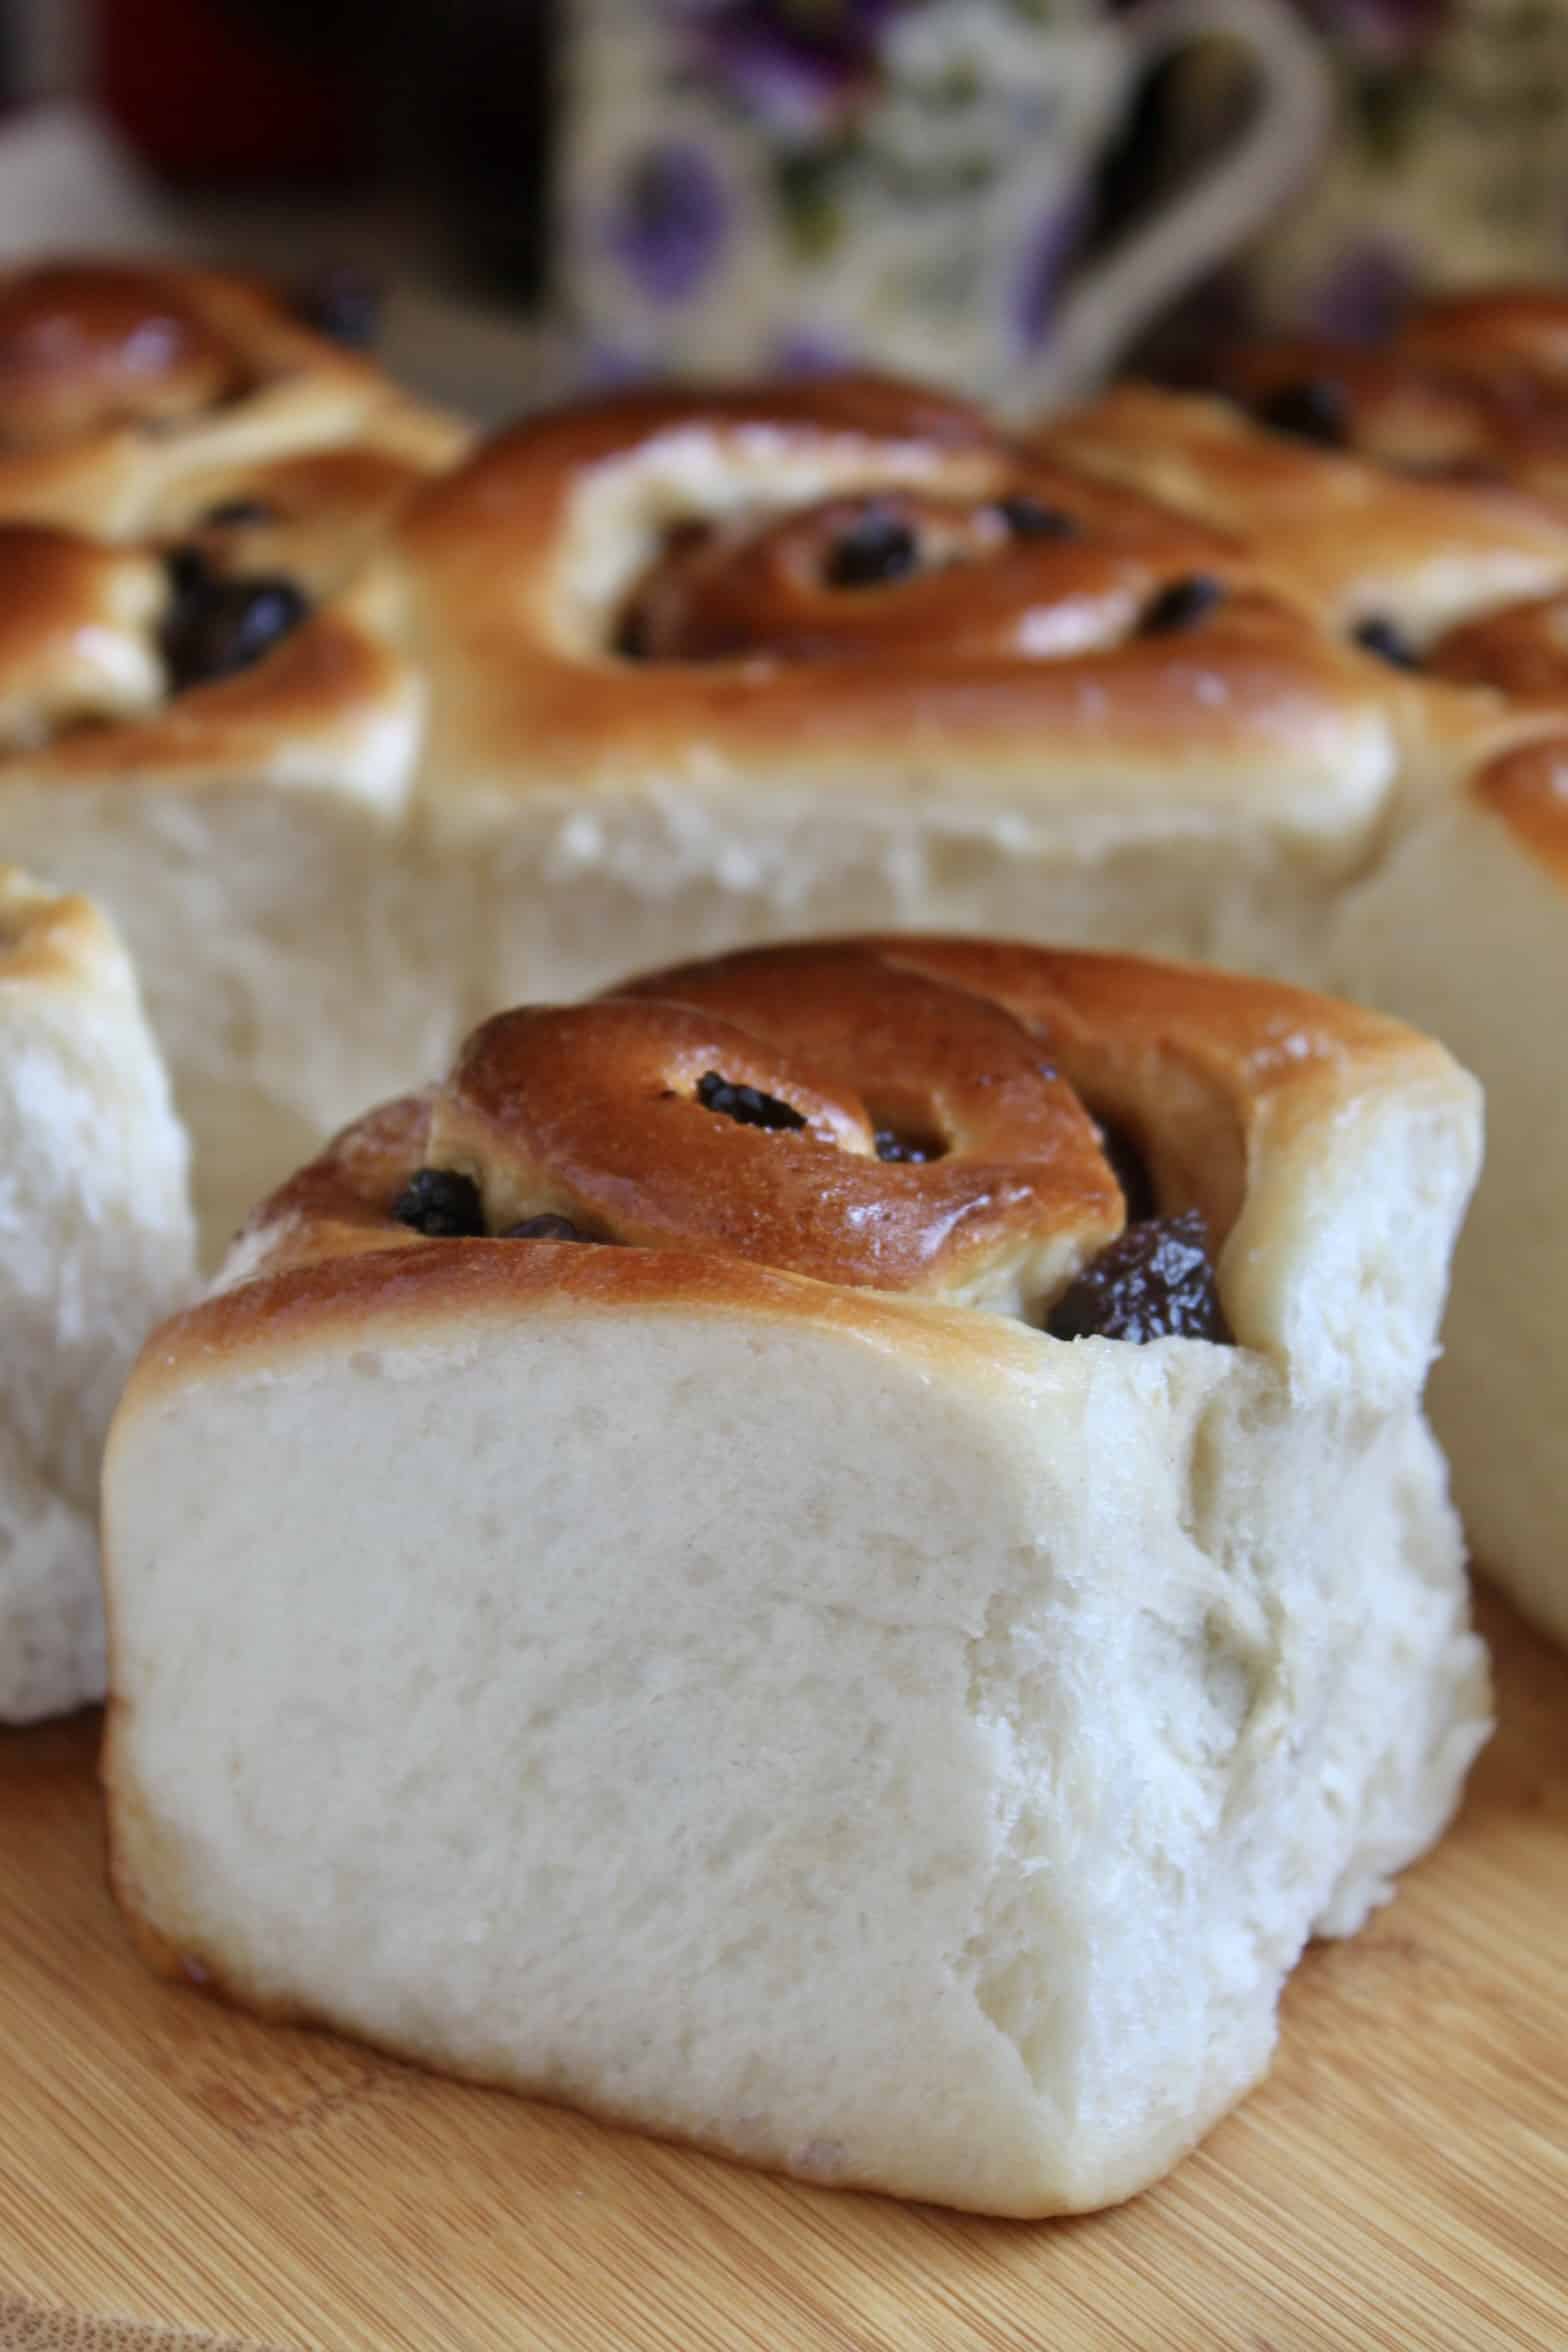
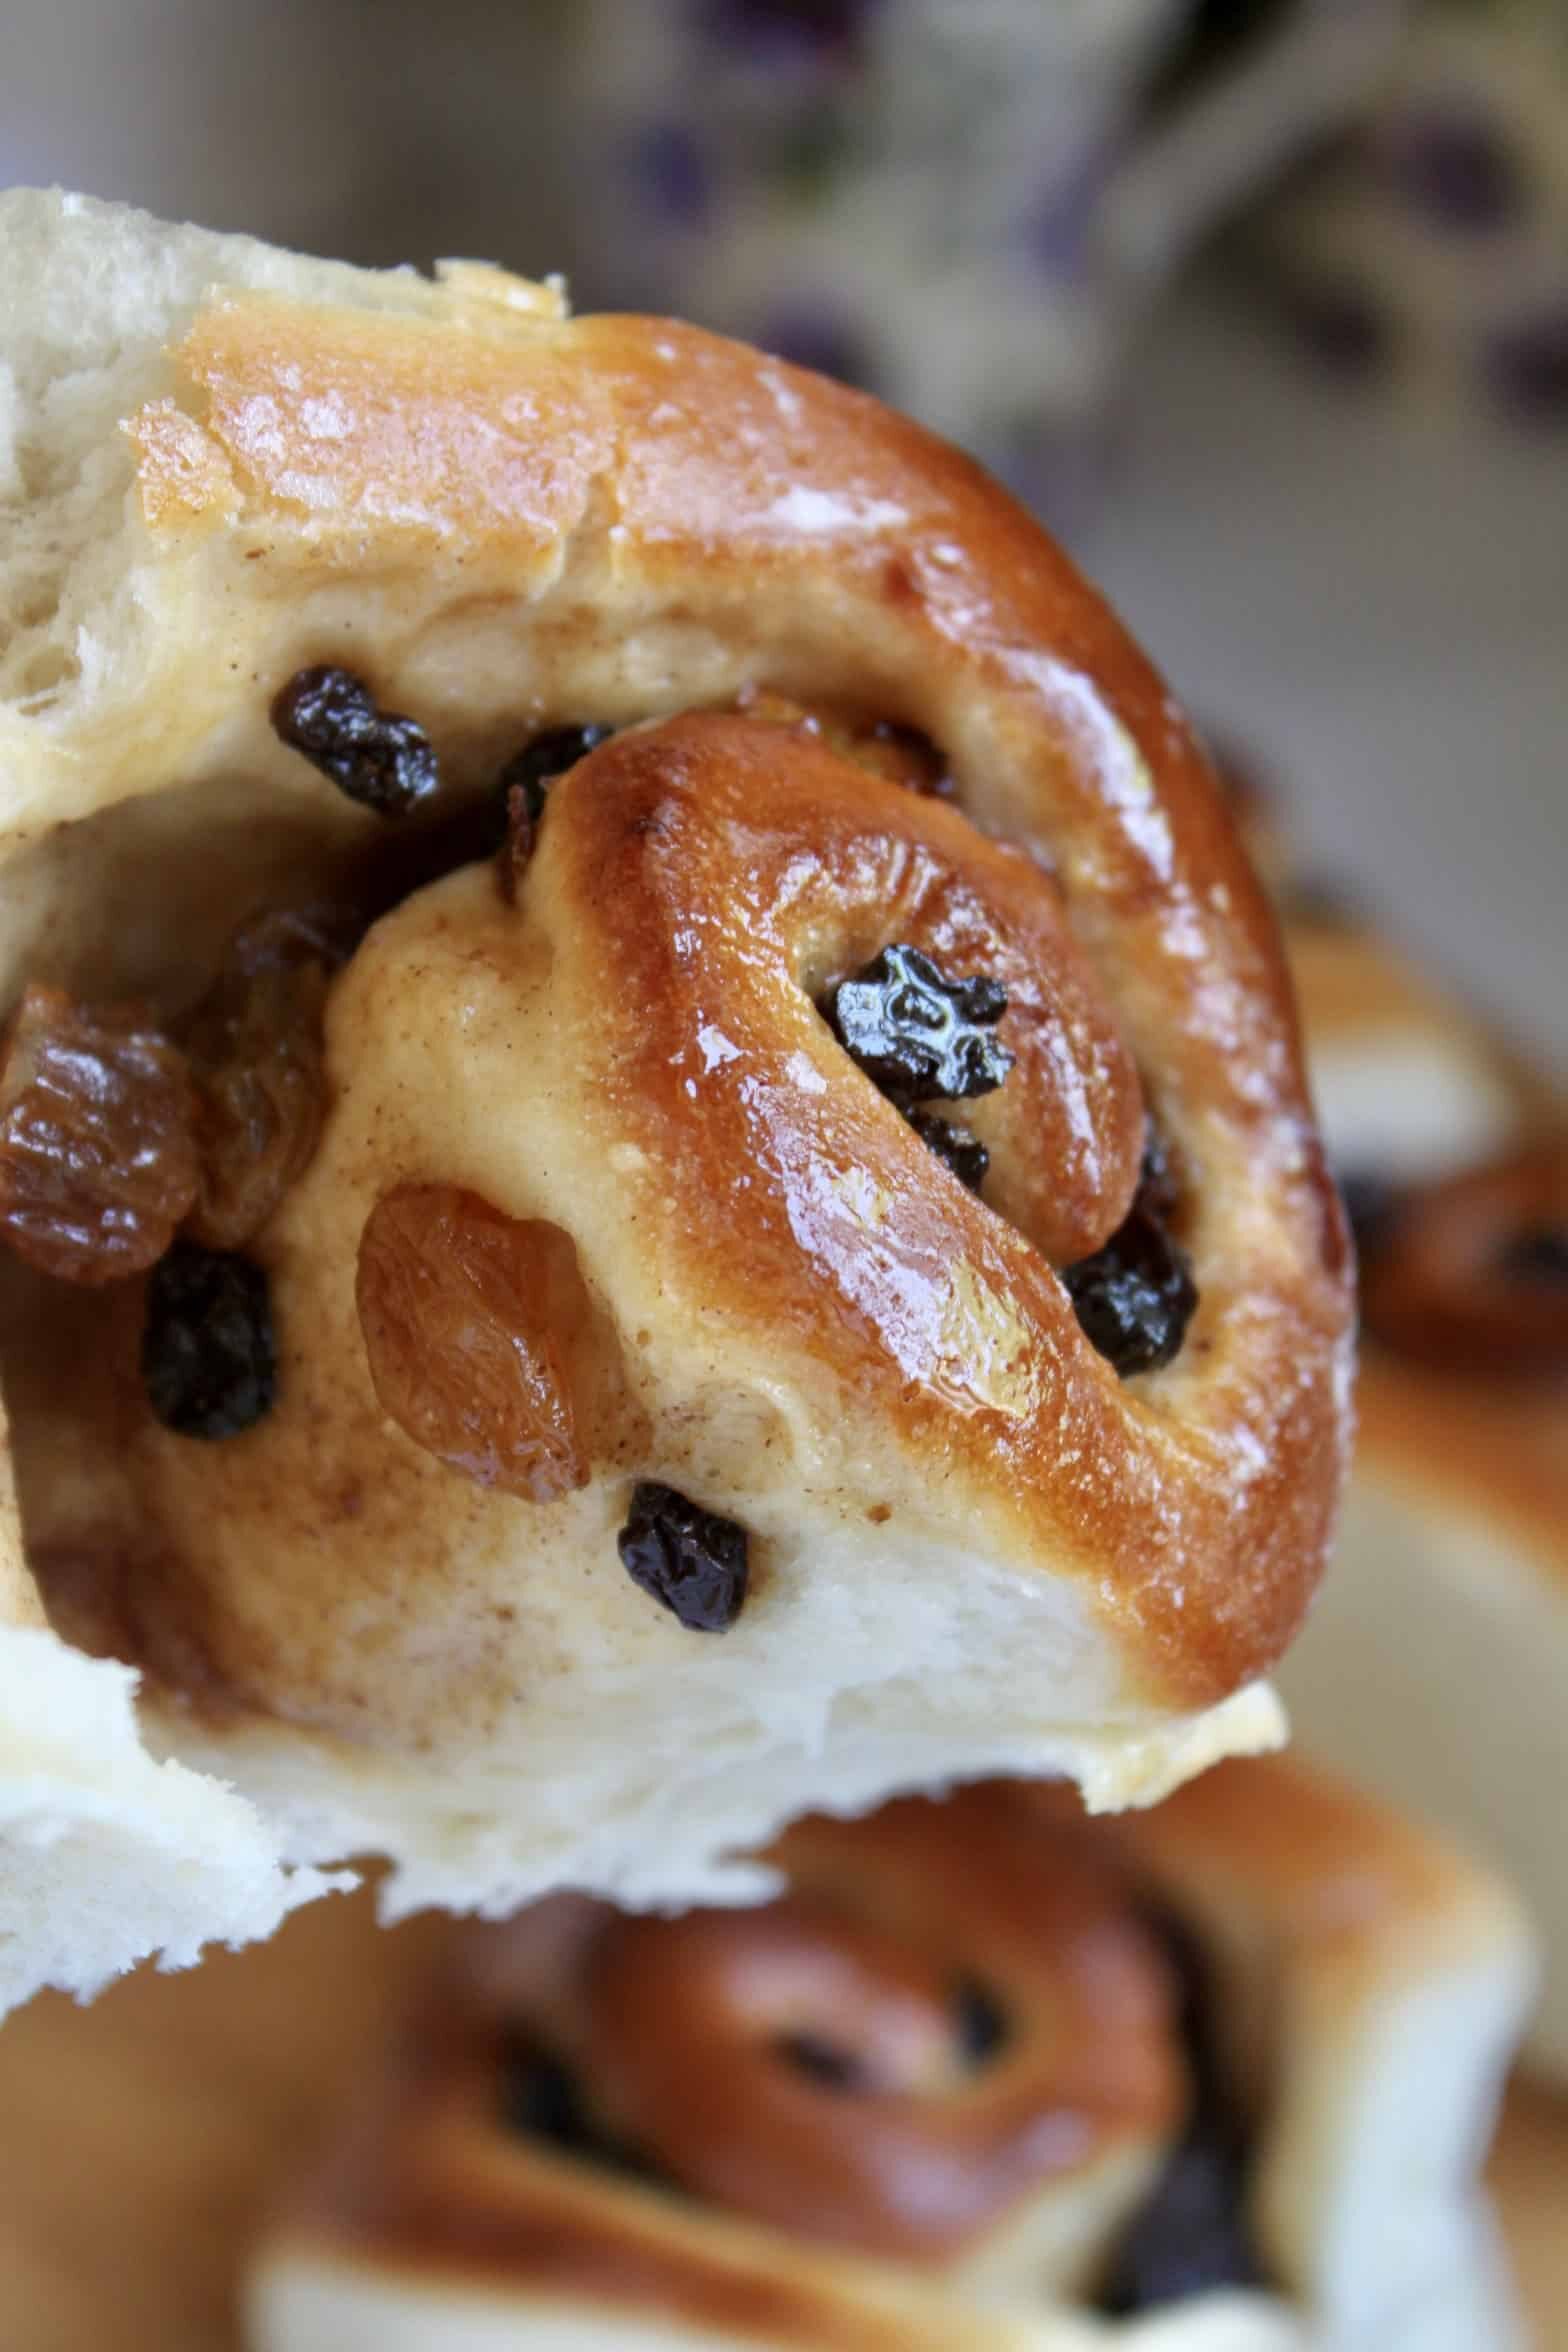
Chelsea buns are soft, spiced rolls with butter, raisins and currants rolled into the middle, then brushed with a sweet and sticky glaze. They’re incredibly delicious, especially with a cup of tea!
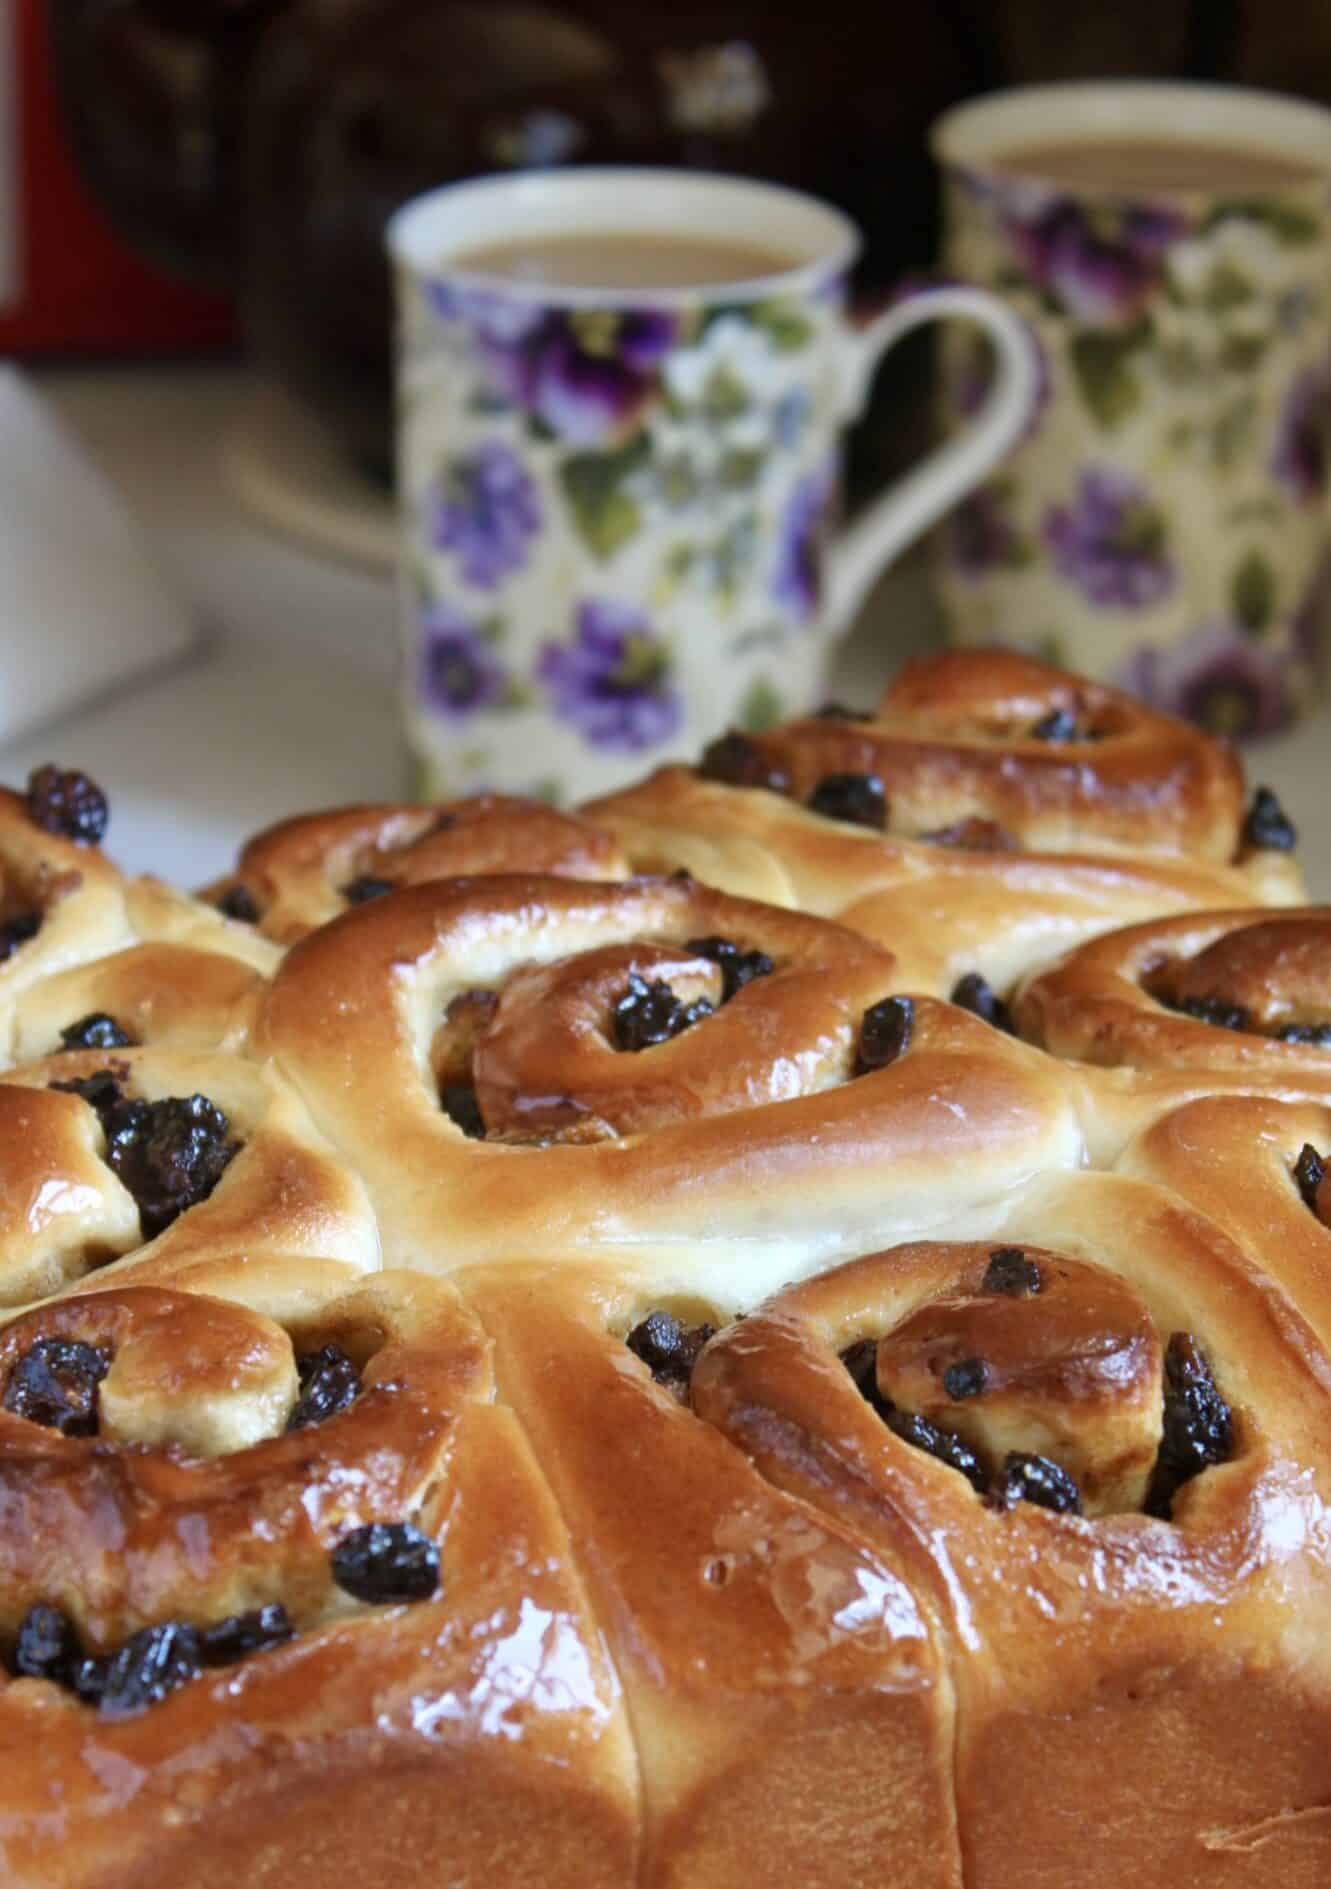
If you’re into British baking, you’re going to absolutely love this Chelsea buns recipe.
As an Amazon Associate I earn from qualifying purchases.
It’s especially easy to make if you use a bread machine, or a stand mixer, but making it by hand doesn’t require a ton of work, either.
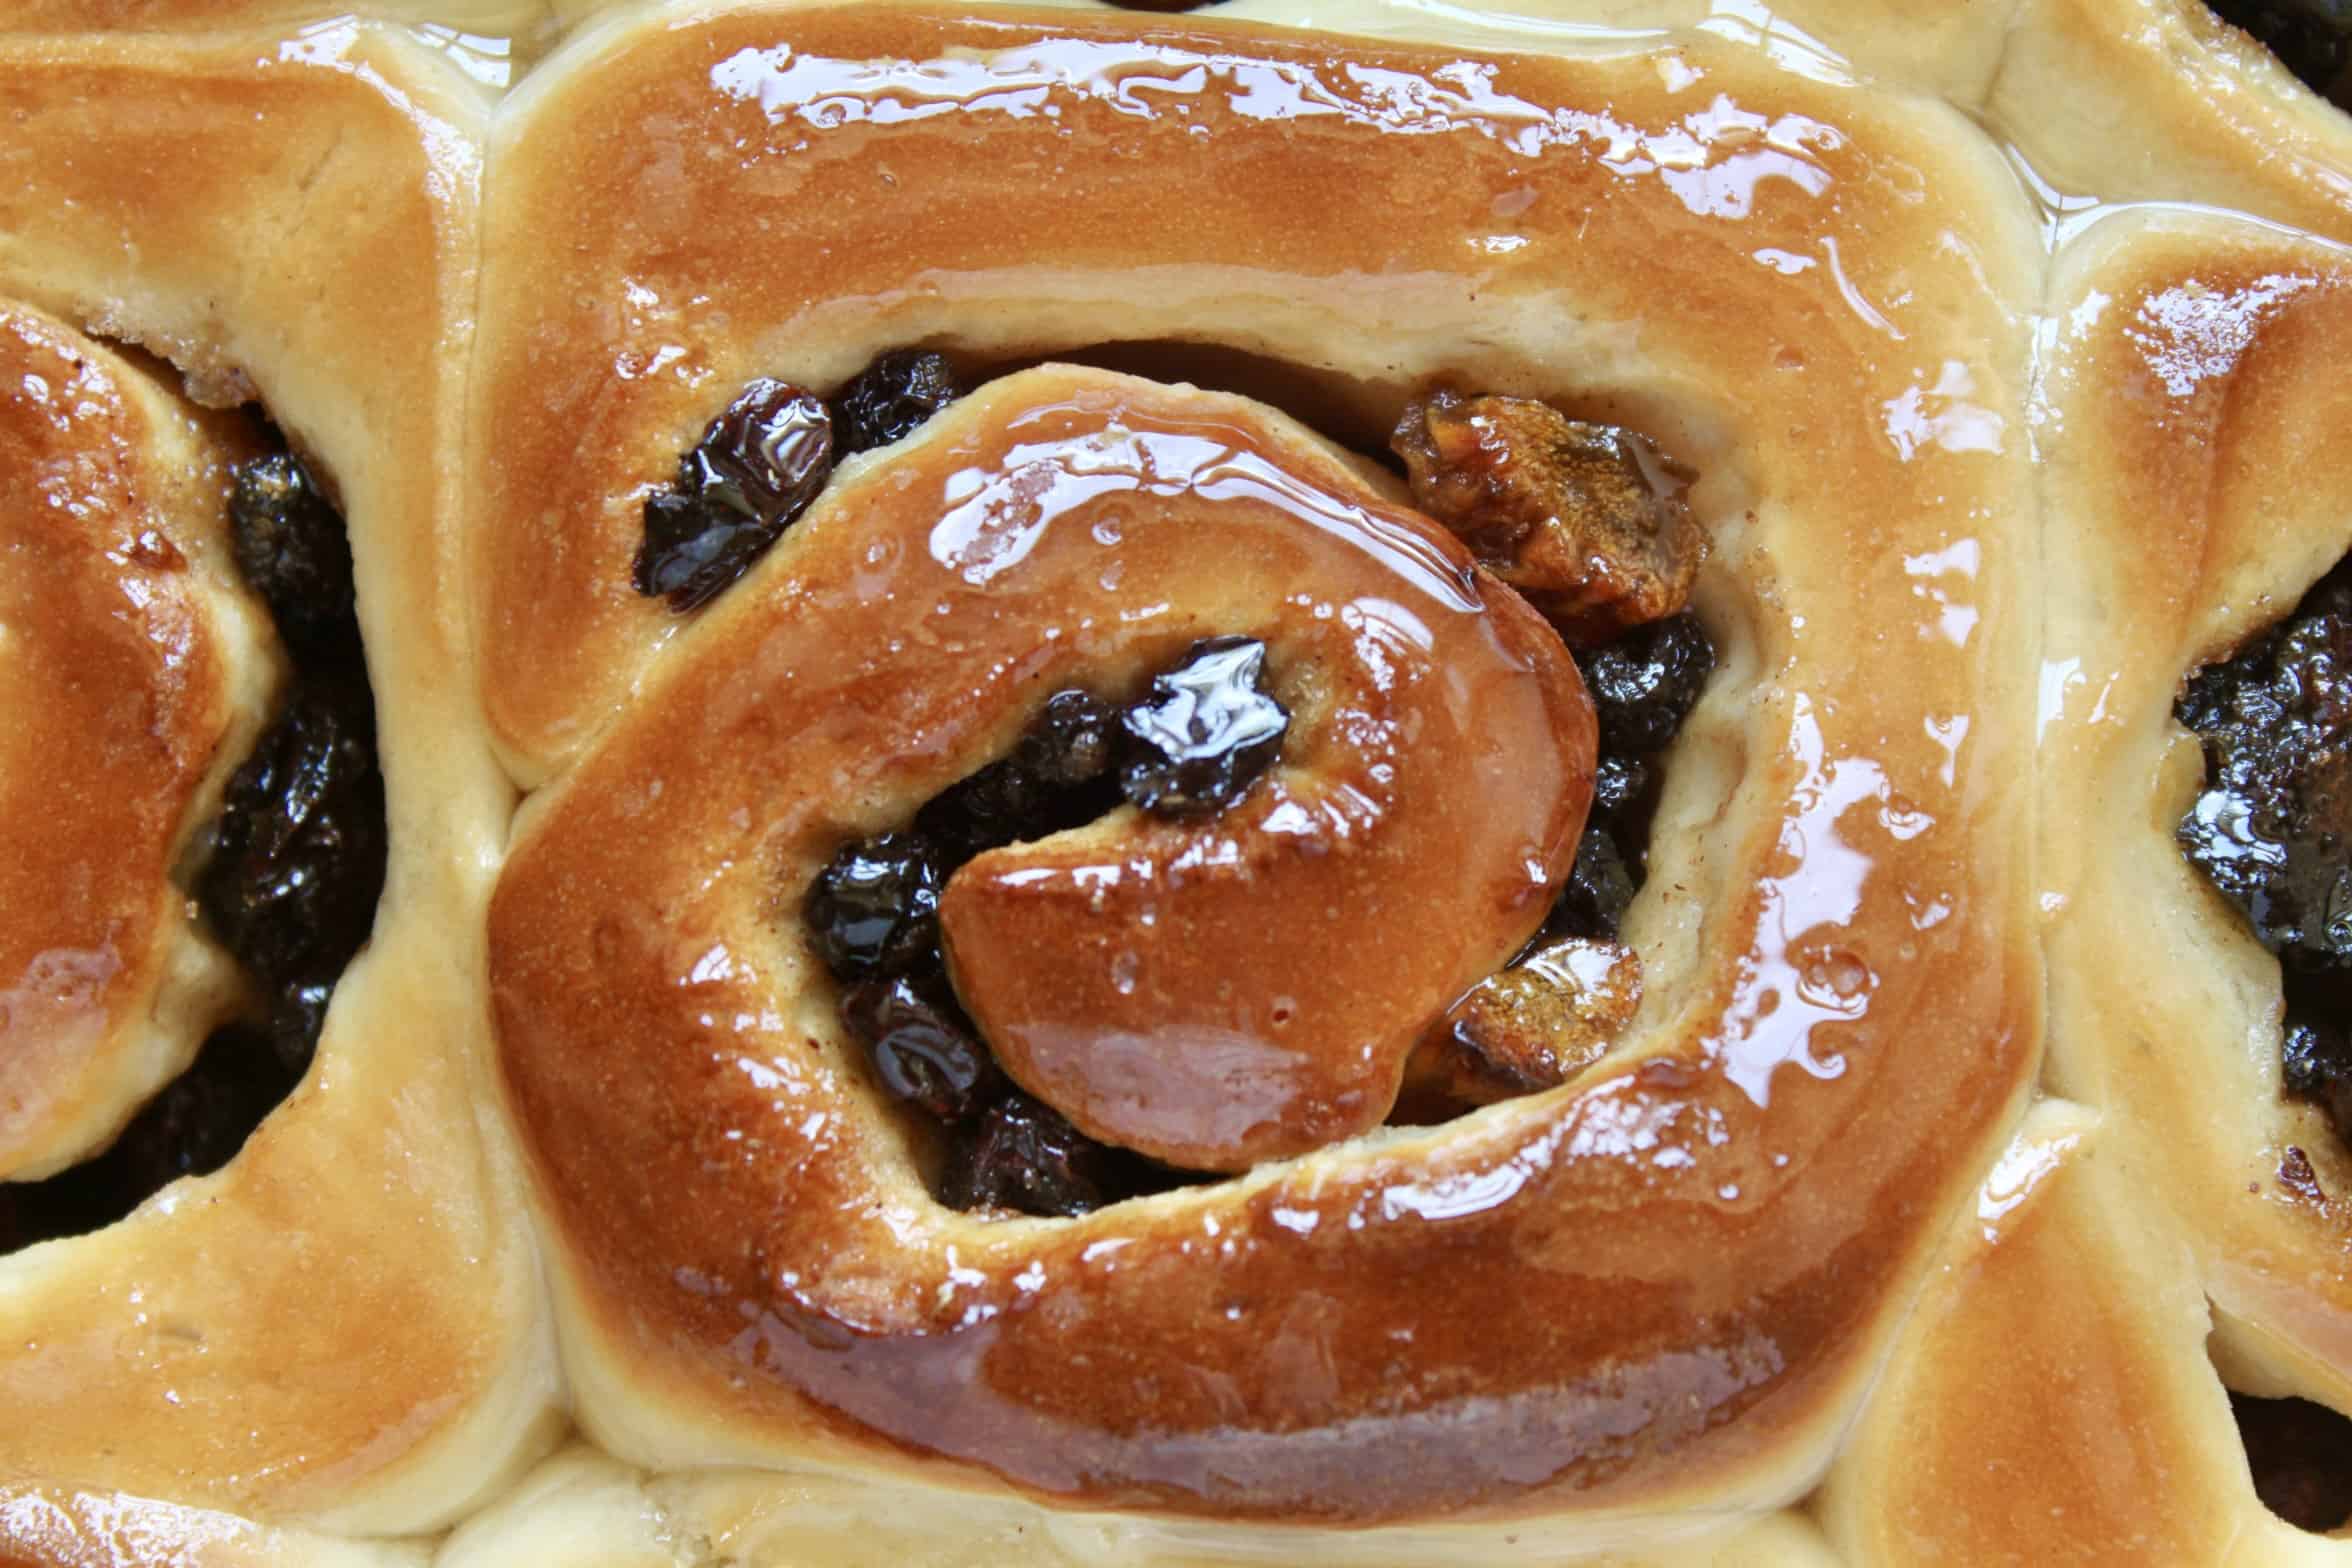
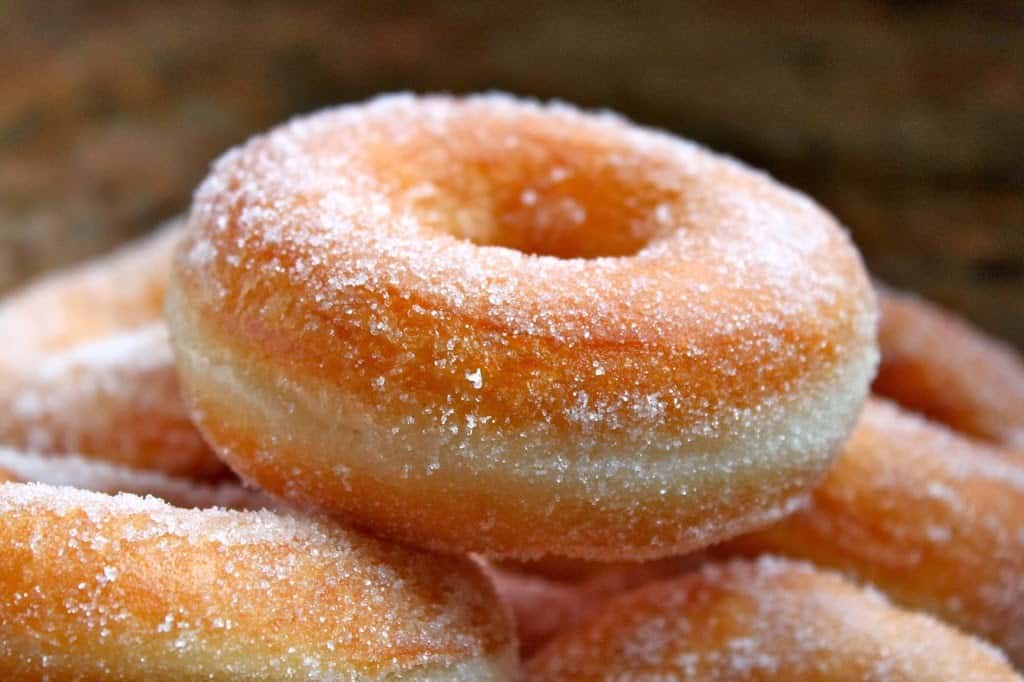
If you’re familiar with my world “famous” (they’ve honestly been made all around the world) perfect yeast doughnut recipe, then you’ll be happy to learn that this Chelsea bun recipe is from the same cookbook, The Bread and Bread Machine Bible.
Is a Chelsea bun the same as a cinnamon roll?
- Chelsea buns have dried fruit (like golden raisins and currants) in the middle, cinnamon rolls do not.
- Cinnamon rolls are made with just cinnamon, whereas Chelsea buns use mixed spice. (Click the link to read about mixed spice.)
- Chelsea buns are glazed, and cinnamon rolls are iced, or covered in frosting.
- Cinnamon rolls are much sweeter than Chelsea buns, both in the dough and the frosting.
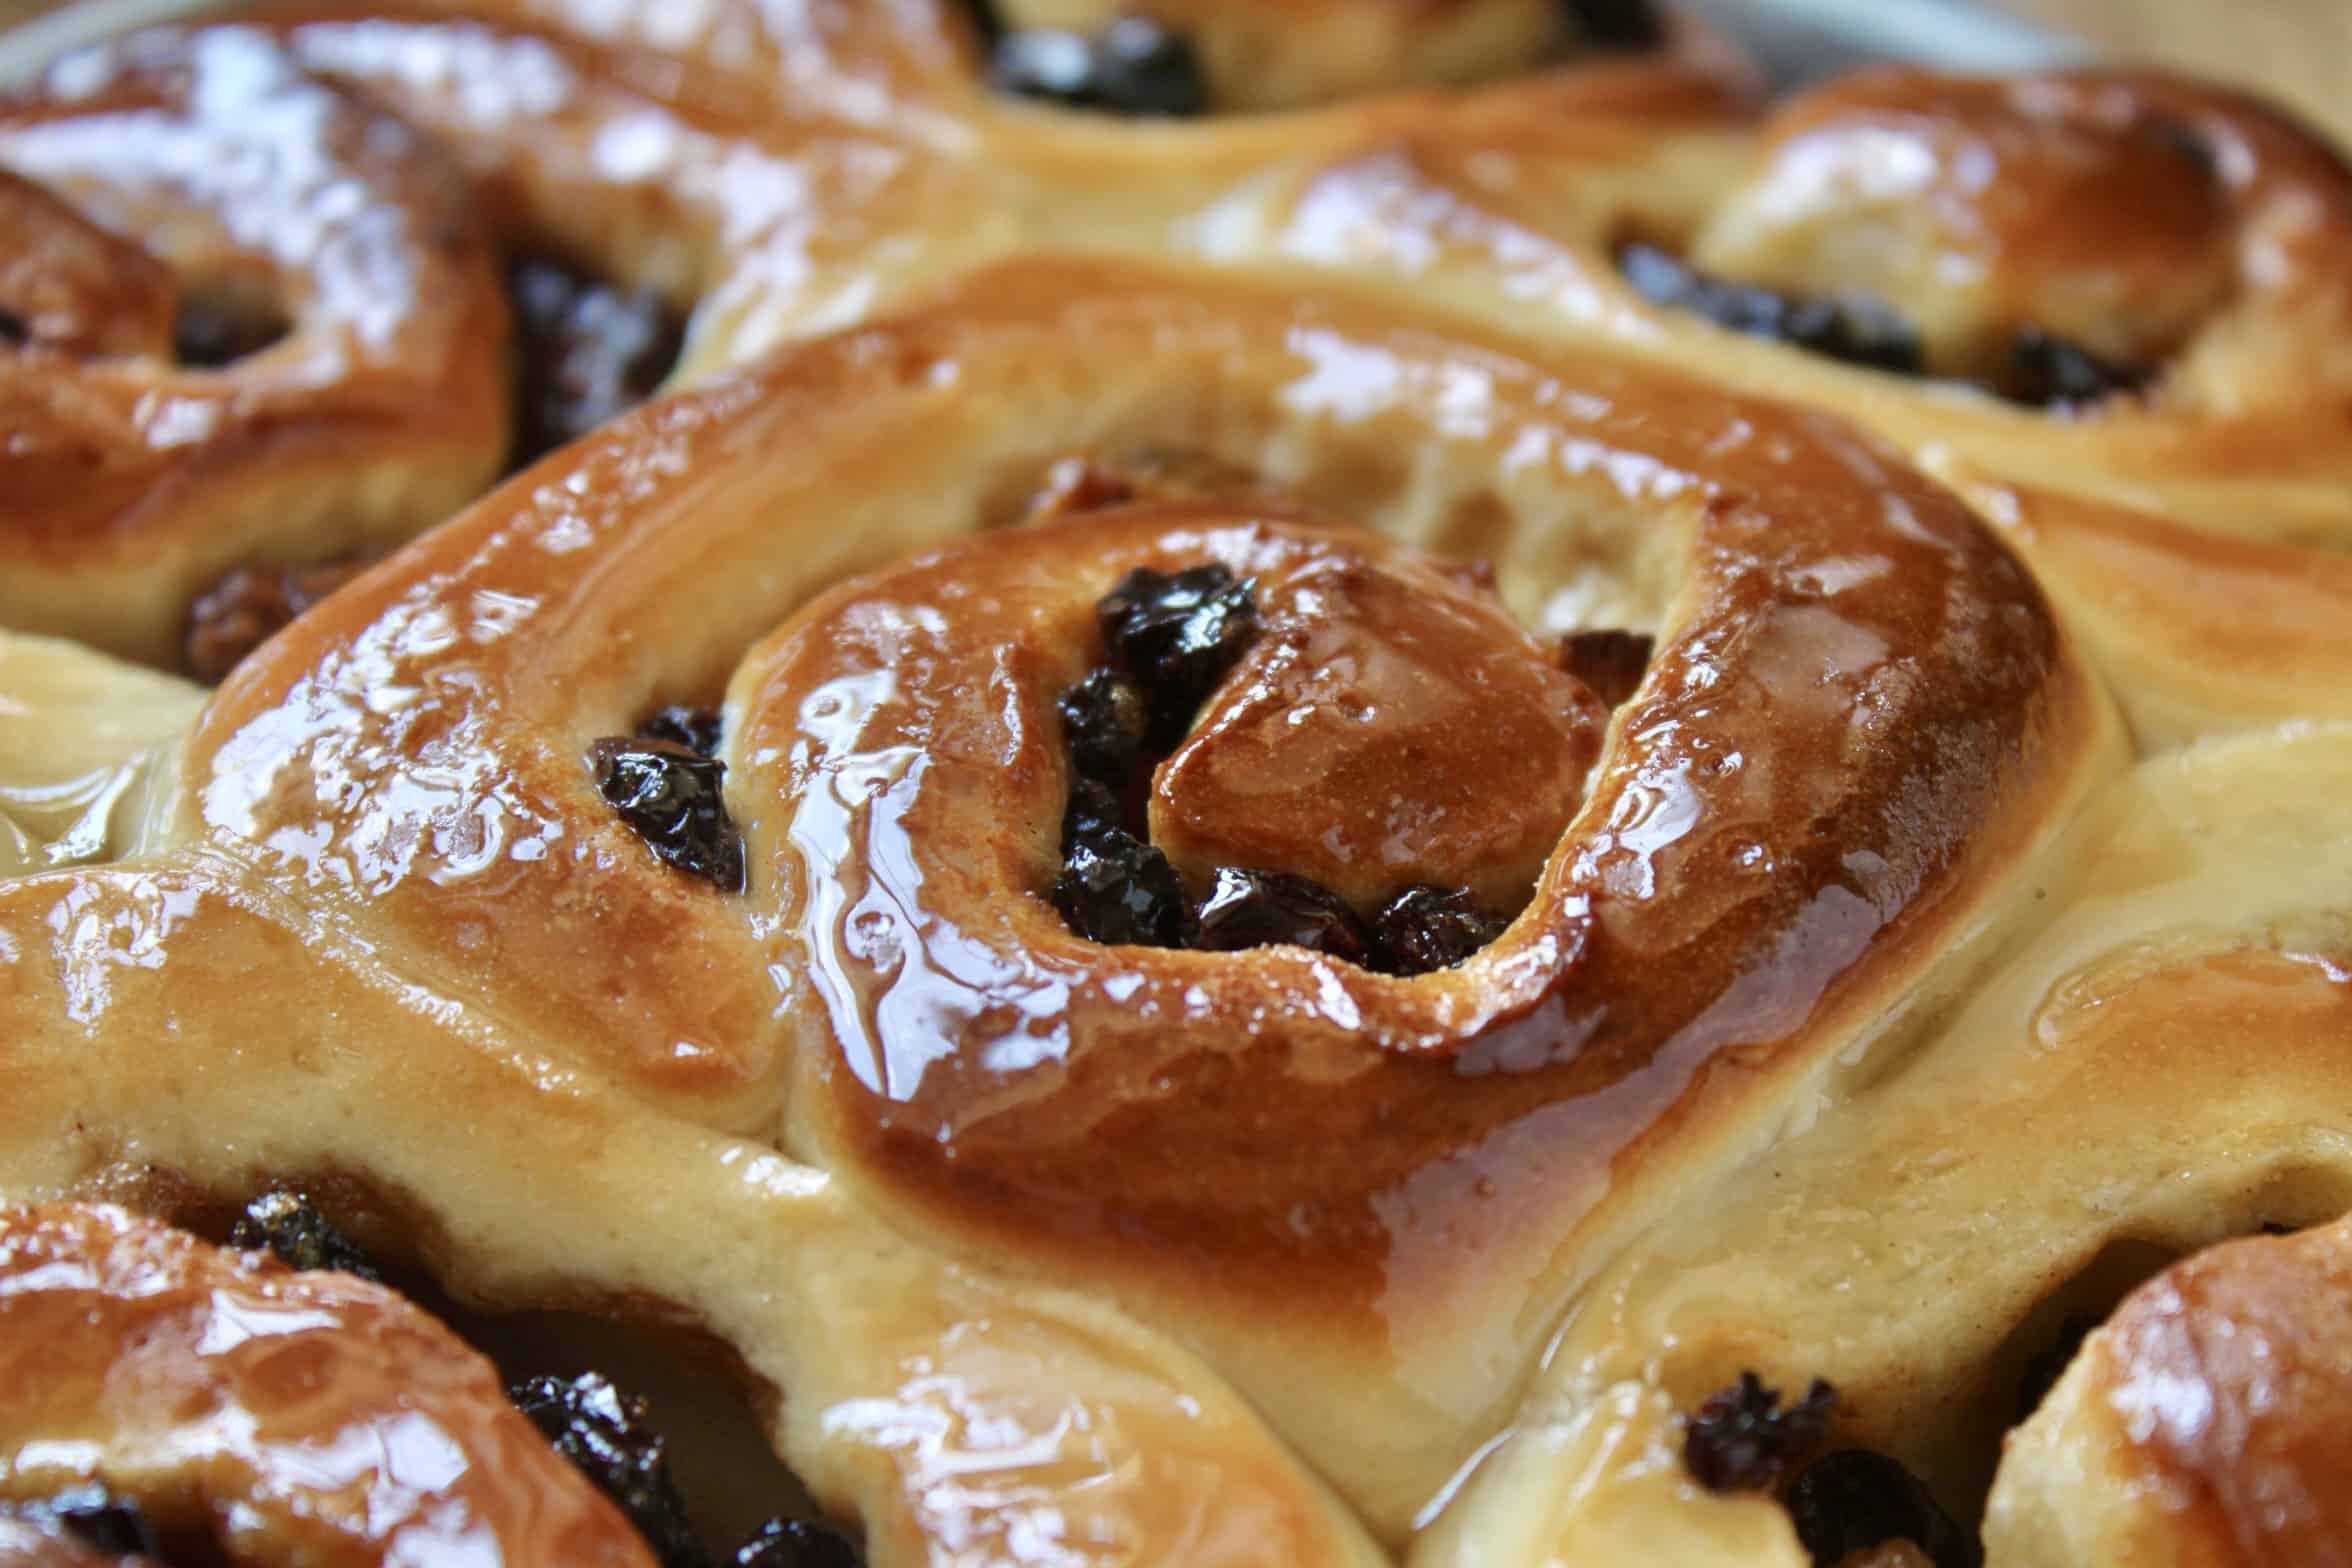
Here is my soft and fluffy cinnamon roll recipe if you’d like to make these instead.
This is another solid recipe from one of my favorite cookbooks, and I’m sure you’ll be as pleased with the results as I am each time I make these yeast buns.
Like my cinnamon rolls, and cinnamon roll King cake, they are also soft, fluffy and entirely delicious; just perfect with a cup of tea or coffee (I would suggest tea).
Love cinnamon? Try this cinnamon French toast with orange sauce!
If you want to learn about the history of Chelsea buns which originated in London (at the Chelsea Bun House) at the end of the 17th century, you can read about it at The Londonist.
Find more English recipes here.

Note: you can roll the dough more thinly and end up with more “rings” which will not be as light and fluffy as these, but I believe the ones in England tend to be made in this fashion, if you’re going for a more authentic look.
Chelsea Buns Recipe
slightly adapted from The Bread and Bread Machine Bible makes buns
FULL PRINTABLE RECIPE BELOW
Make the Dough
Please choose the directions below depending on if you want to use a bread machine, stand mixer, or make the dough by hand.
-In a Bread Machine
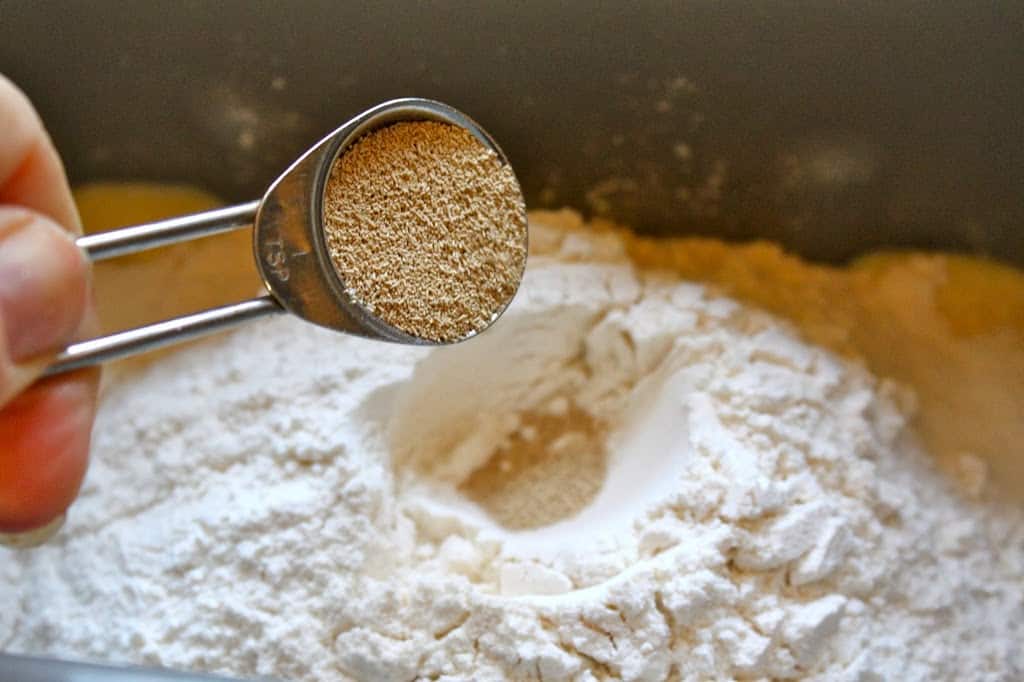
Put the milk and egg into the bread machine container, then add the flour, salt, sugar and butter. Make a well on top and place the yeast in it. Set the machine for the “dough” cycle. When finished allow to rise to be double the size of the dough when it finished the cycle. Skip to the Make the Filling step below.
-In a Stand Mixer
Add the yeast to the milk, and let stand for a few minutes. Stir in the egg.
Put the flour, salt, sugar and butter in the mixing bowl, then add the liquid. Using a dough hook, turn on the mixer until a smooth dough is formed.
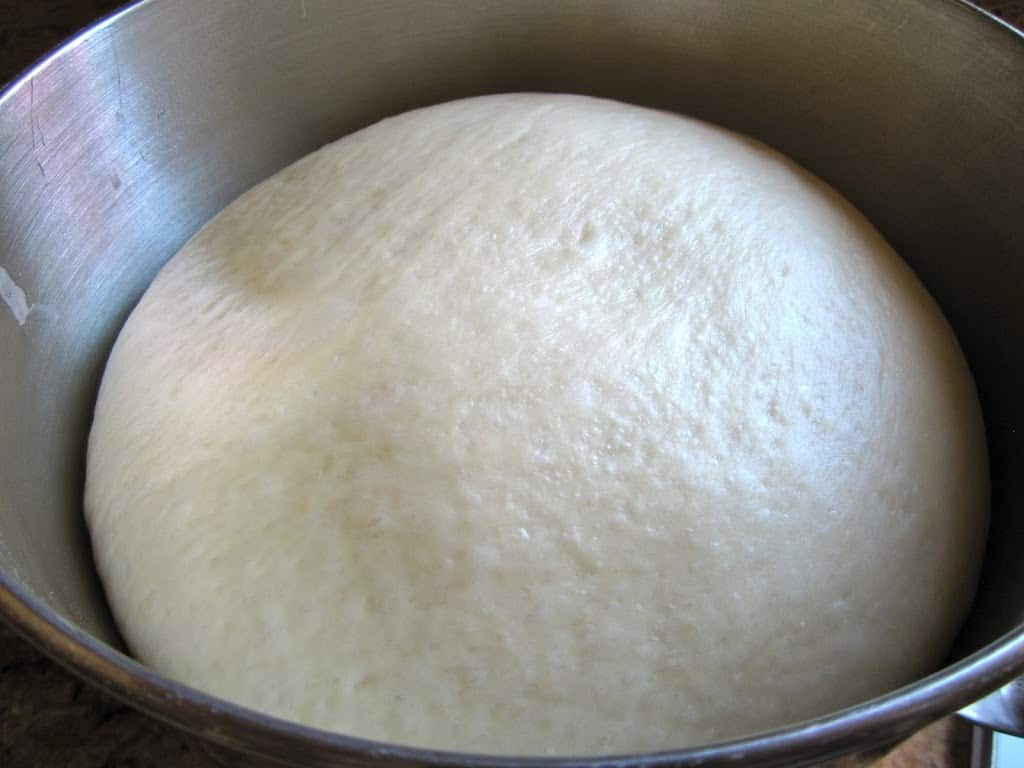
Cover and allow to double in size (at room temperature, or in a barely warm oven). Skip to the Make the Filling step below.
-By Hand
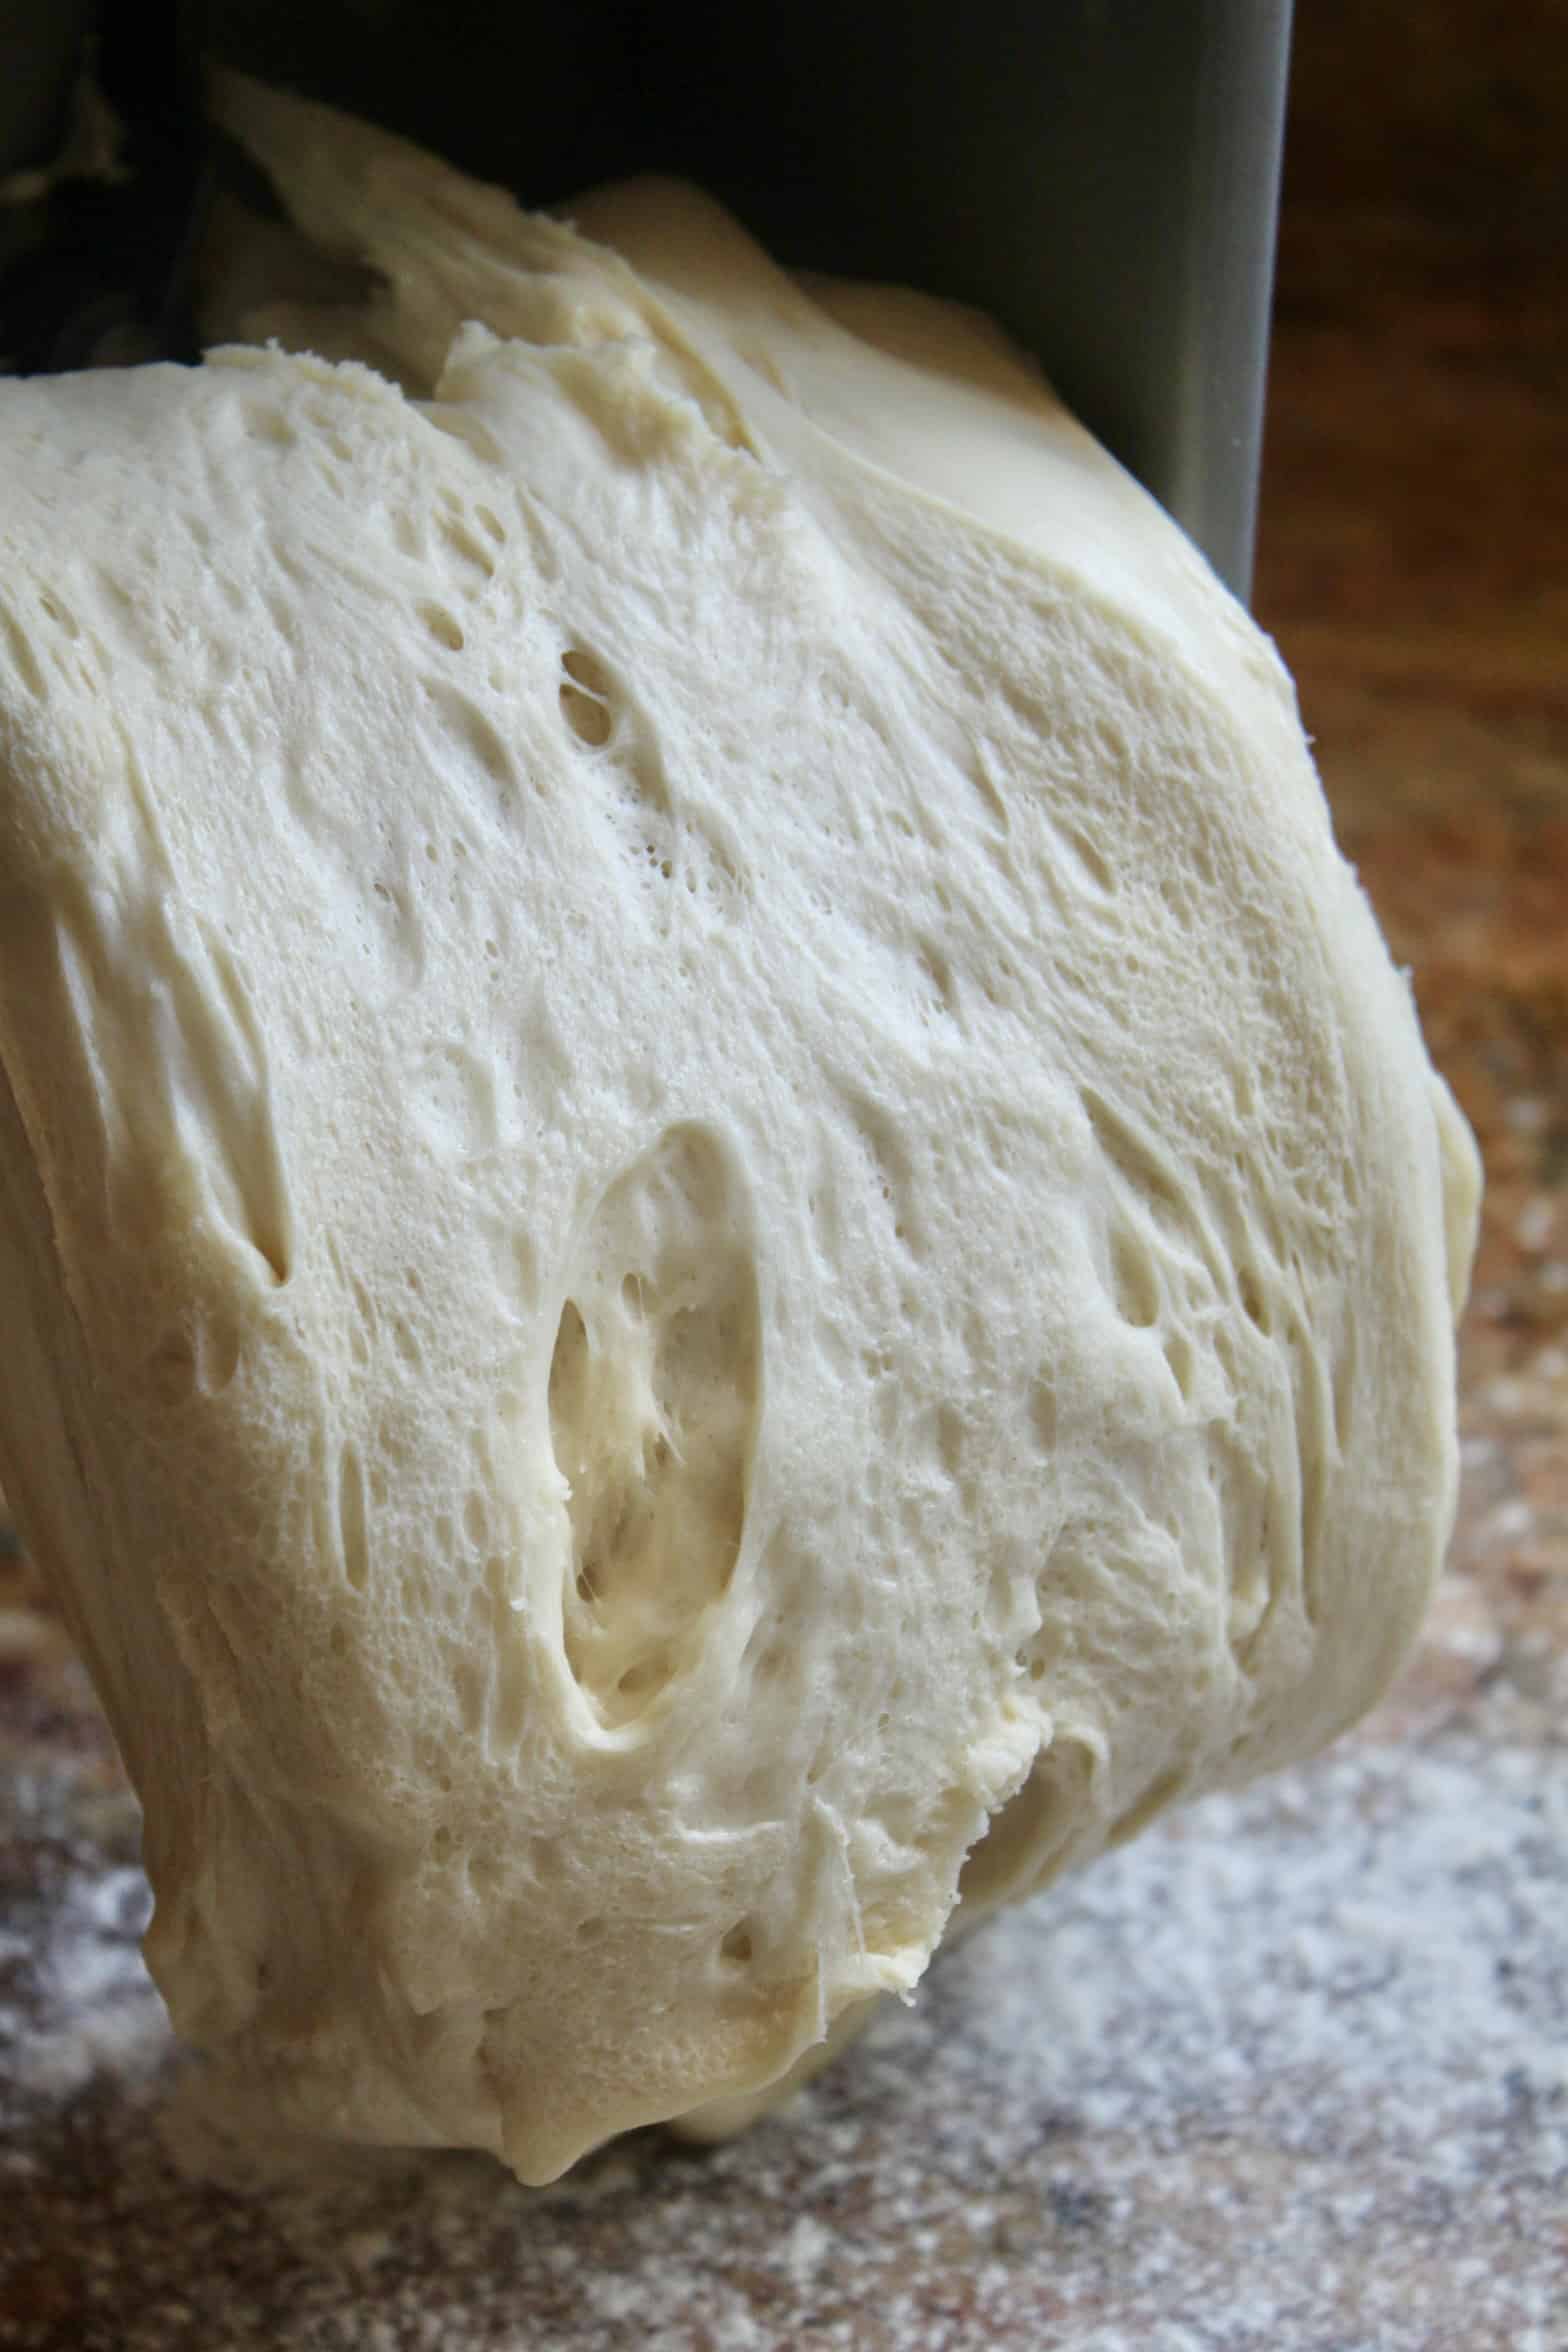
Follow the directions for the Stand Mixer above, but mix all the ingredients together using a Danish dough whisk or spatula, until it forms a sticky dough. Place onto floured board or counter, and knead until a smooth dough is formed. Put into a floured bowl, cover and allow to rise at room temperature or in a slightly warm oven until doubled in size.
Make the Filling
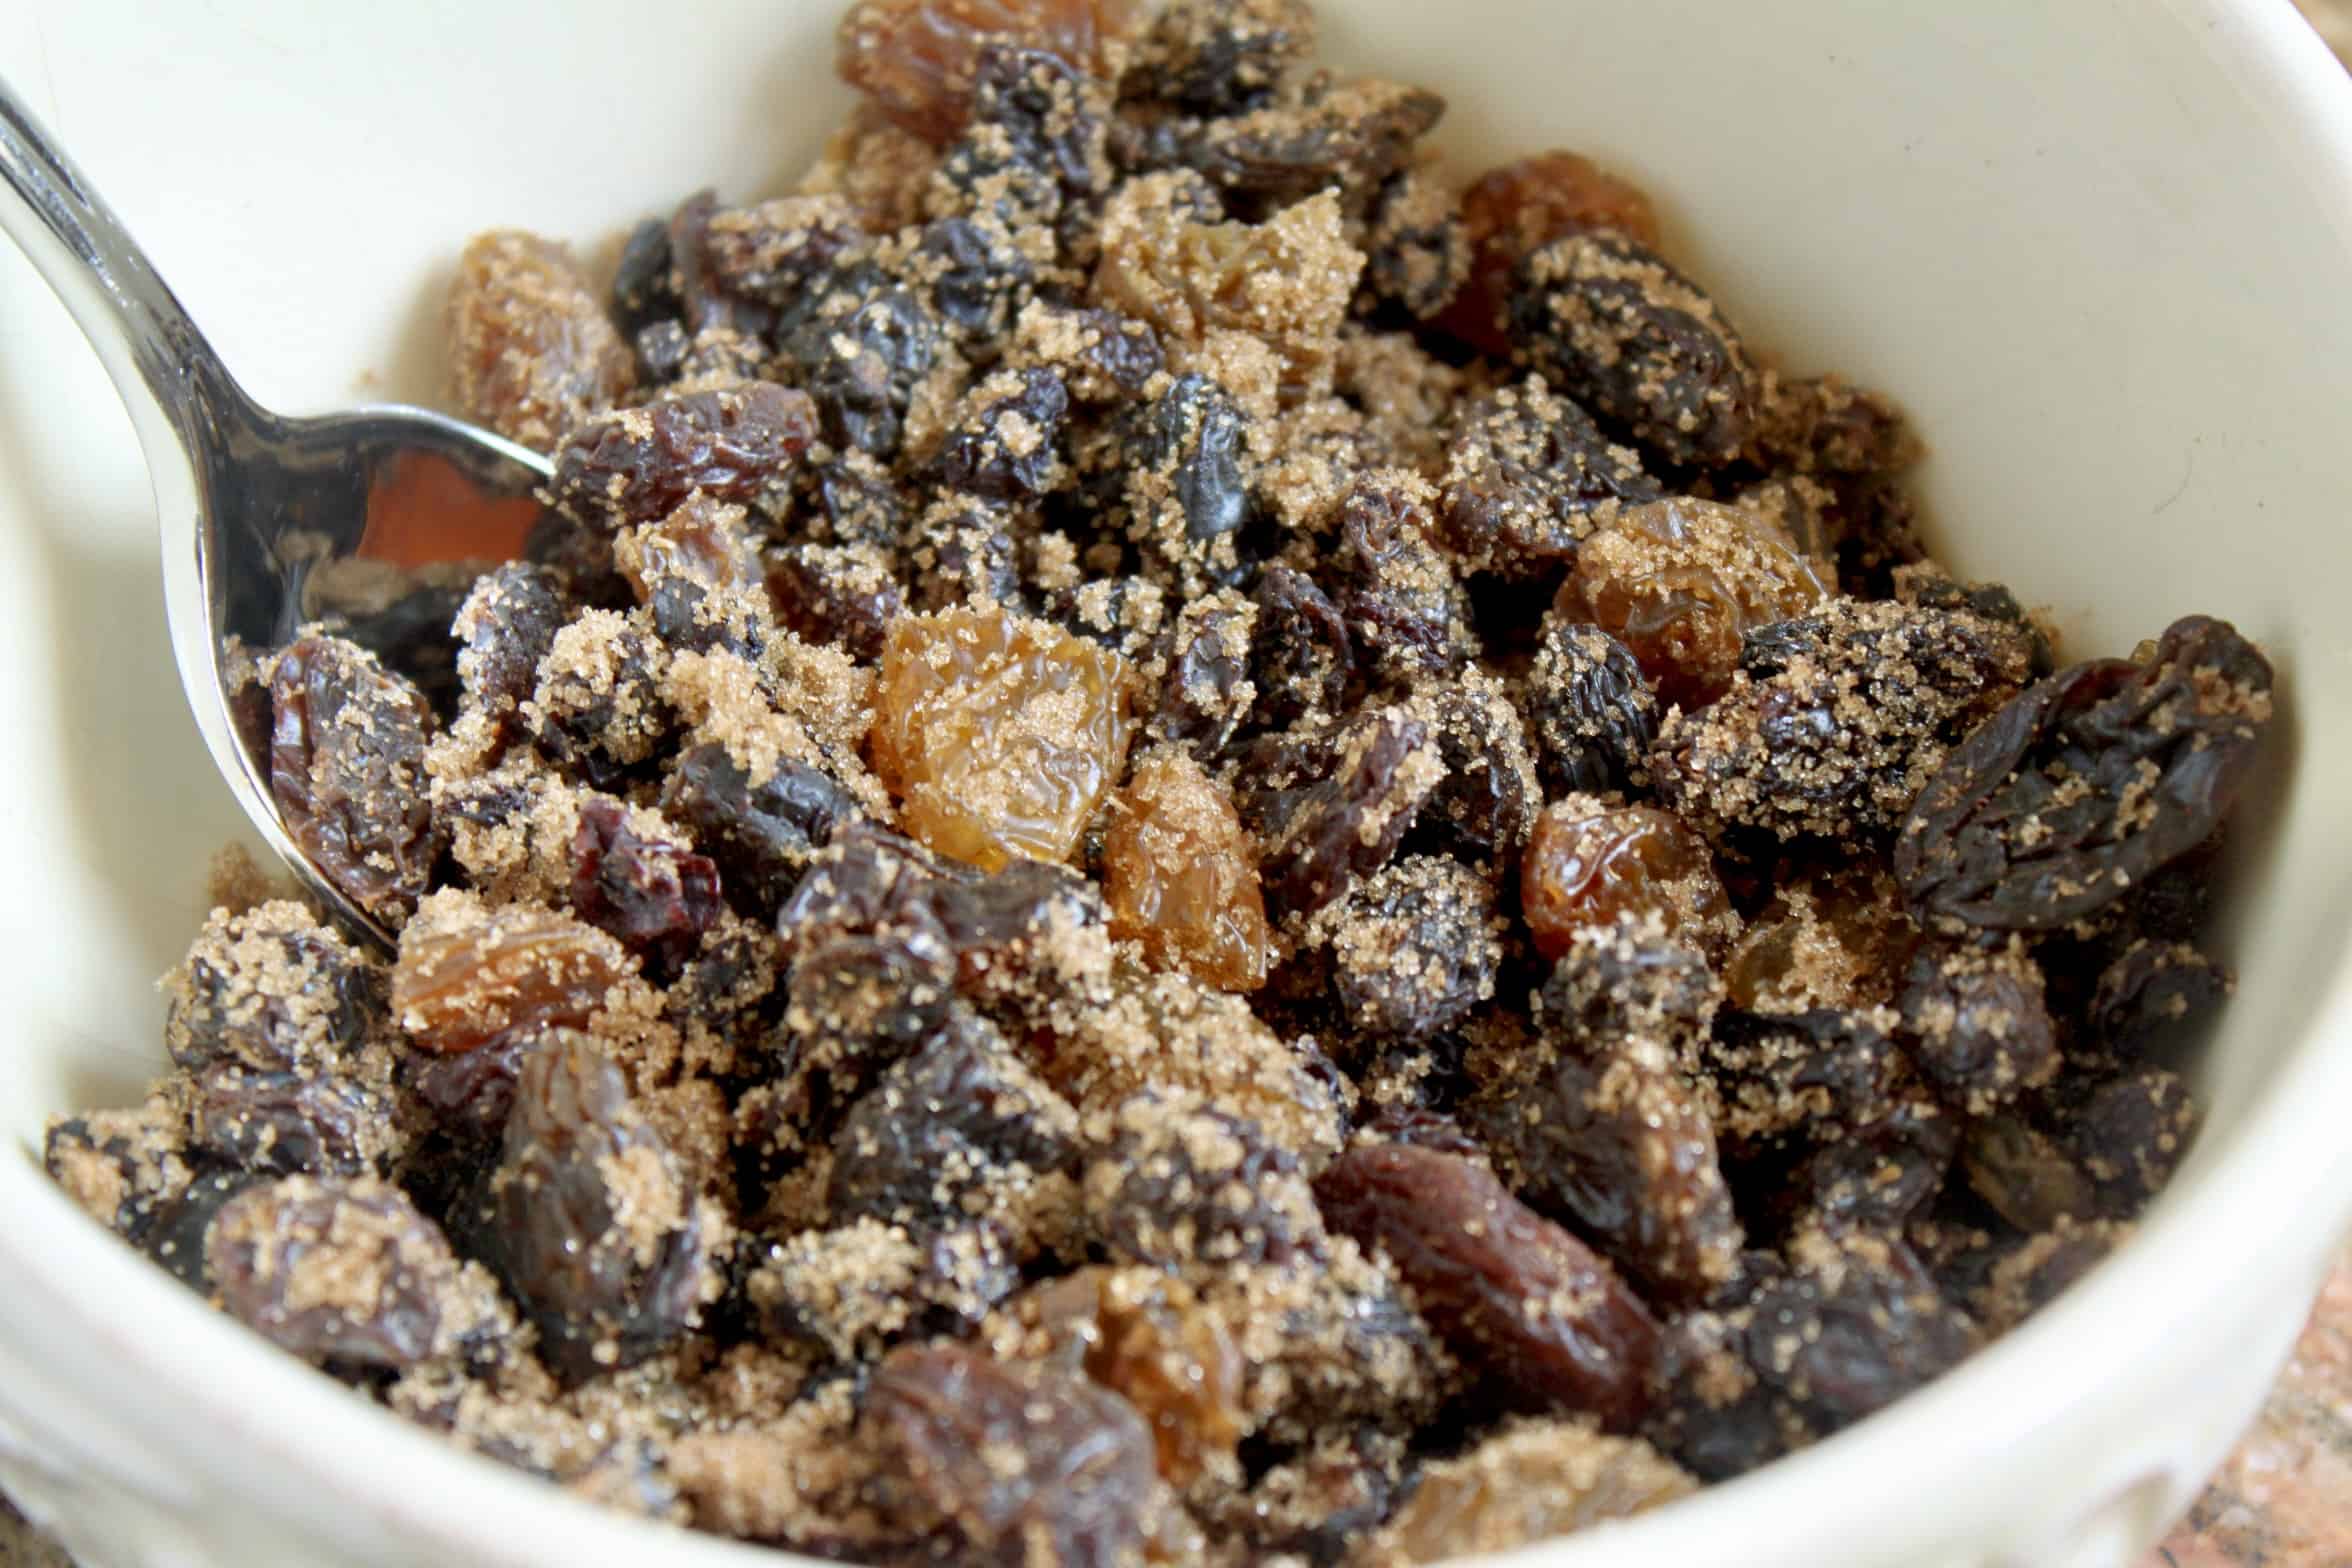
While the dough is rising, put all of the ingredients for the filling, except for the butter, into a medium sized bowl and stir to combine.
Roll Out the Dough and Fill the Chelsea Buns
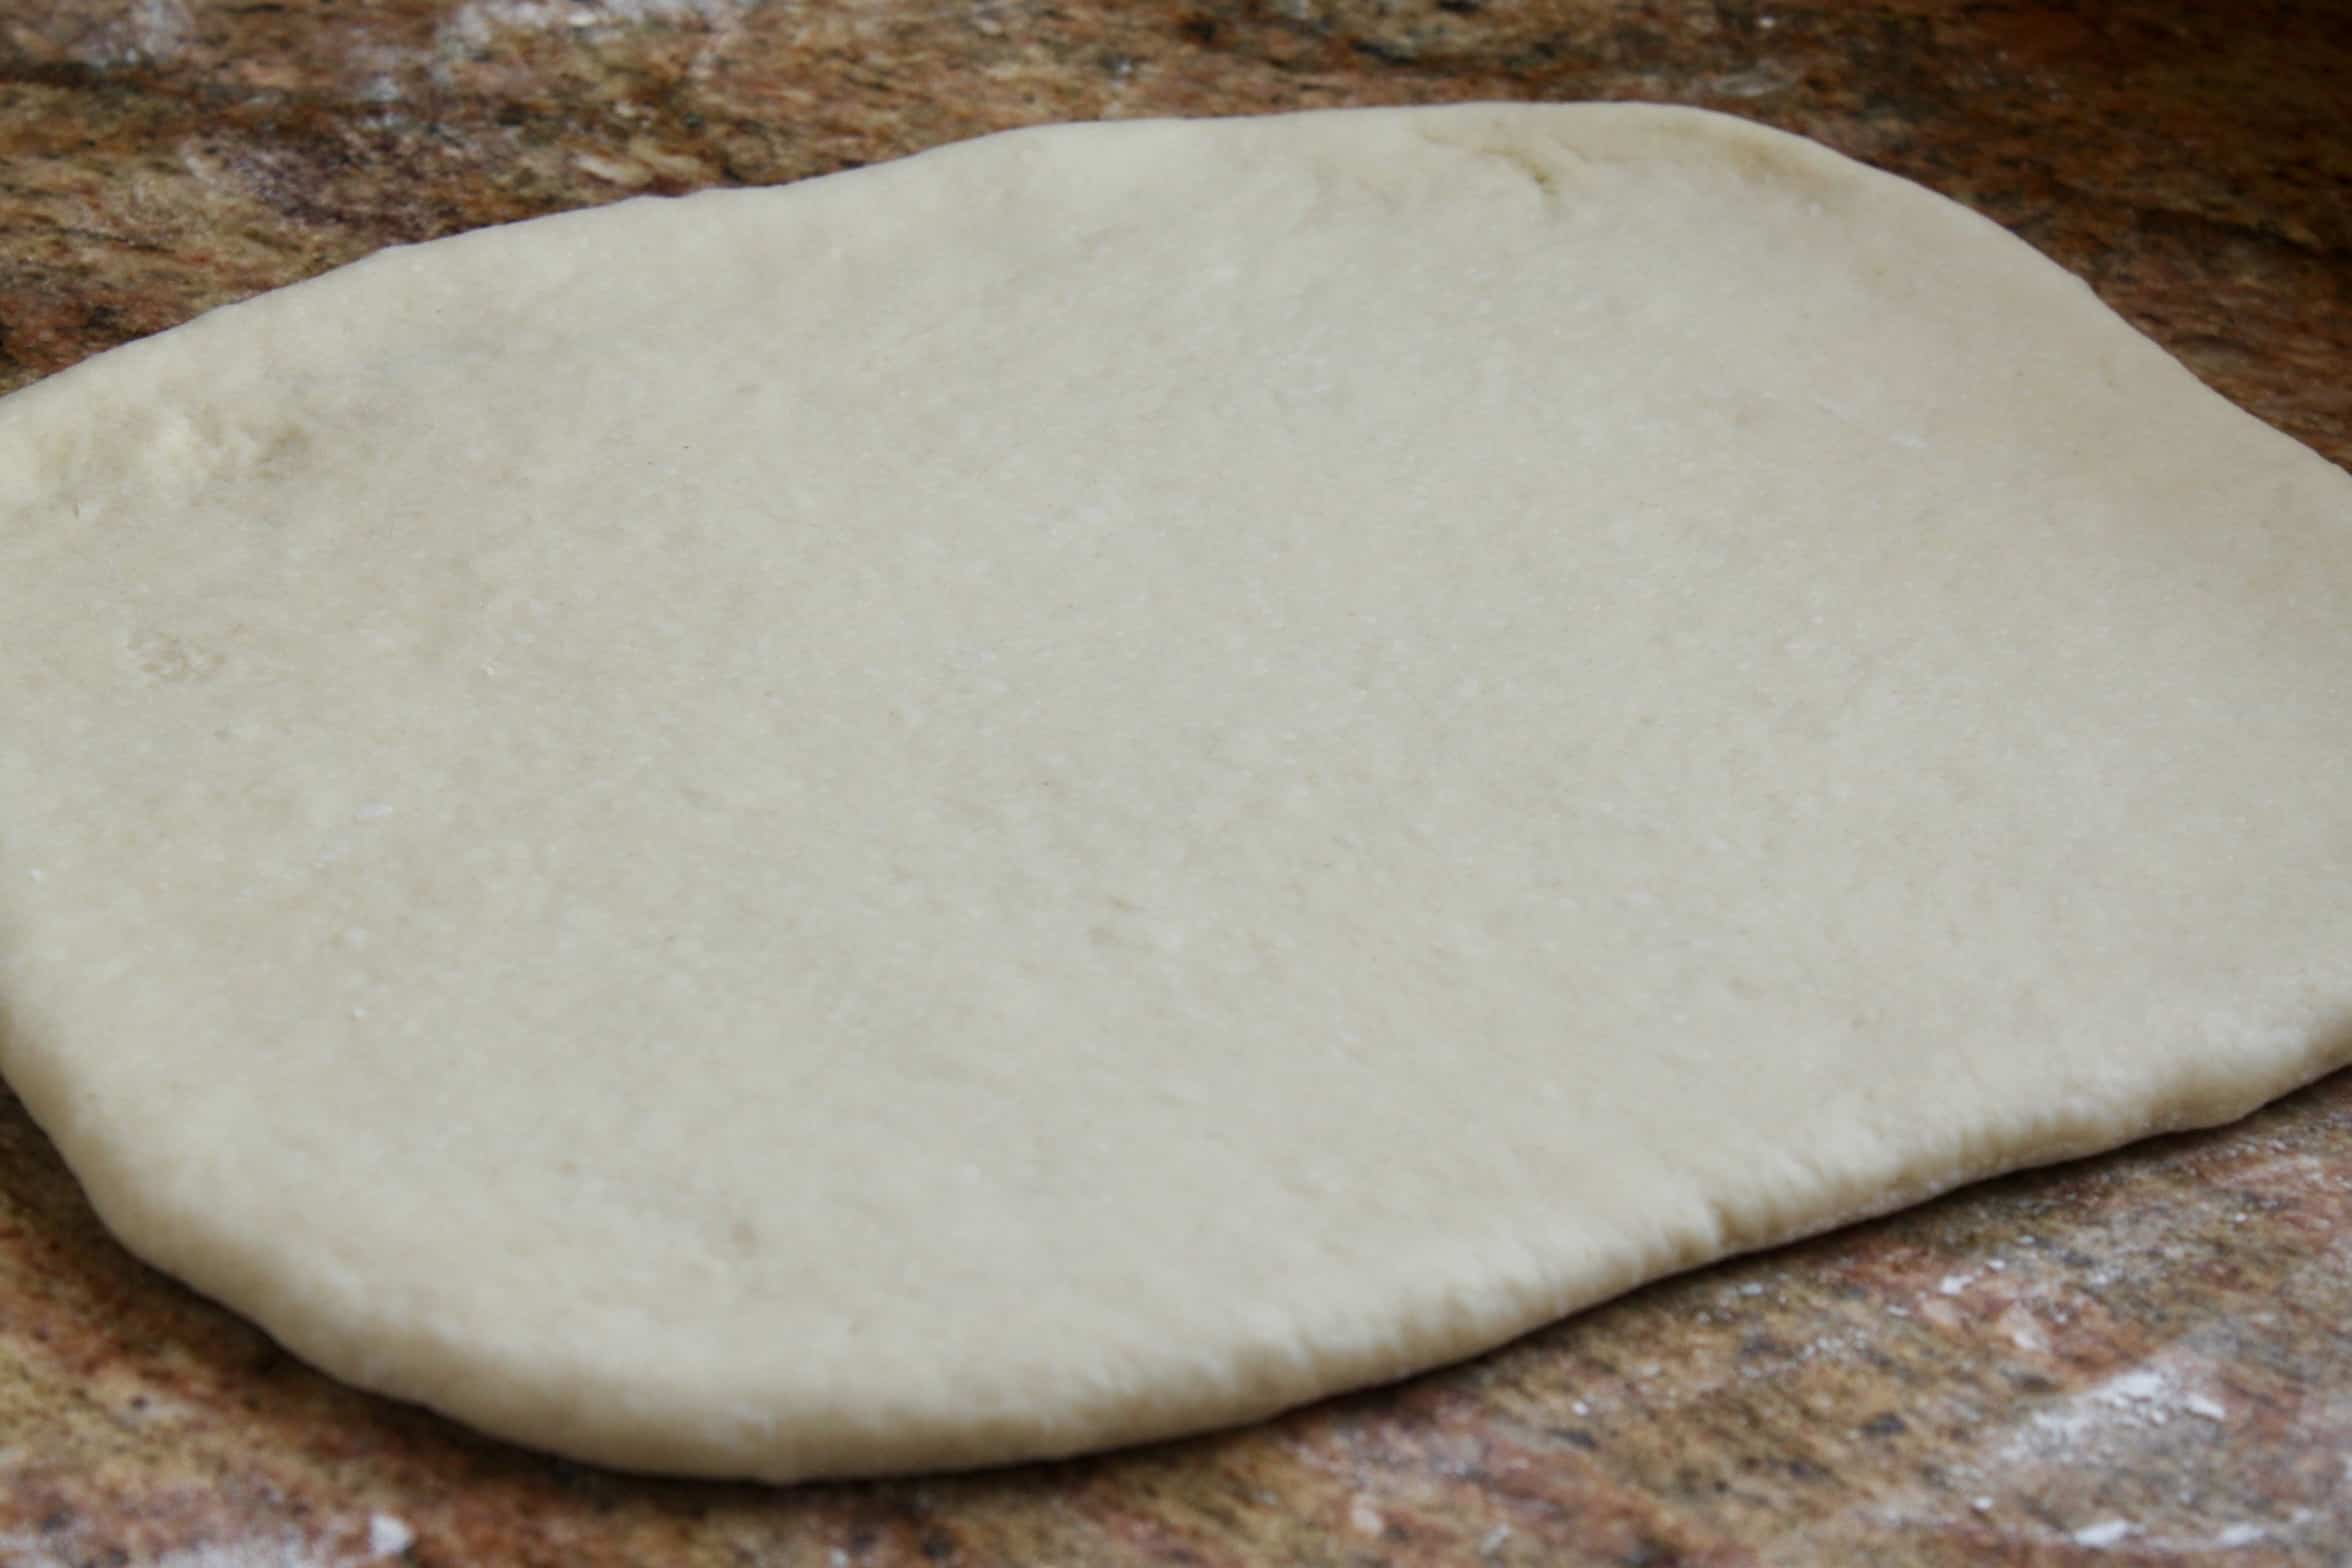
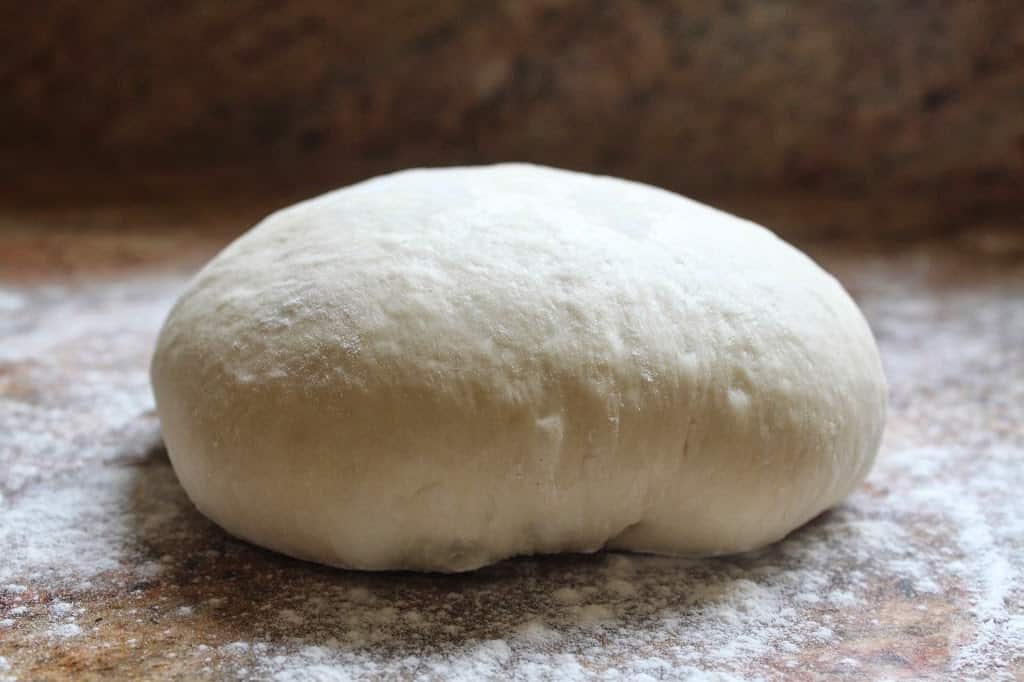
Knead gently, then roll out into a 12″ by 18″ rectangle.
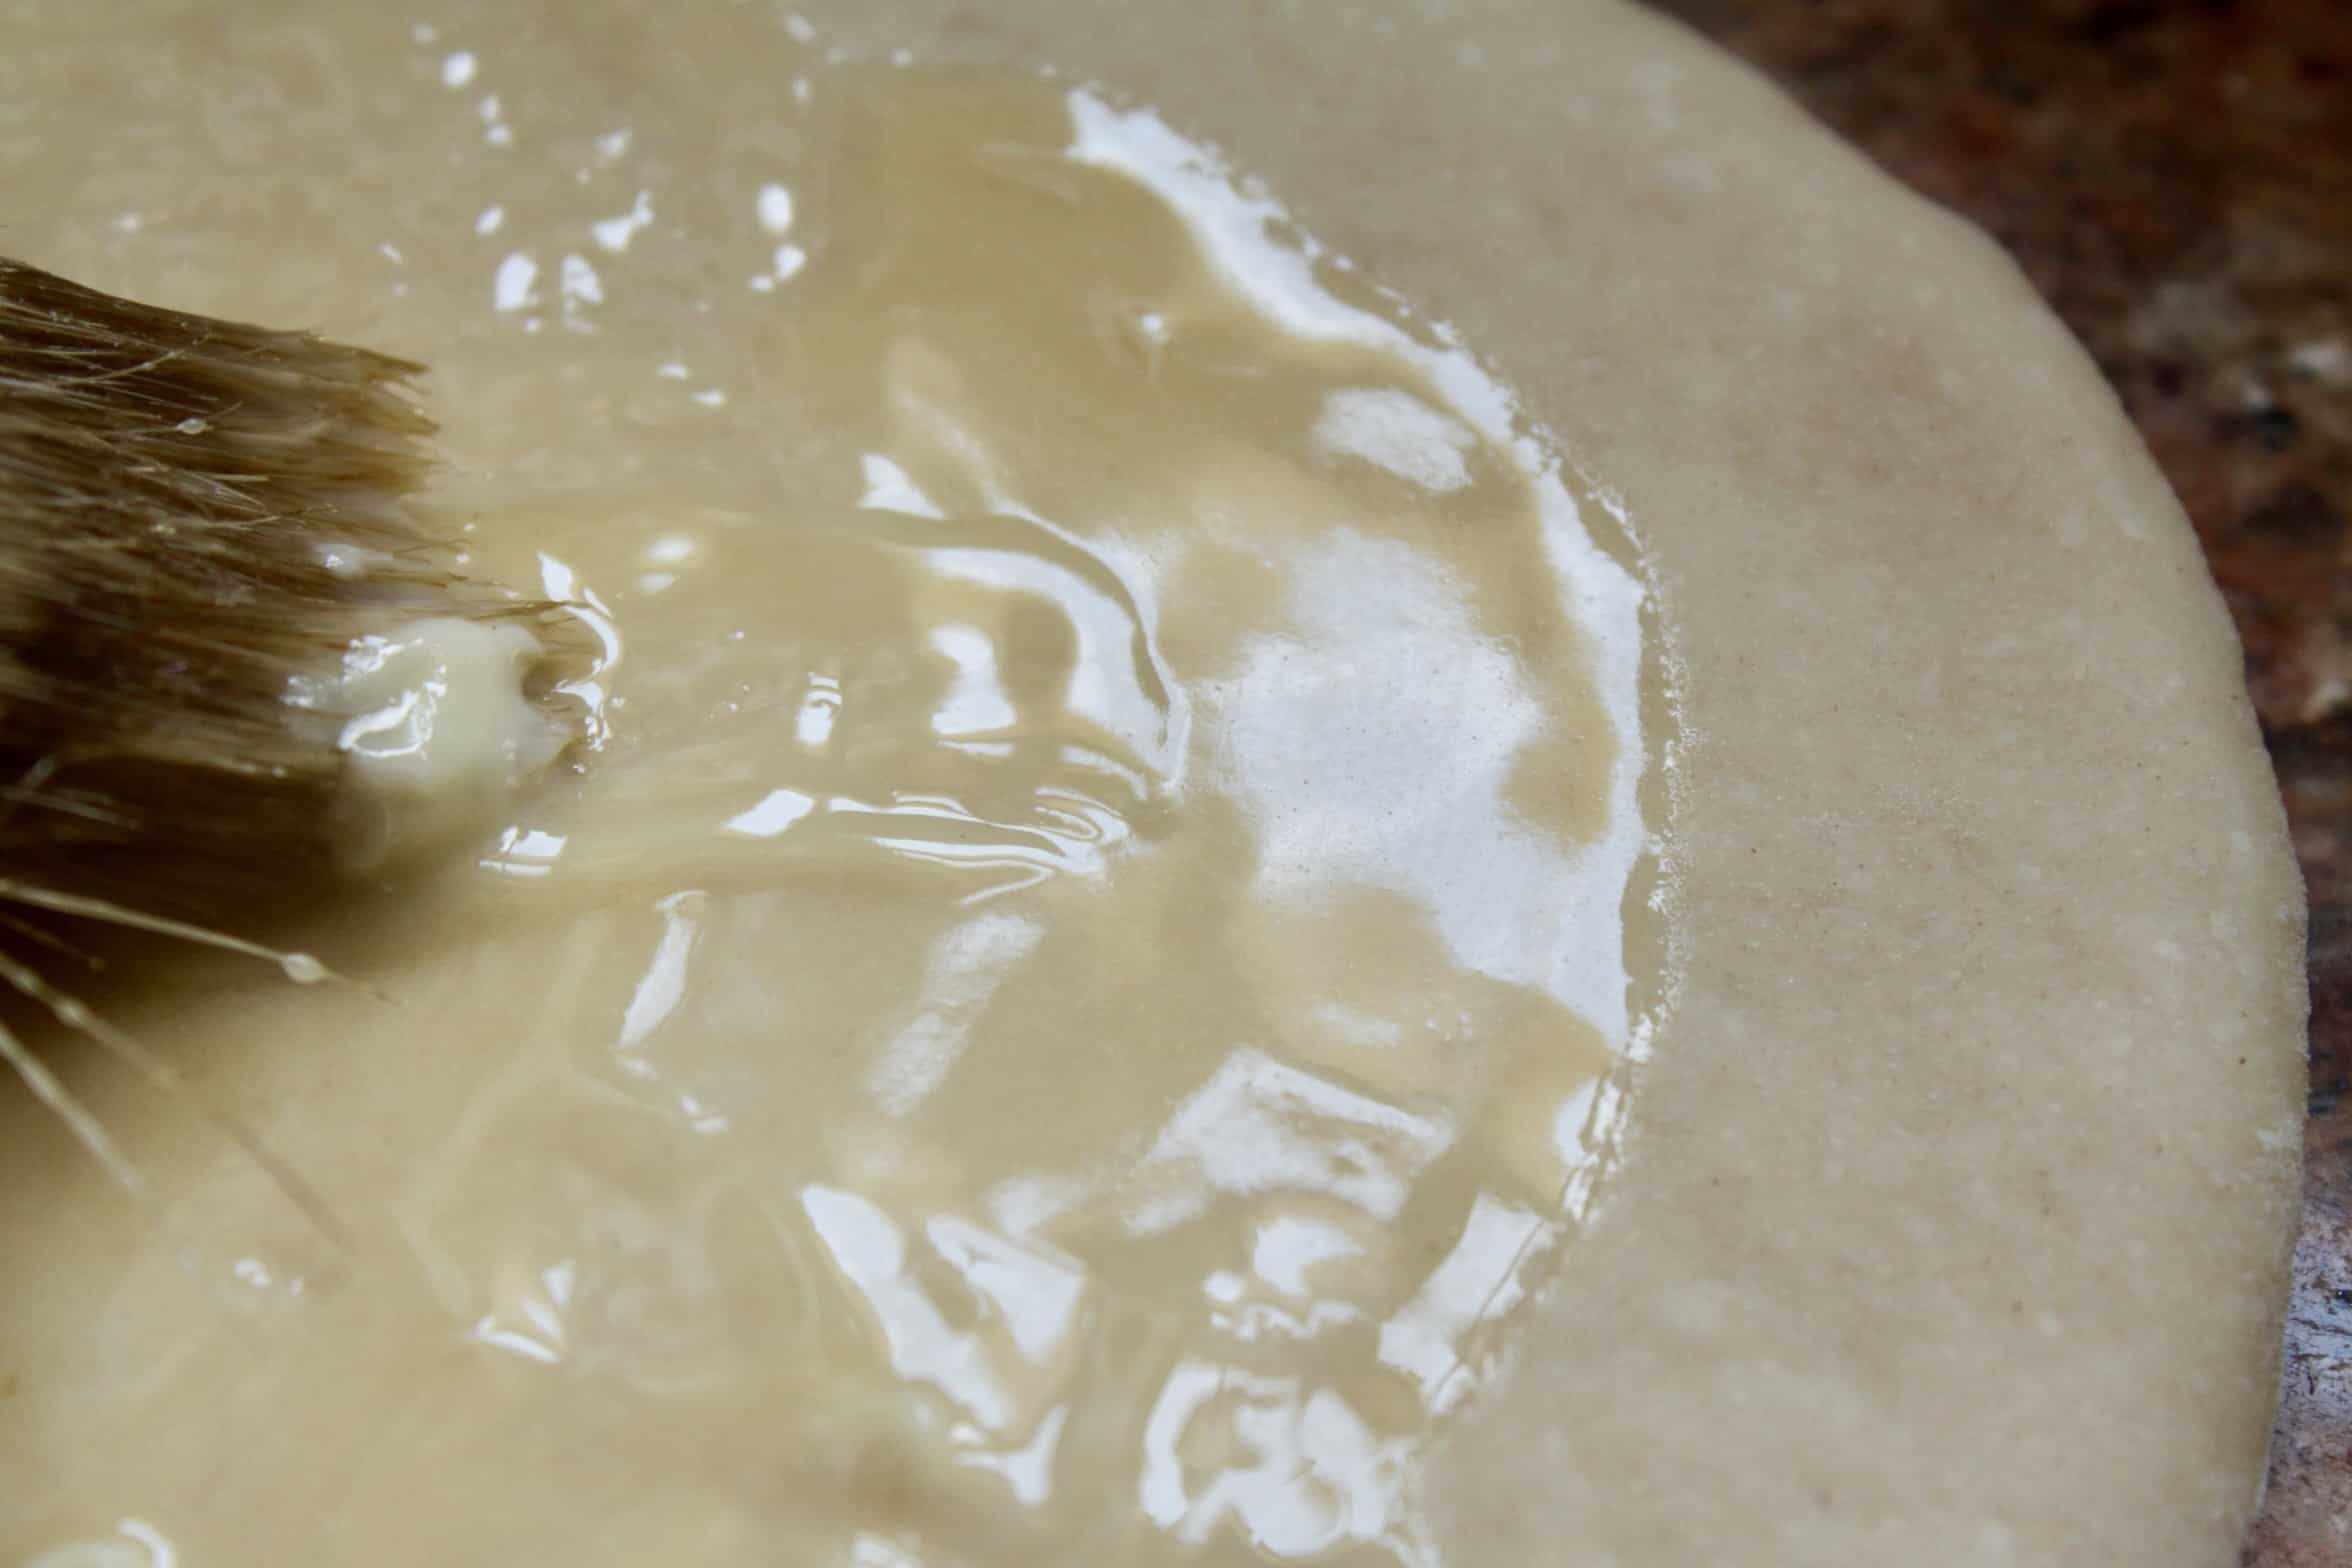
Brush with melted butter.
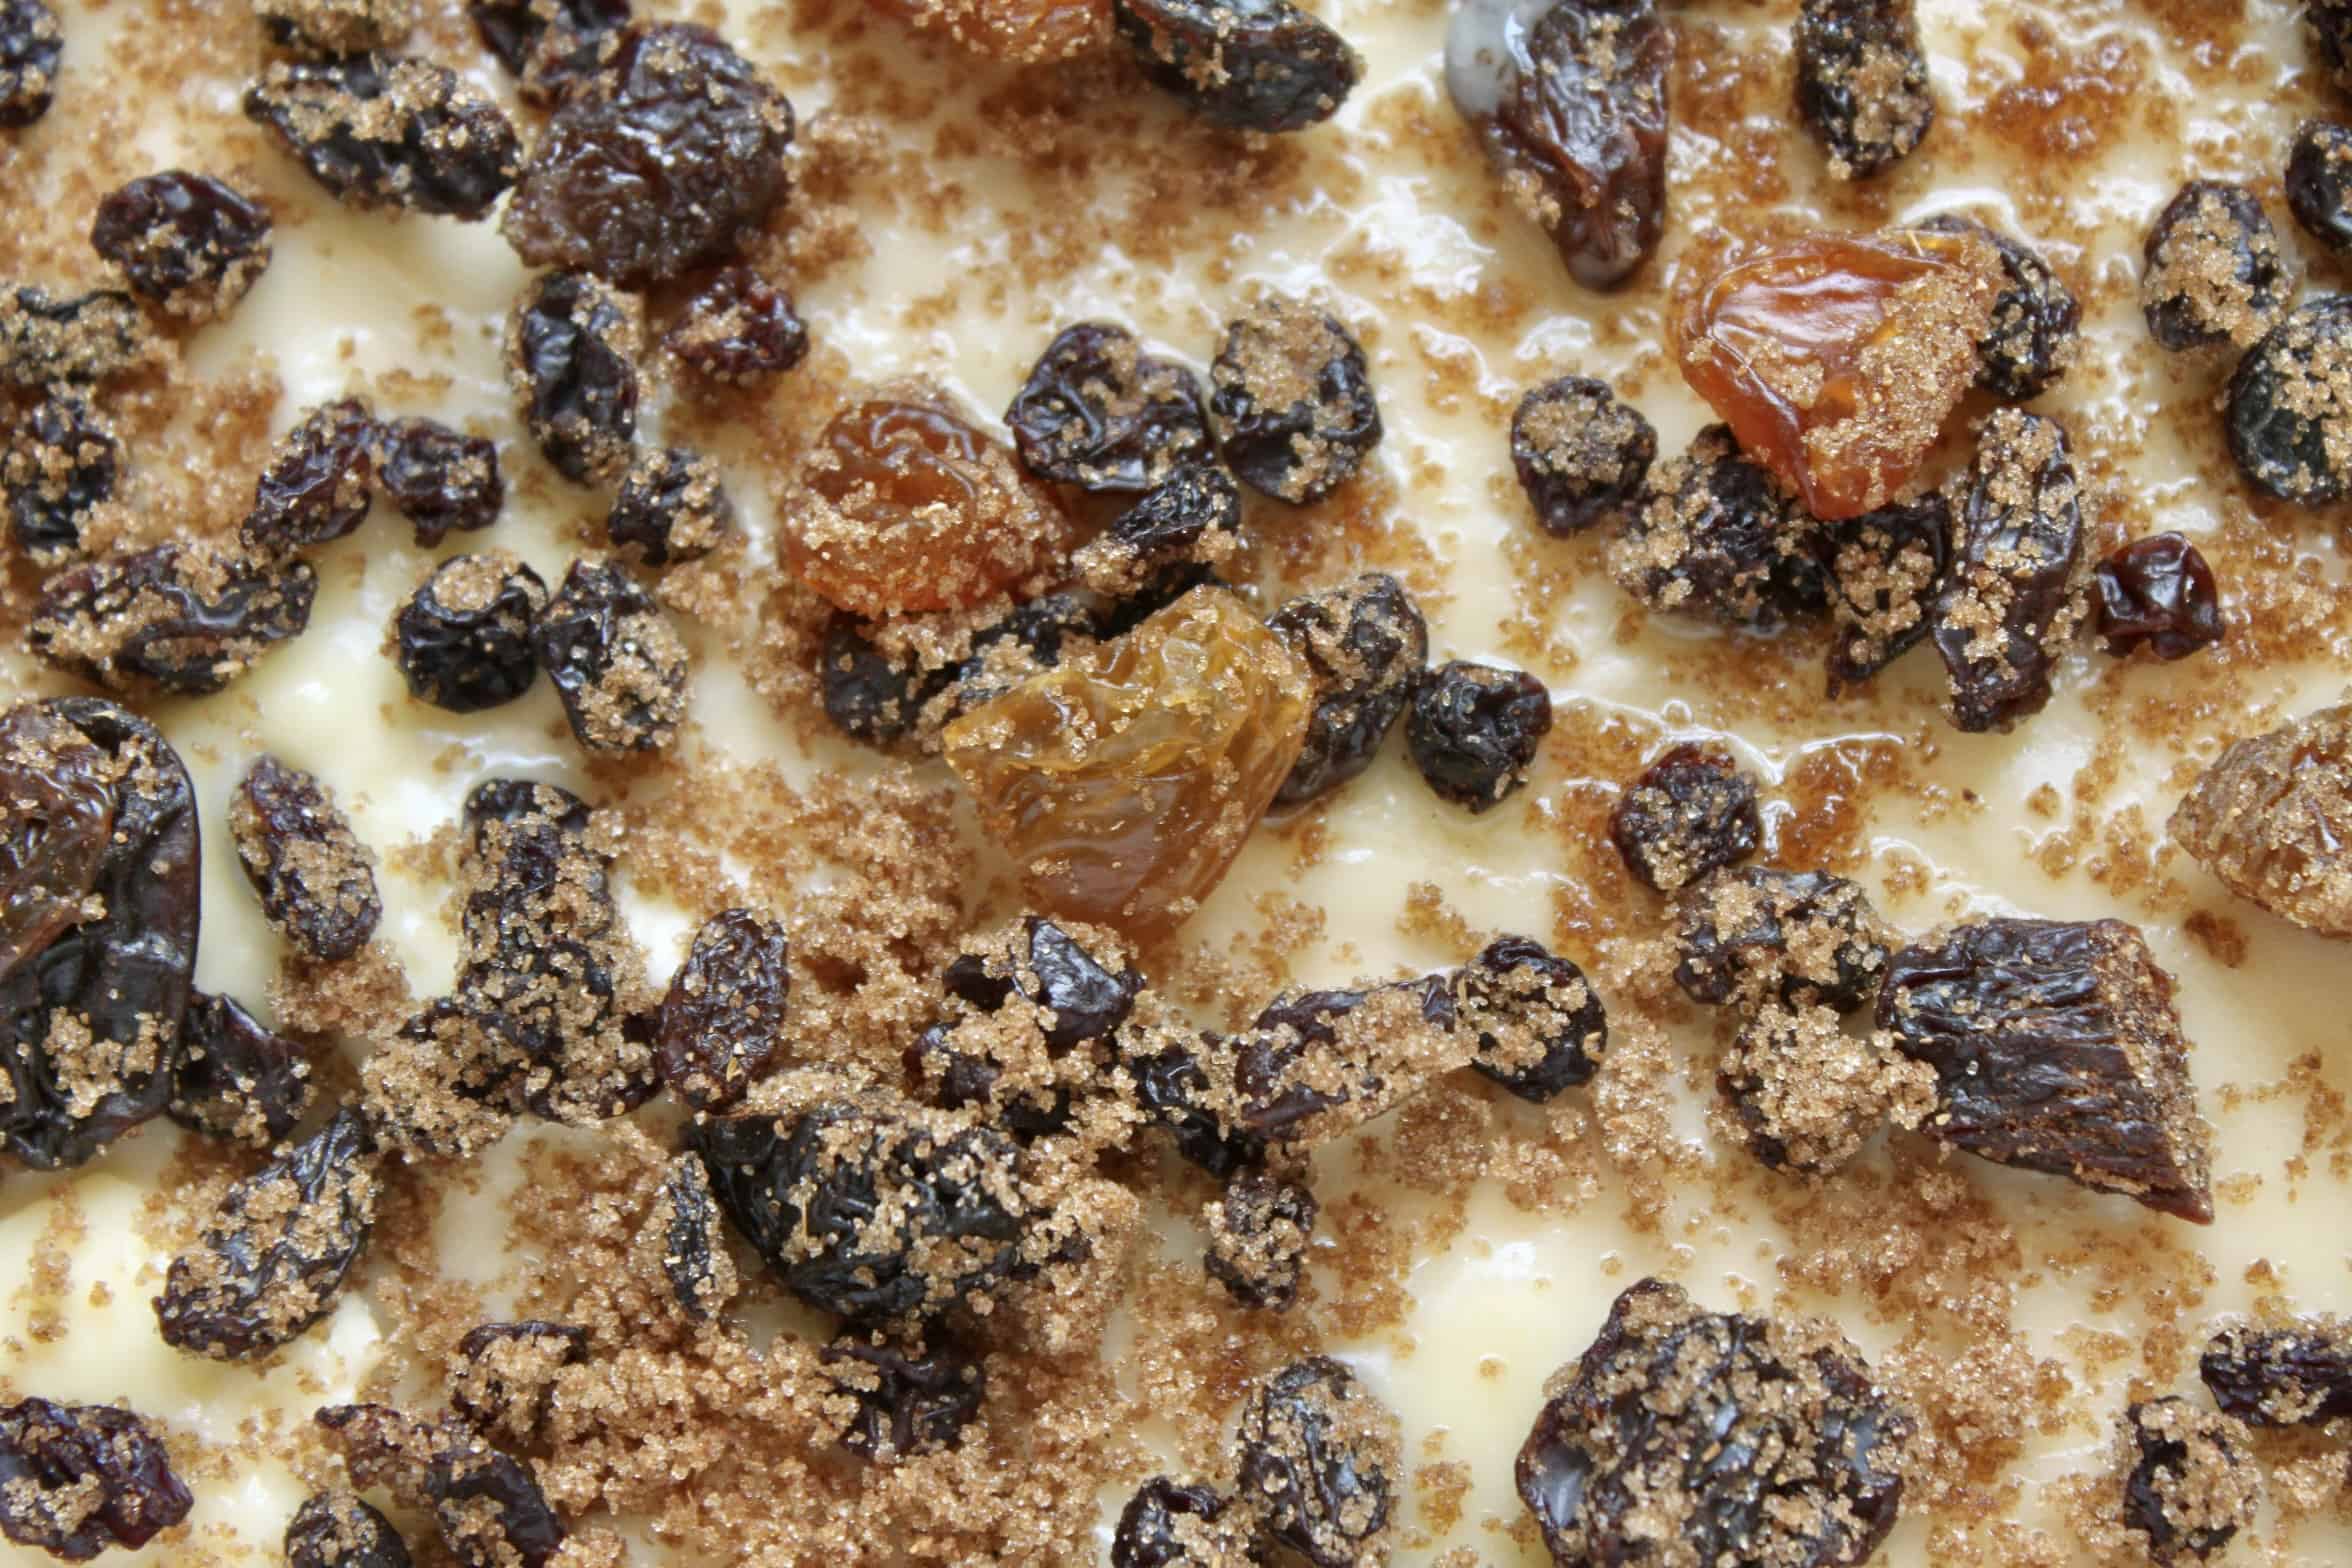
Sprinkle the filling evenly over the buttered dough.
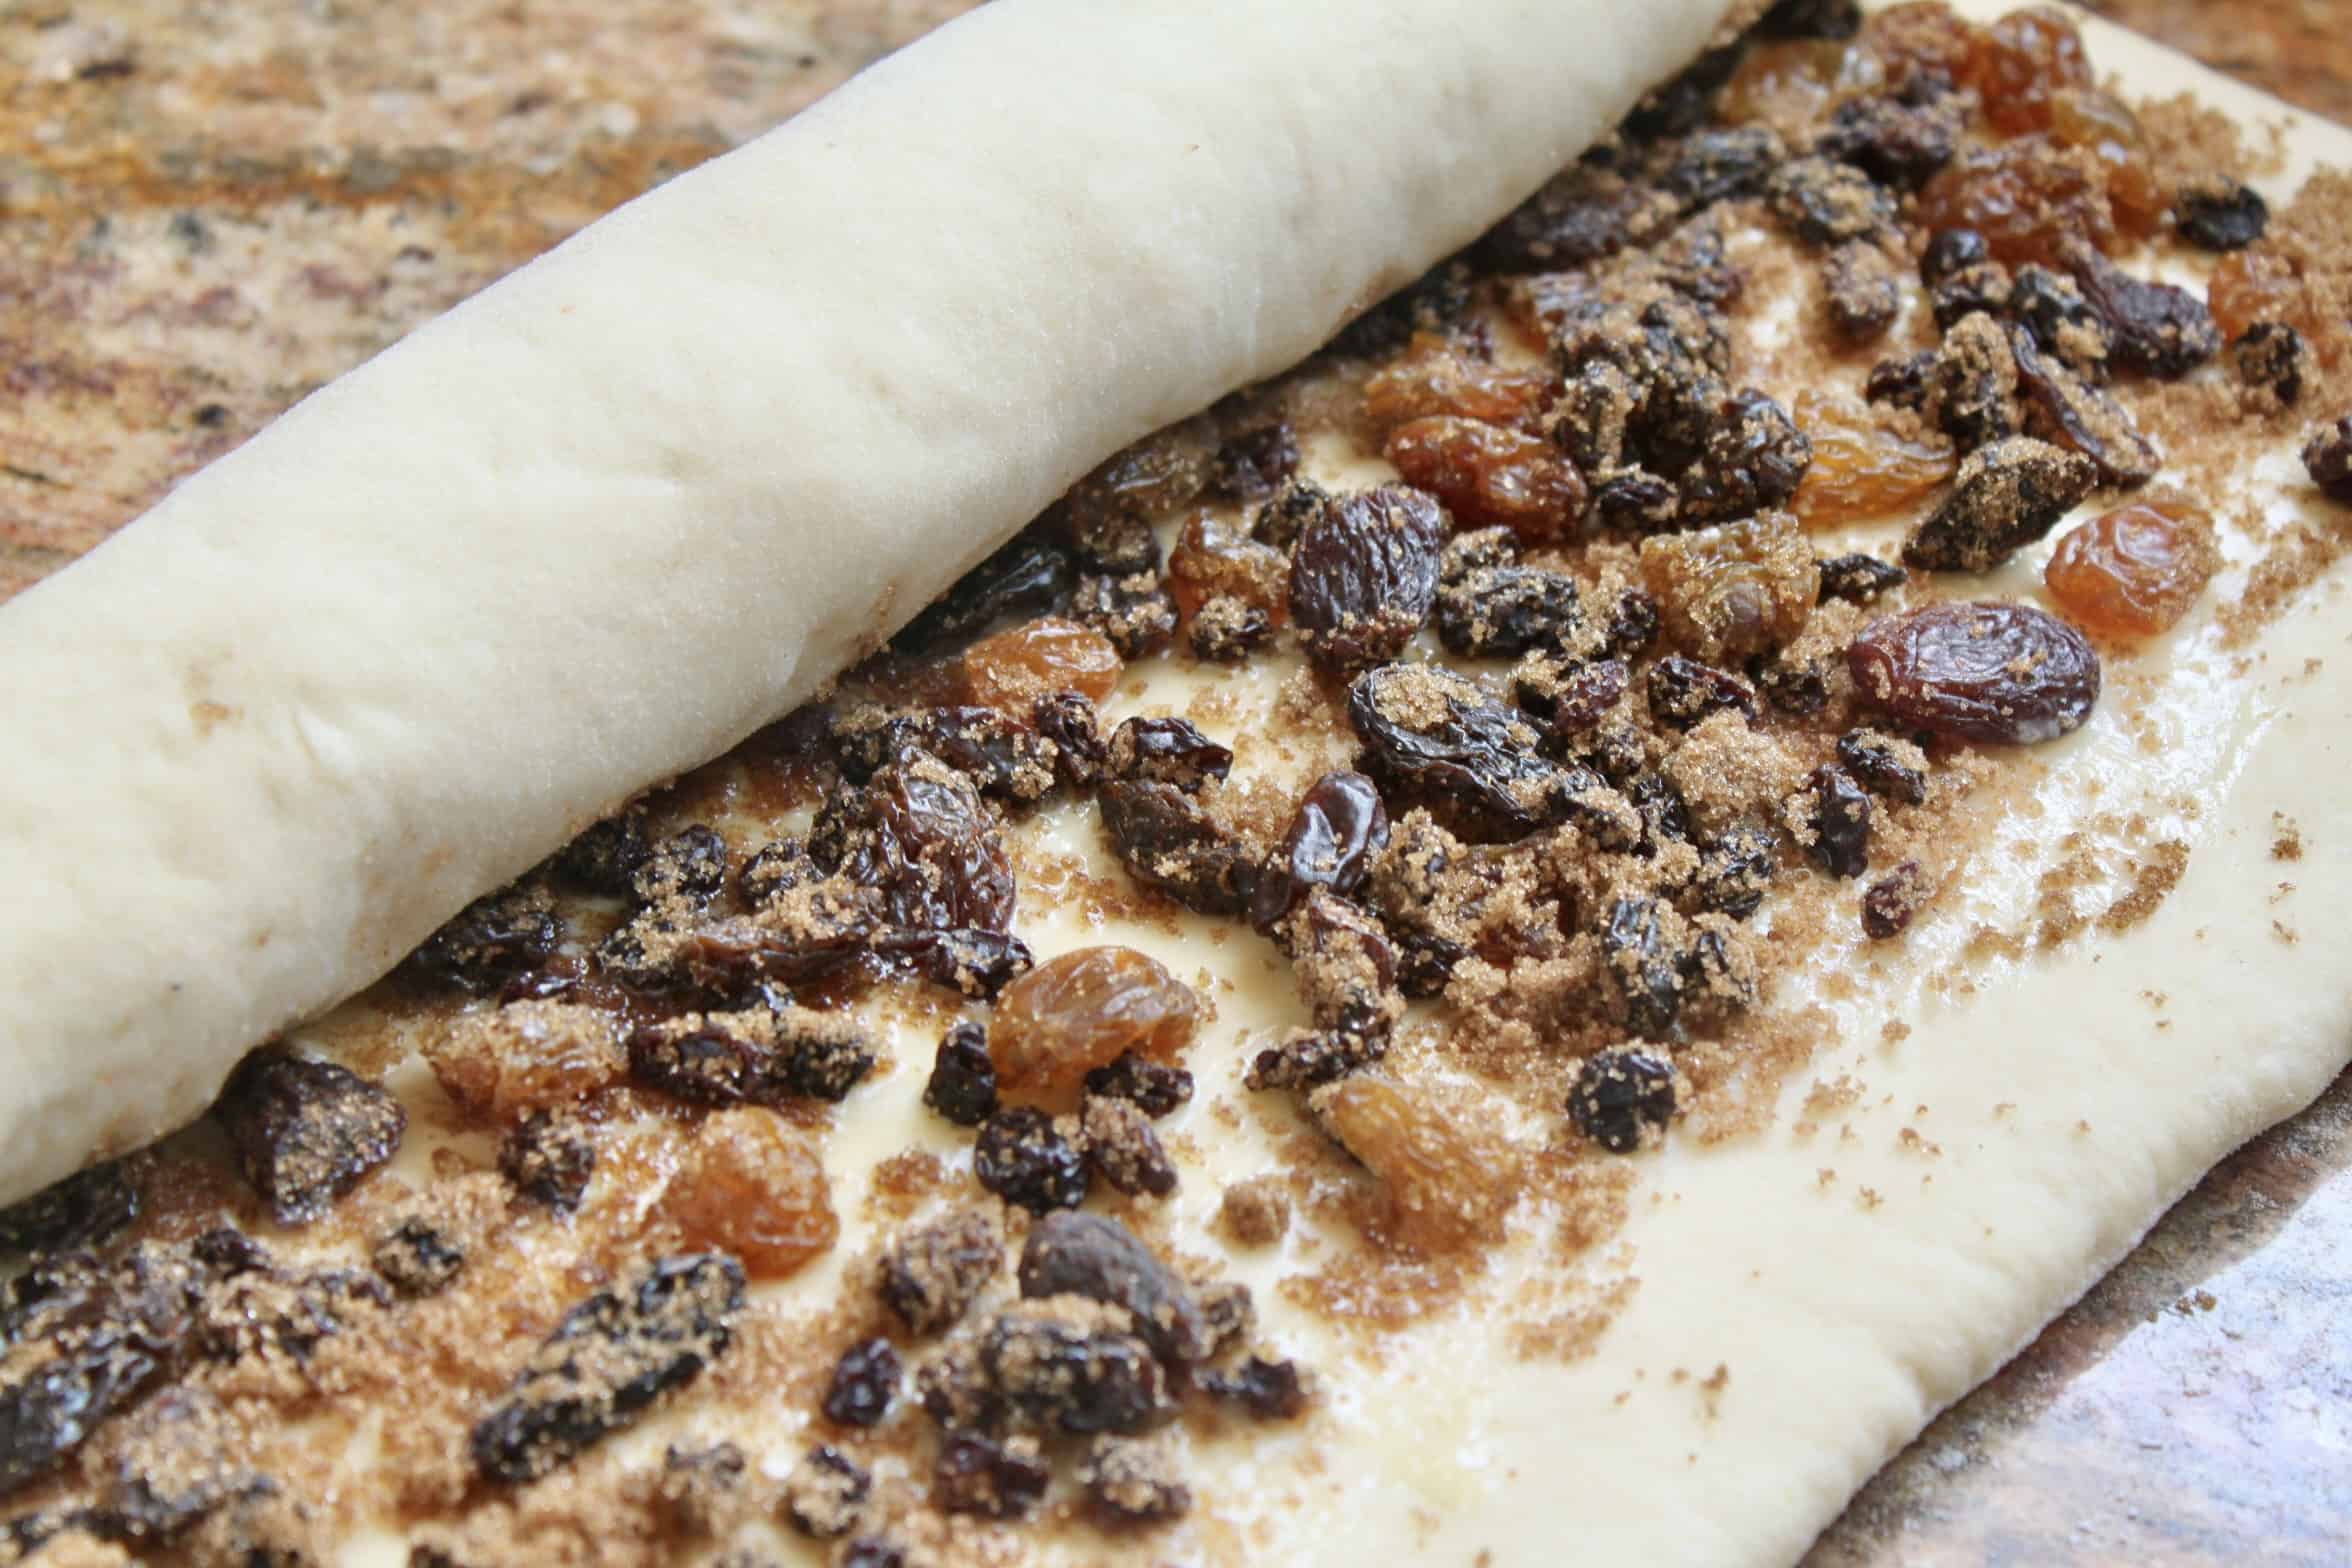
Start rolling up the dough from the longest end.
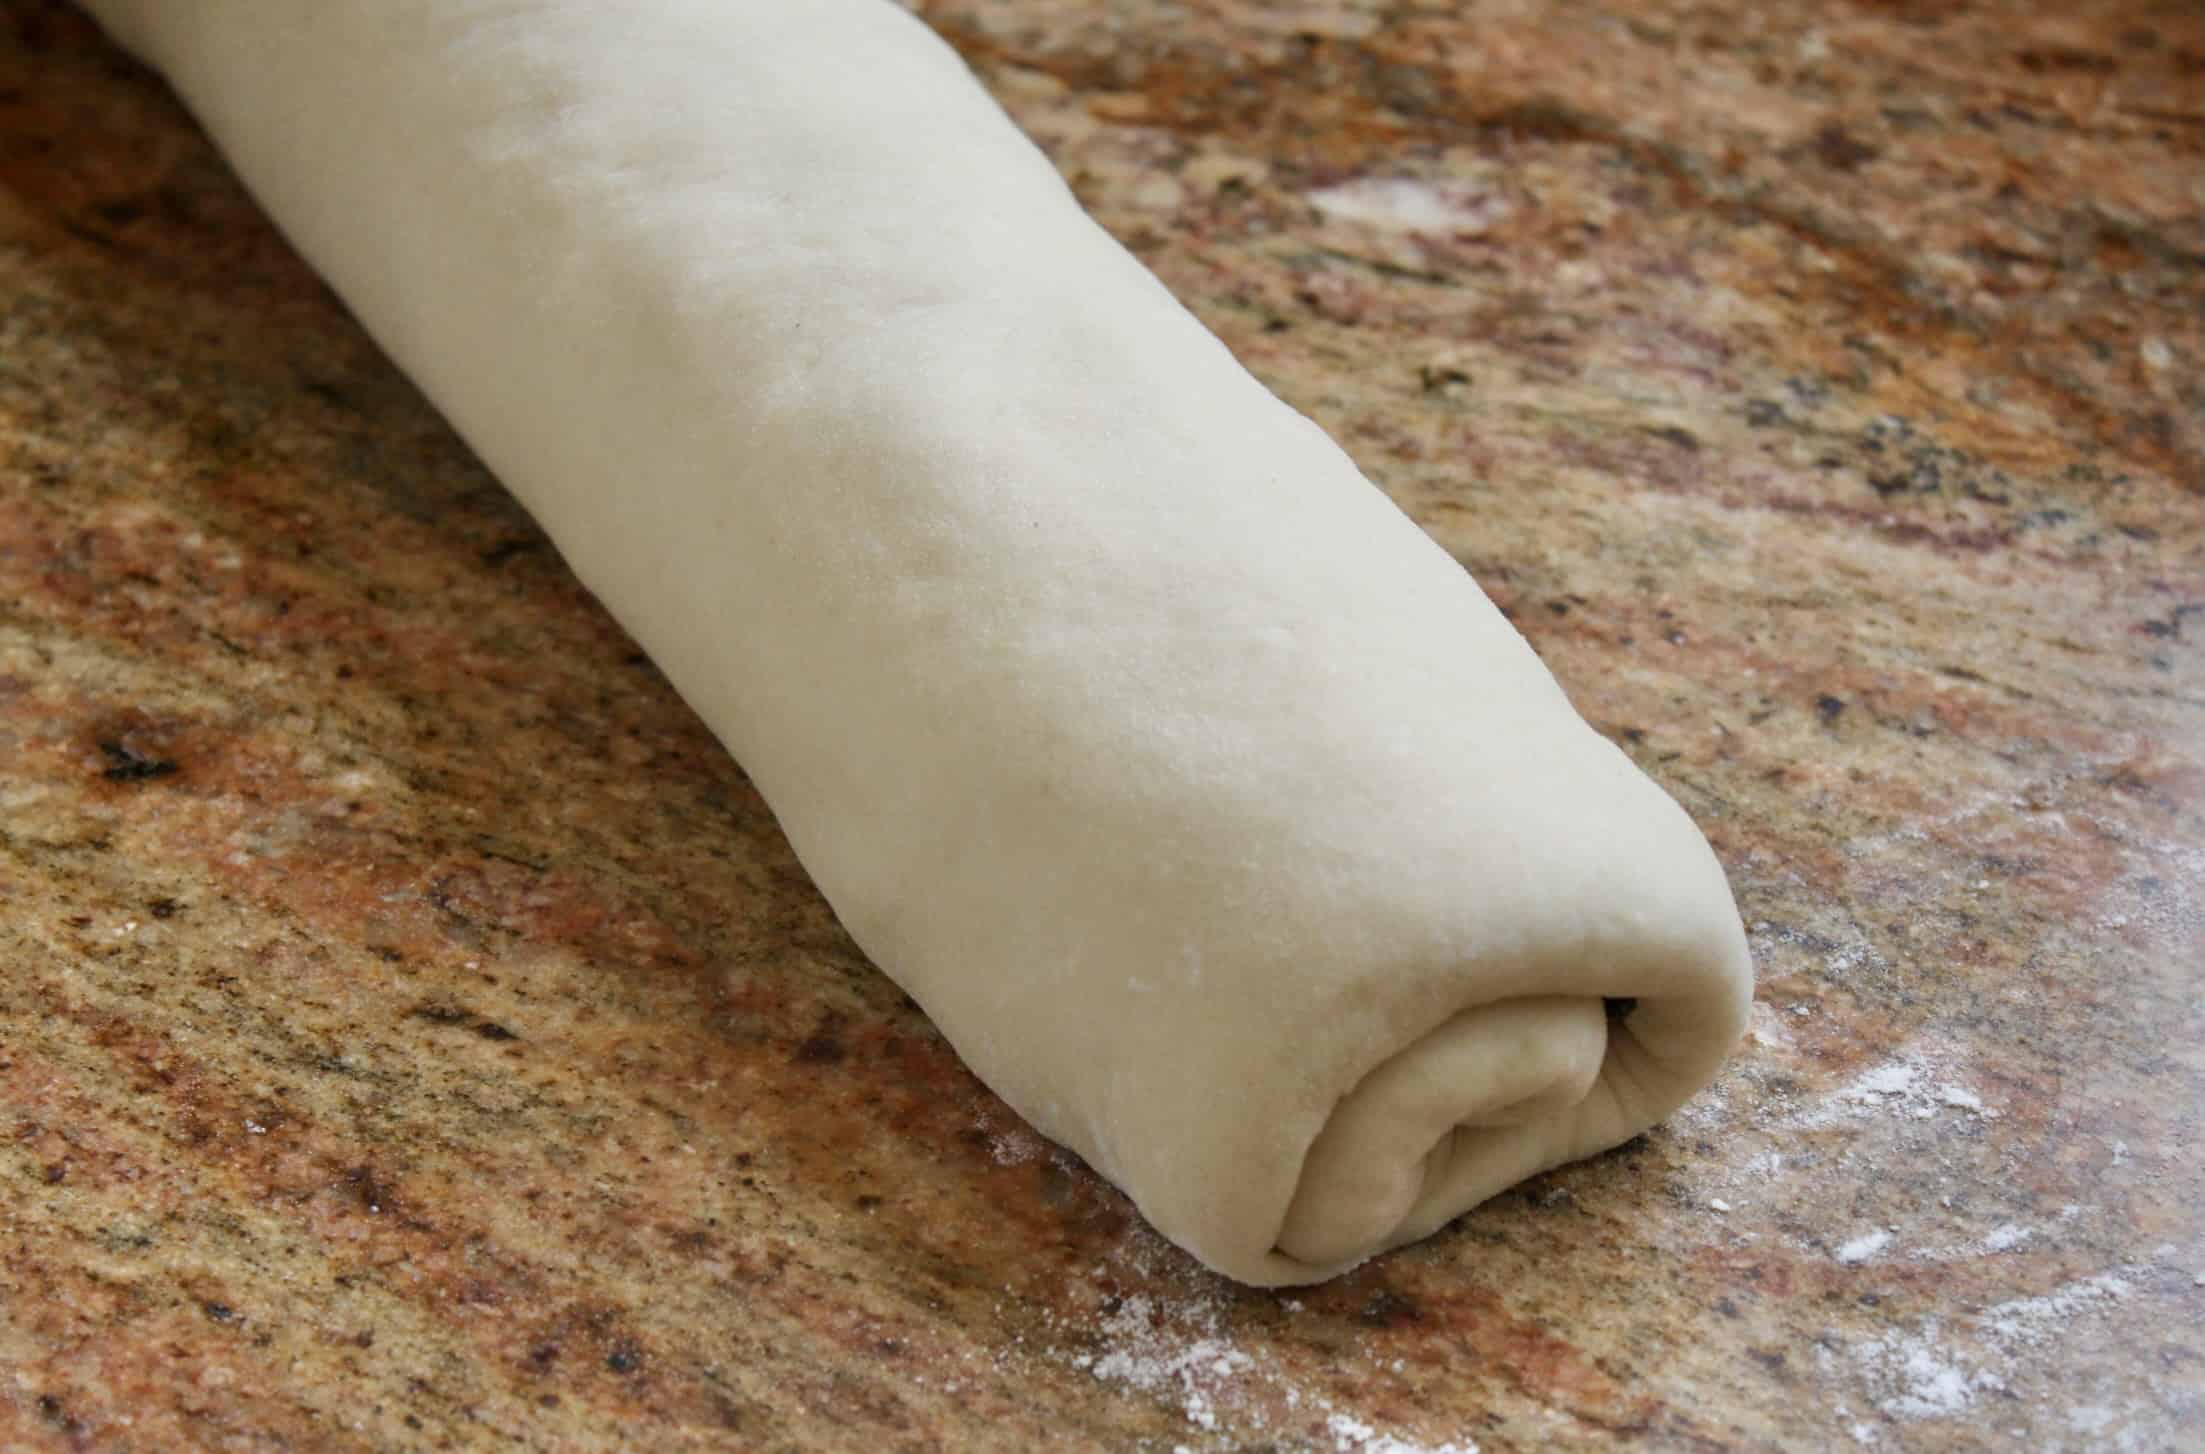
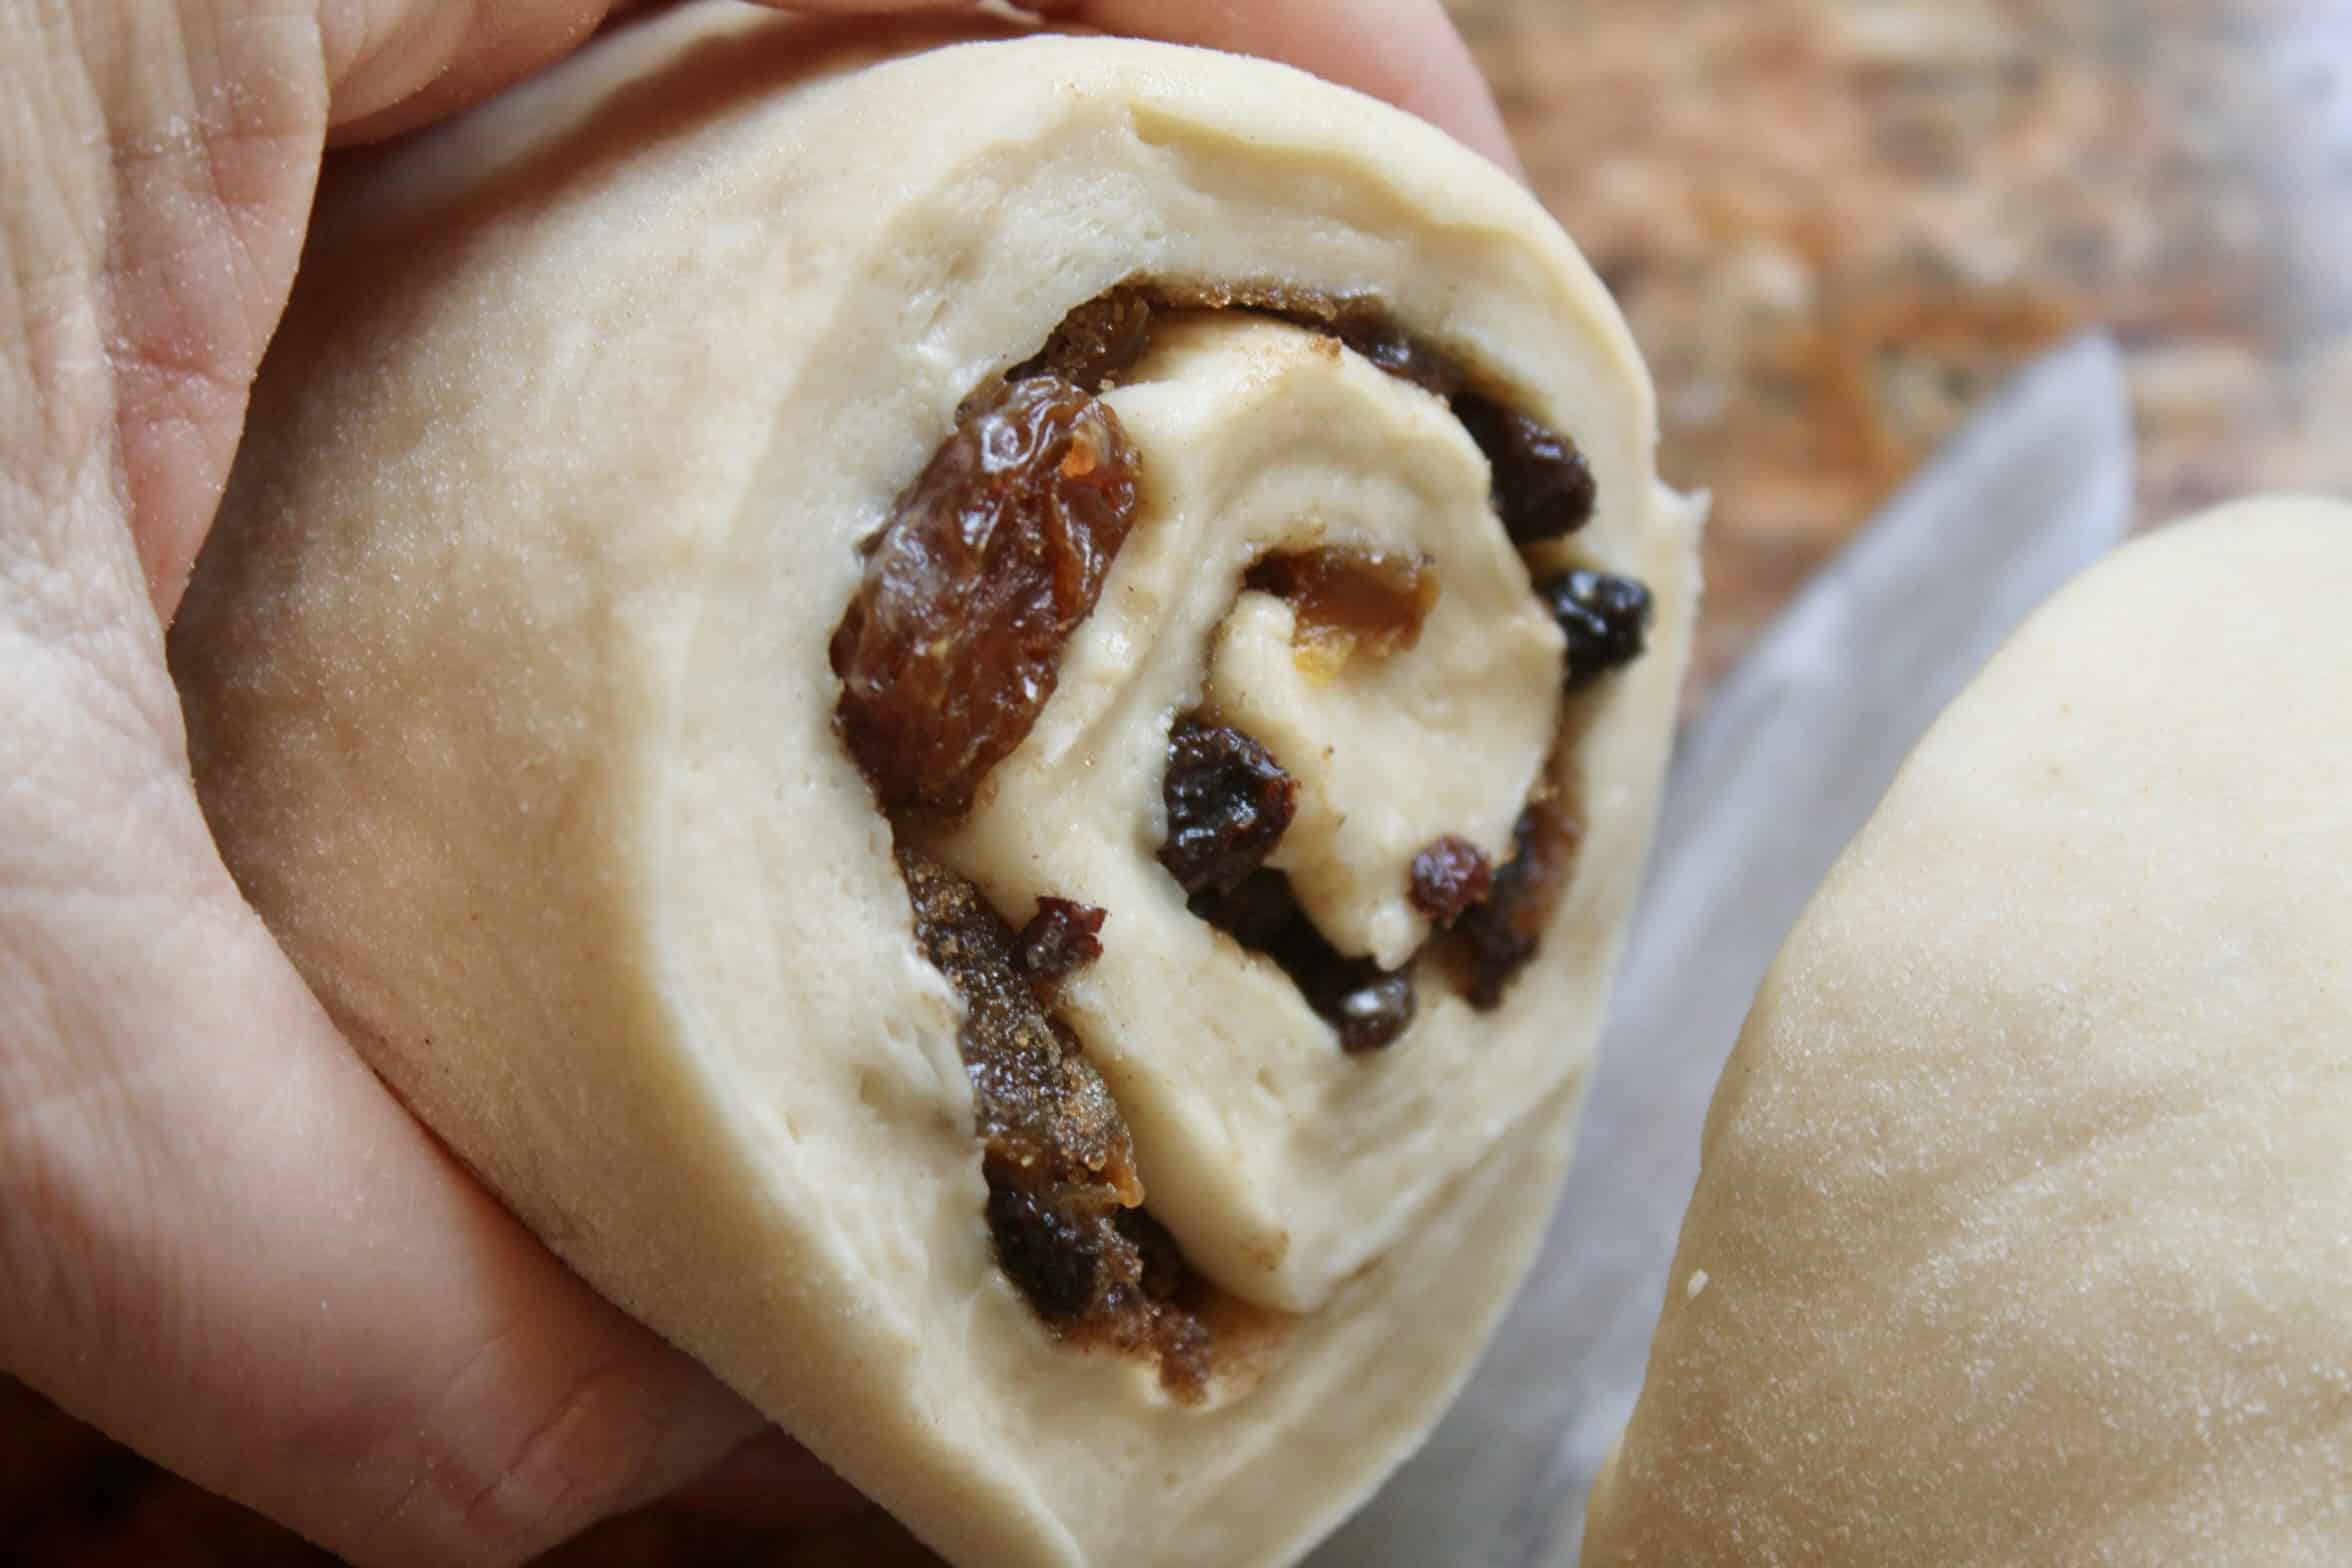
When the entire dough is rolled, put the seam side down and cut into 9 equal slices with a sharp knife.
They should look like this.
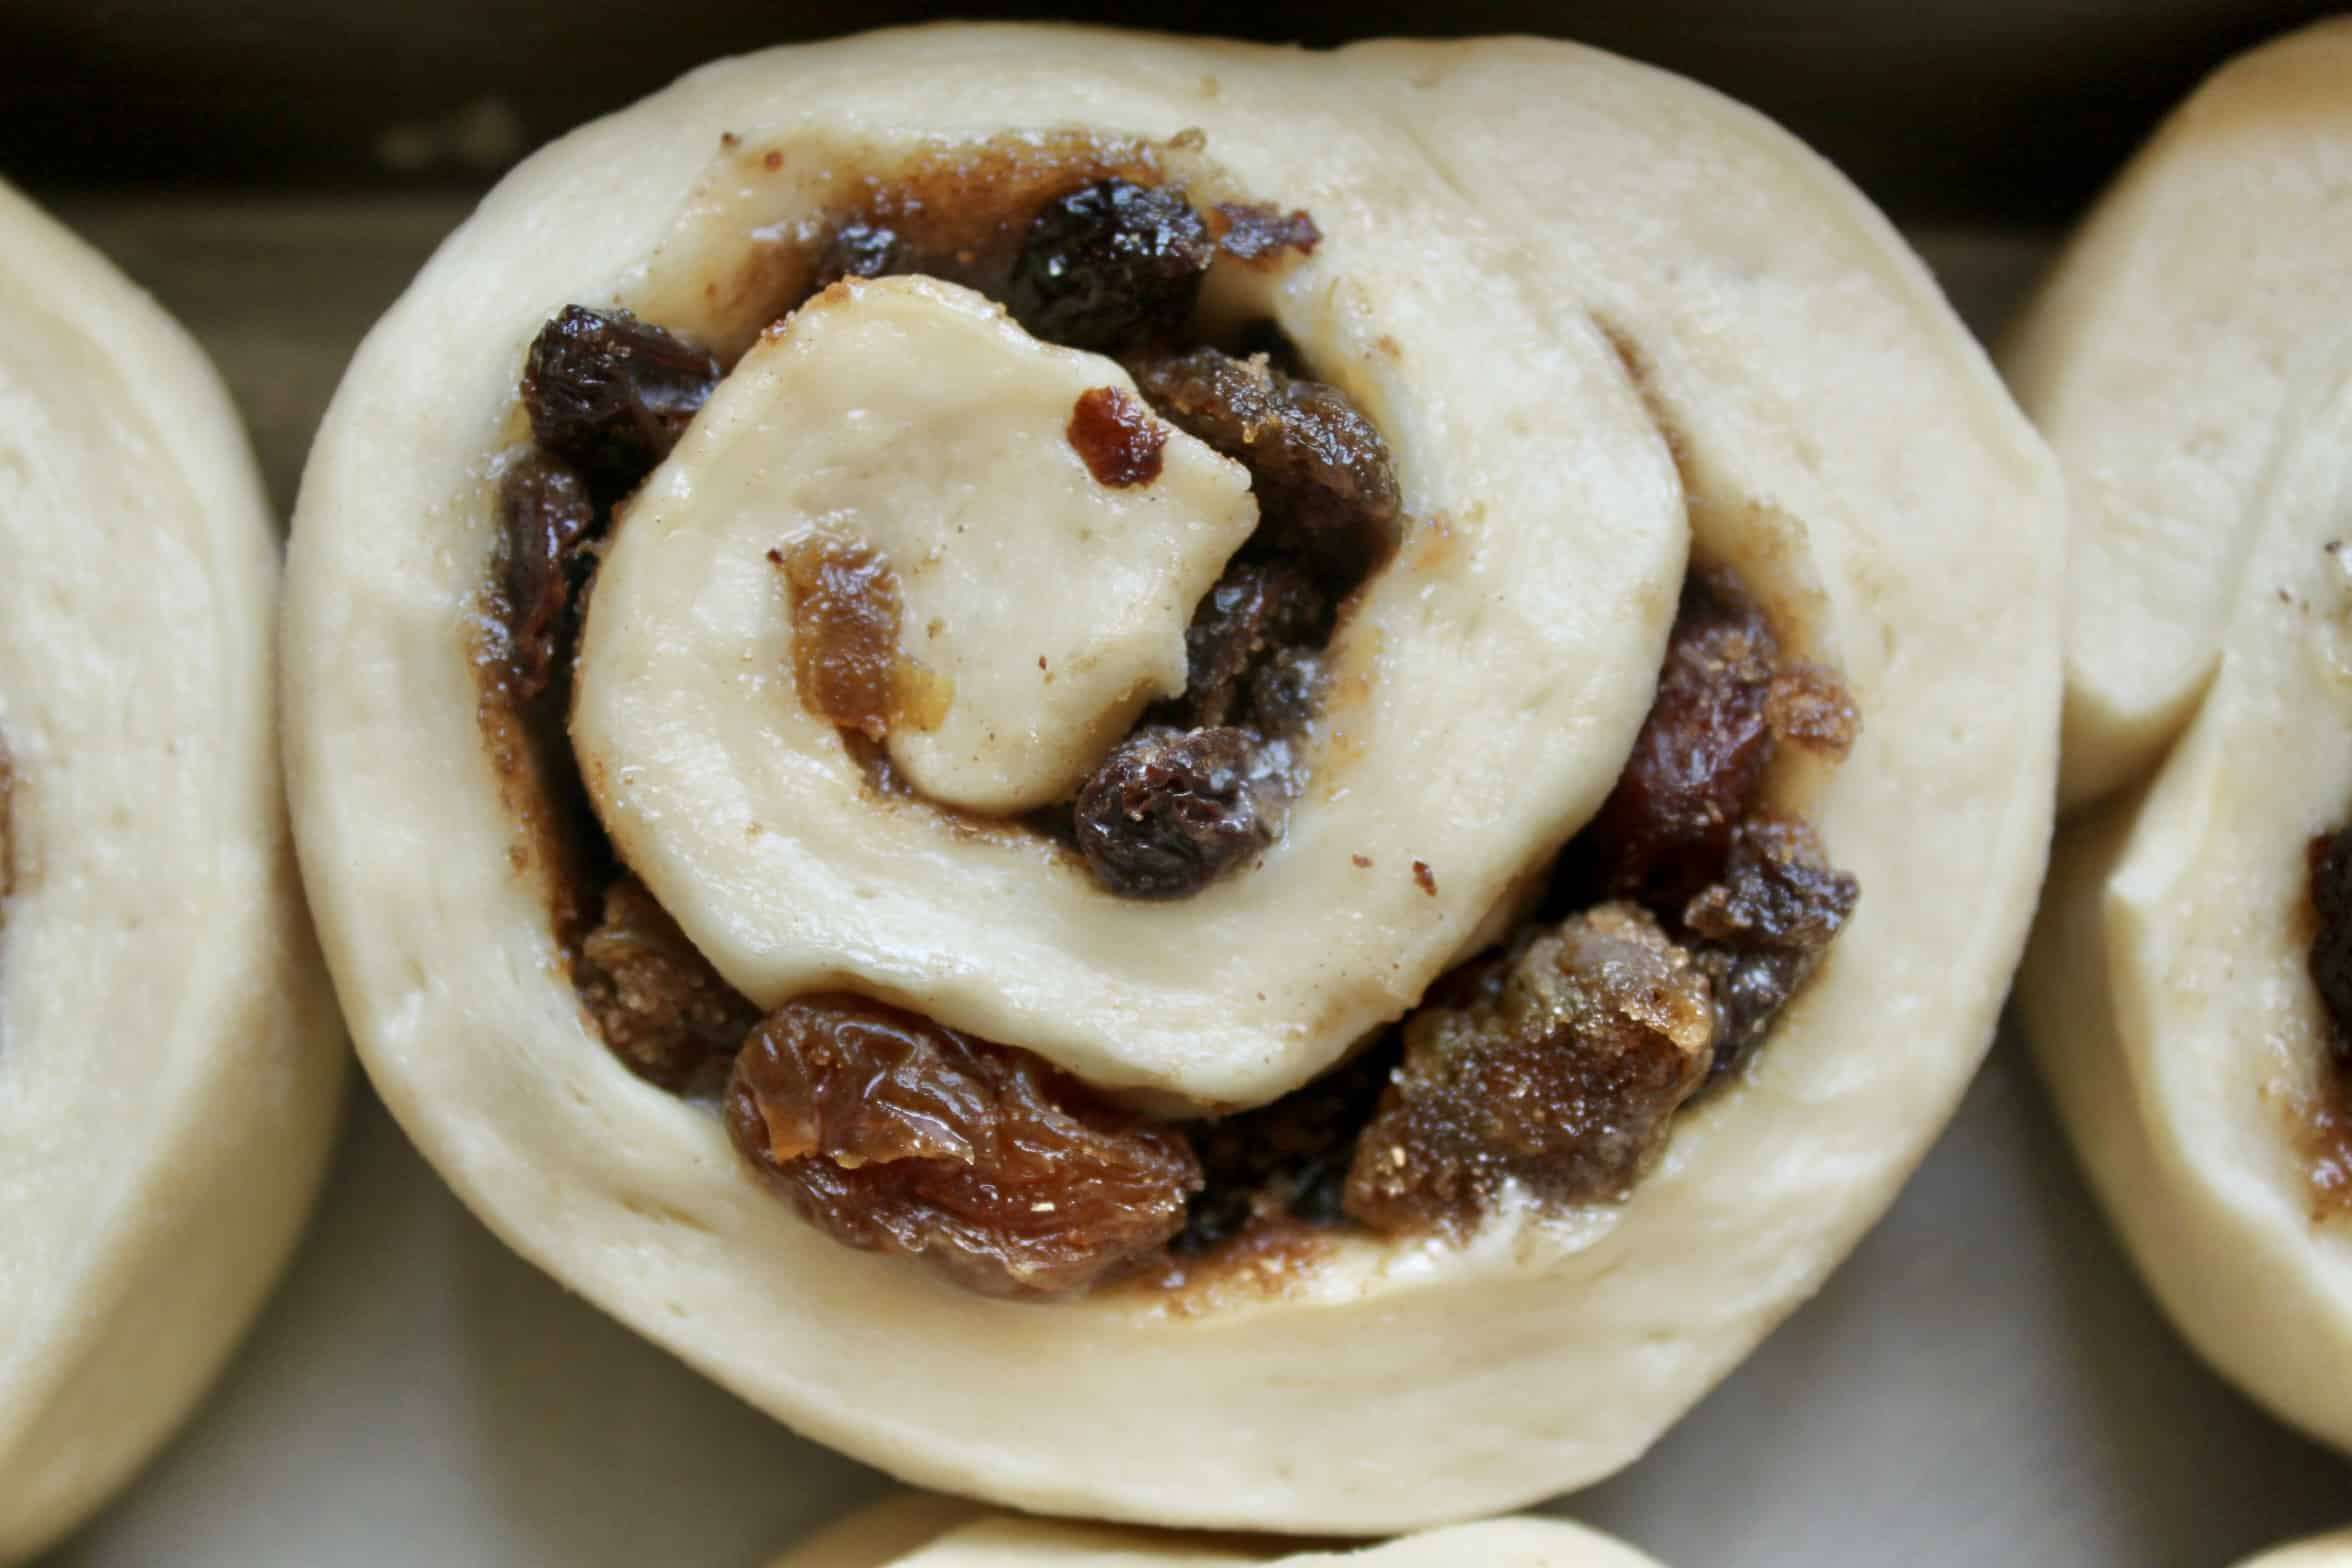
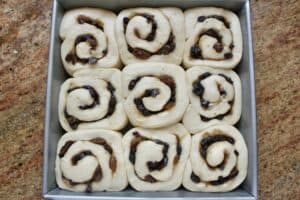
Place each slice into an 9″ (23 cm) greased, square baking pan. Cover and allow to rise until they fill the pan.
Proof and Bake the Buns
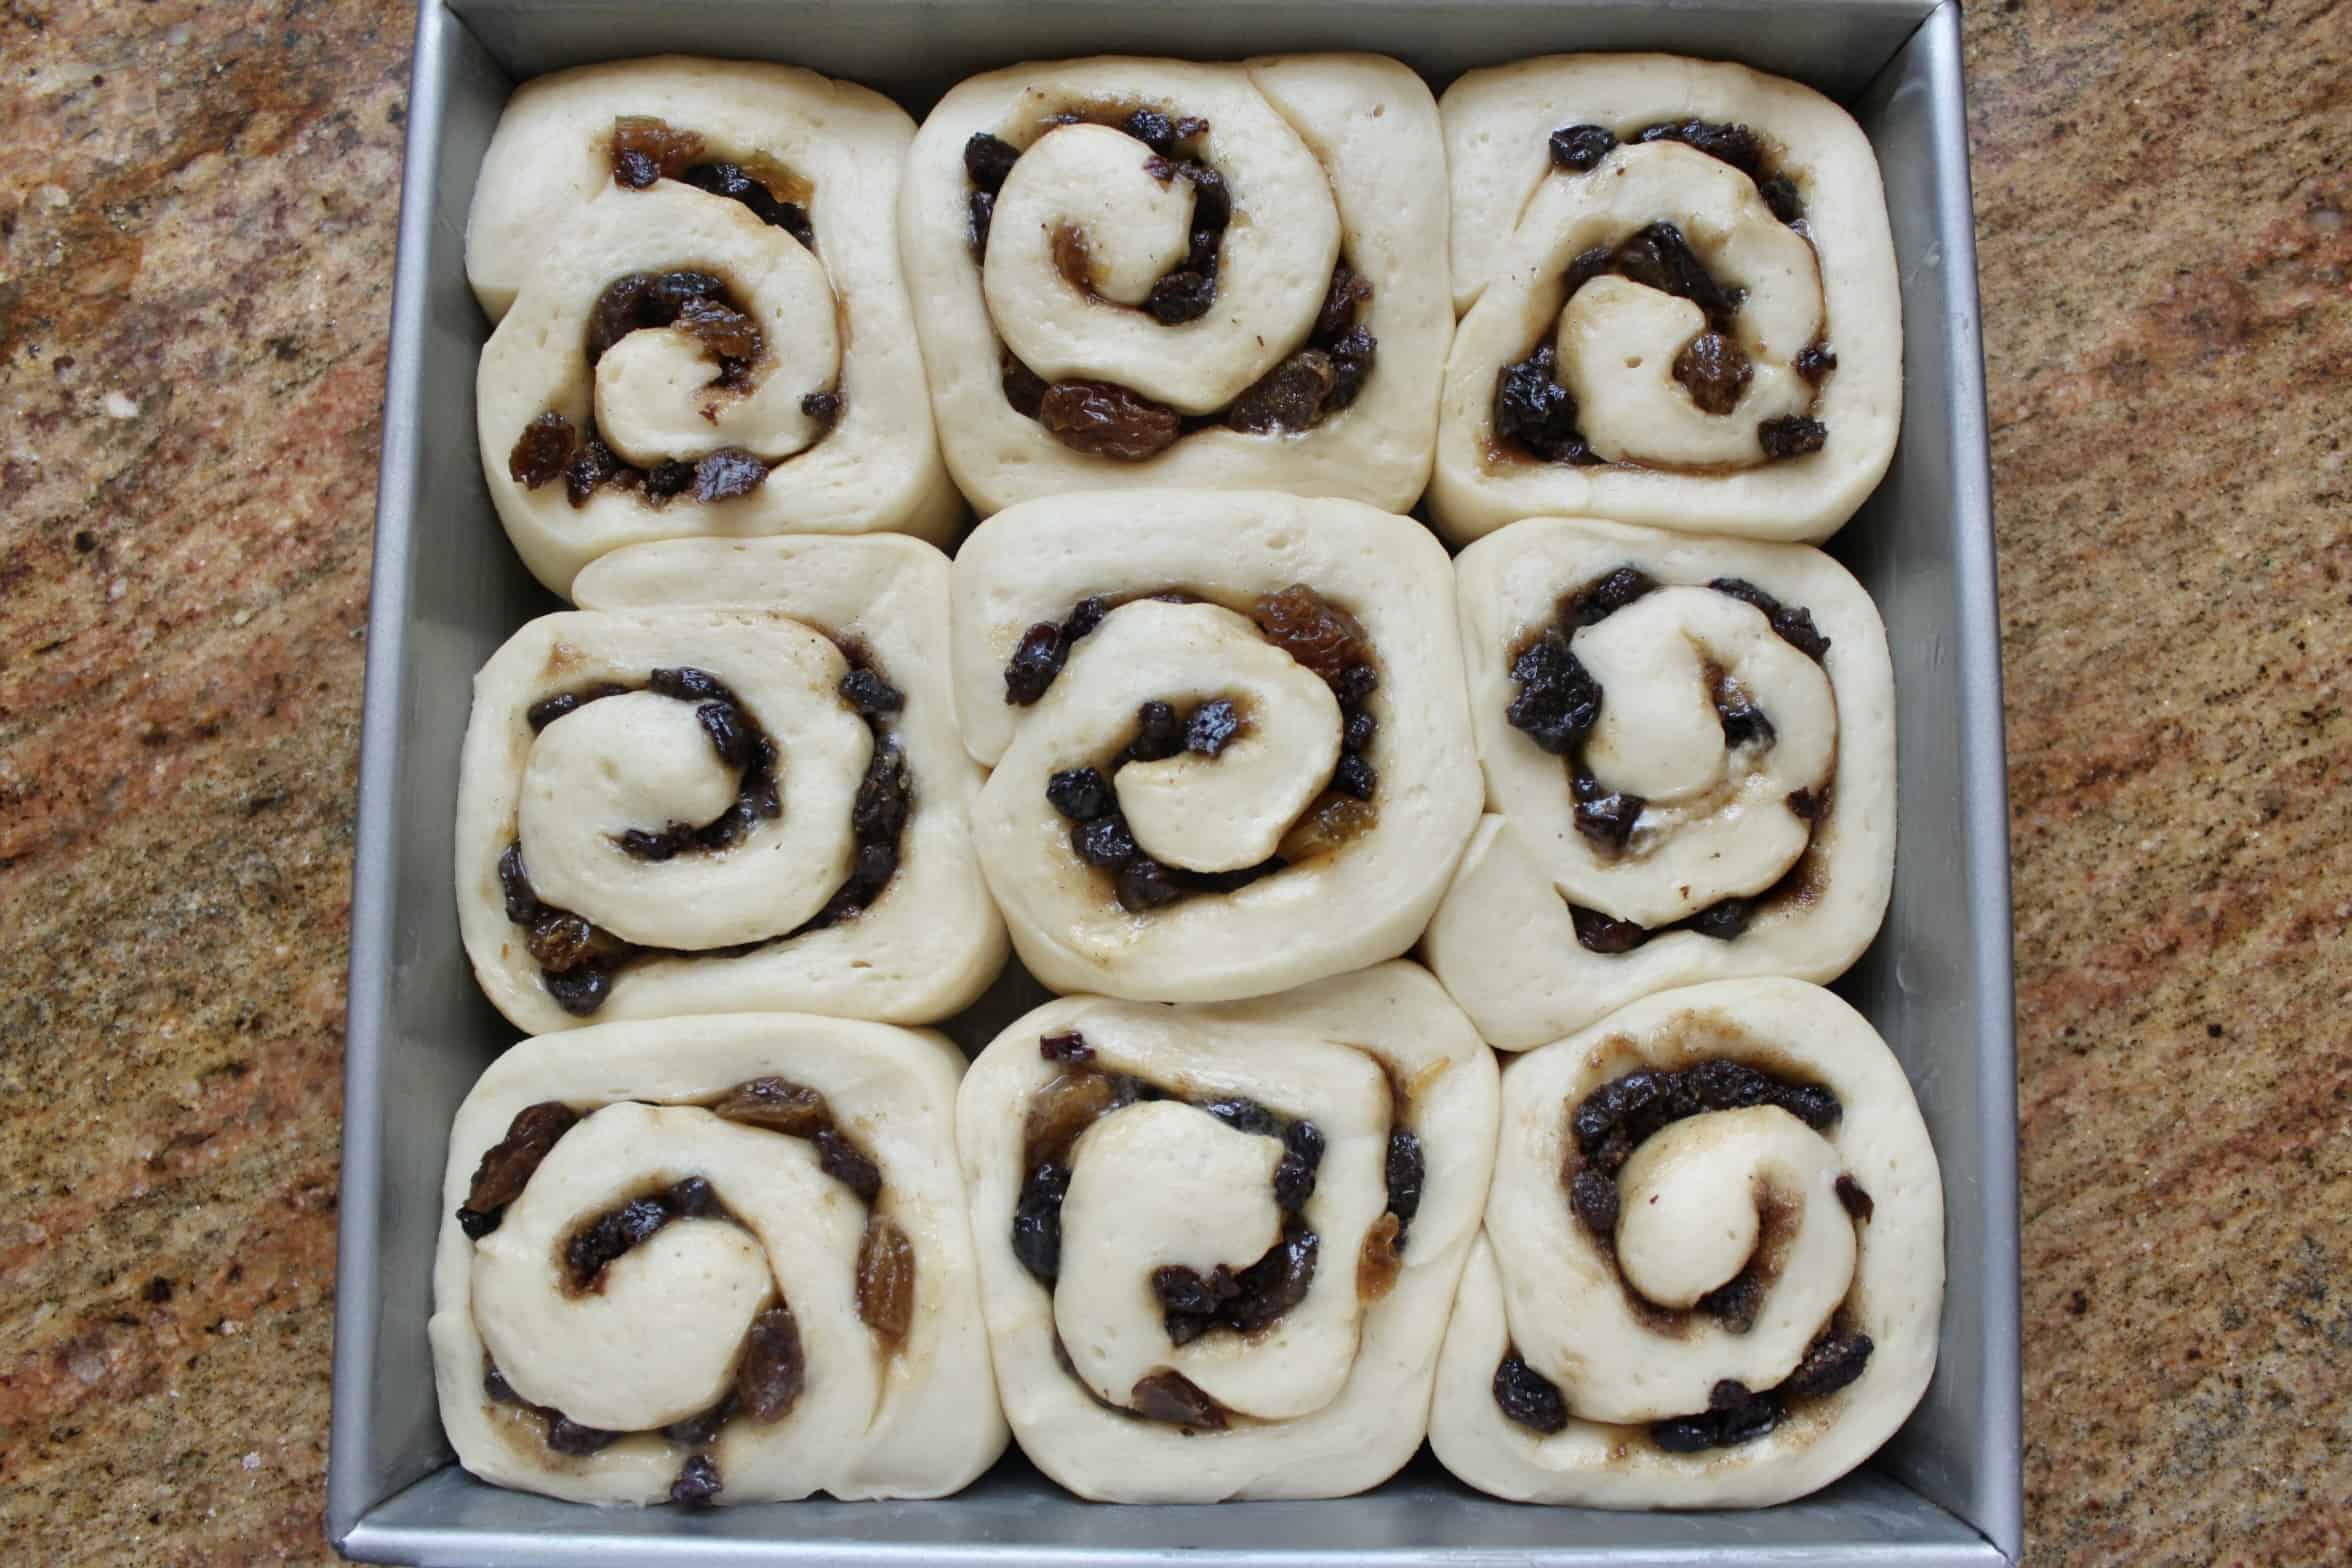
Before proofing the buns.
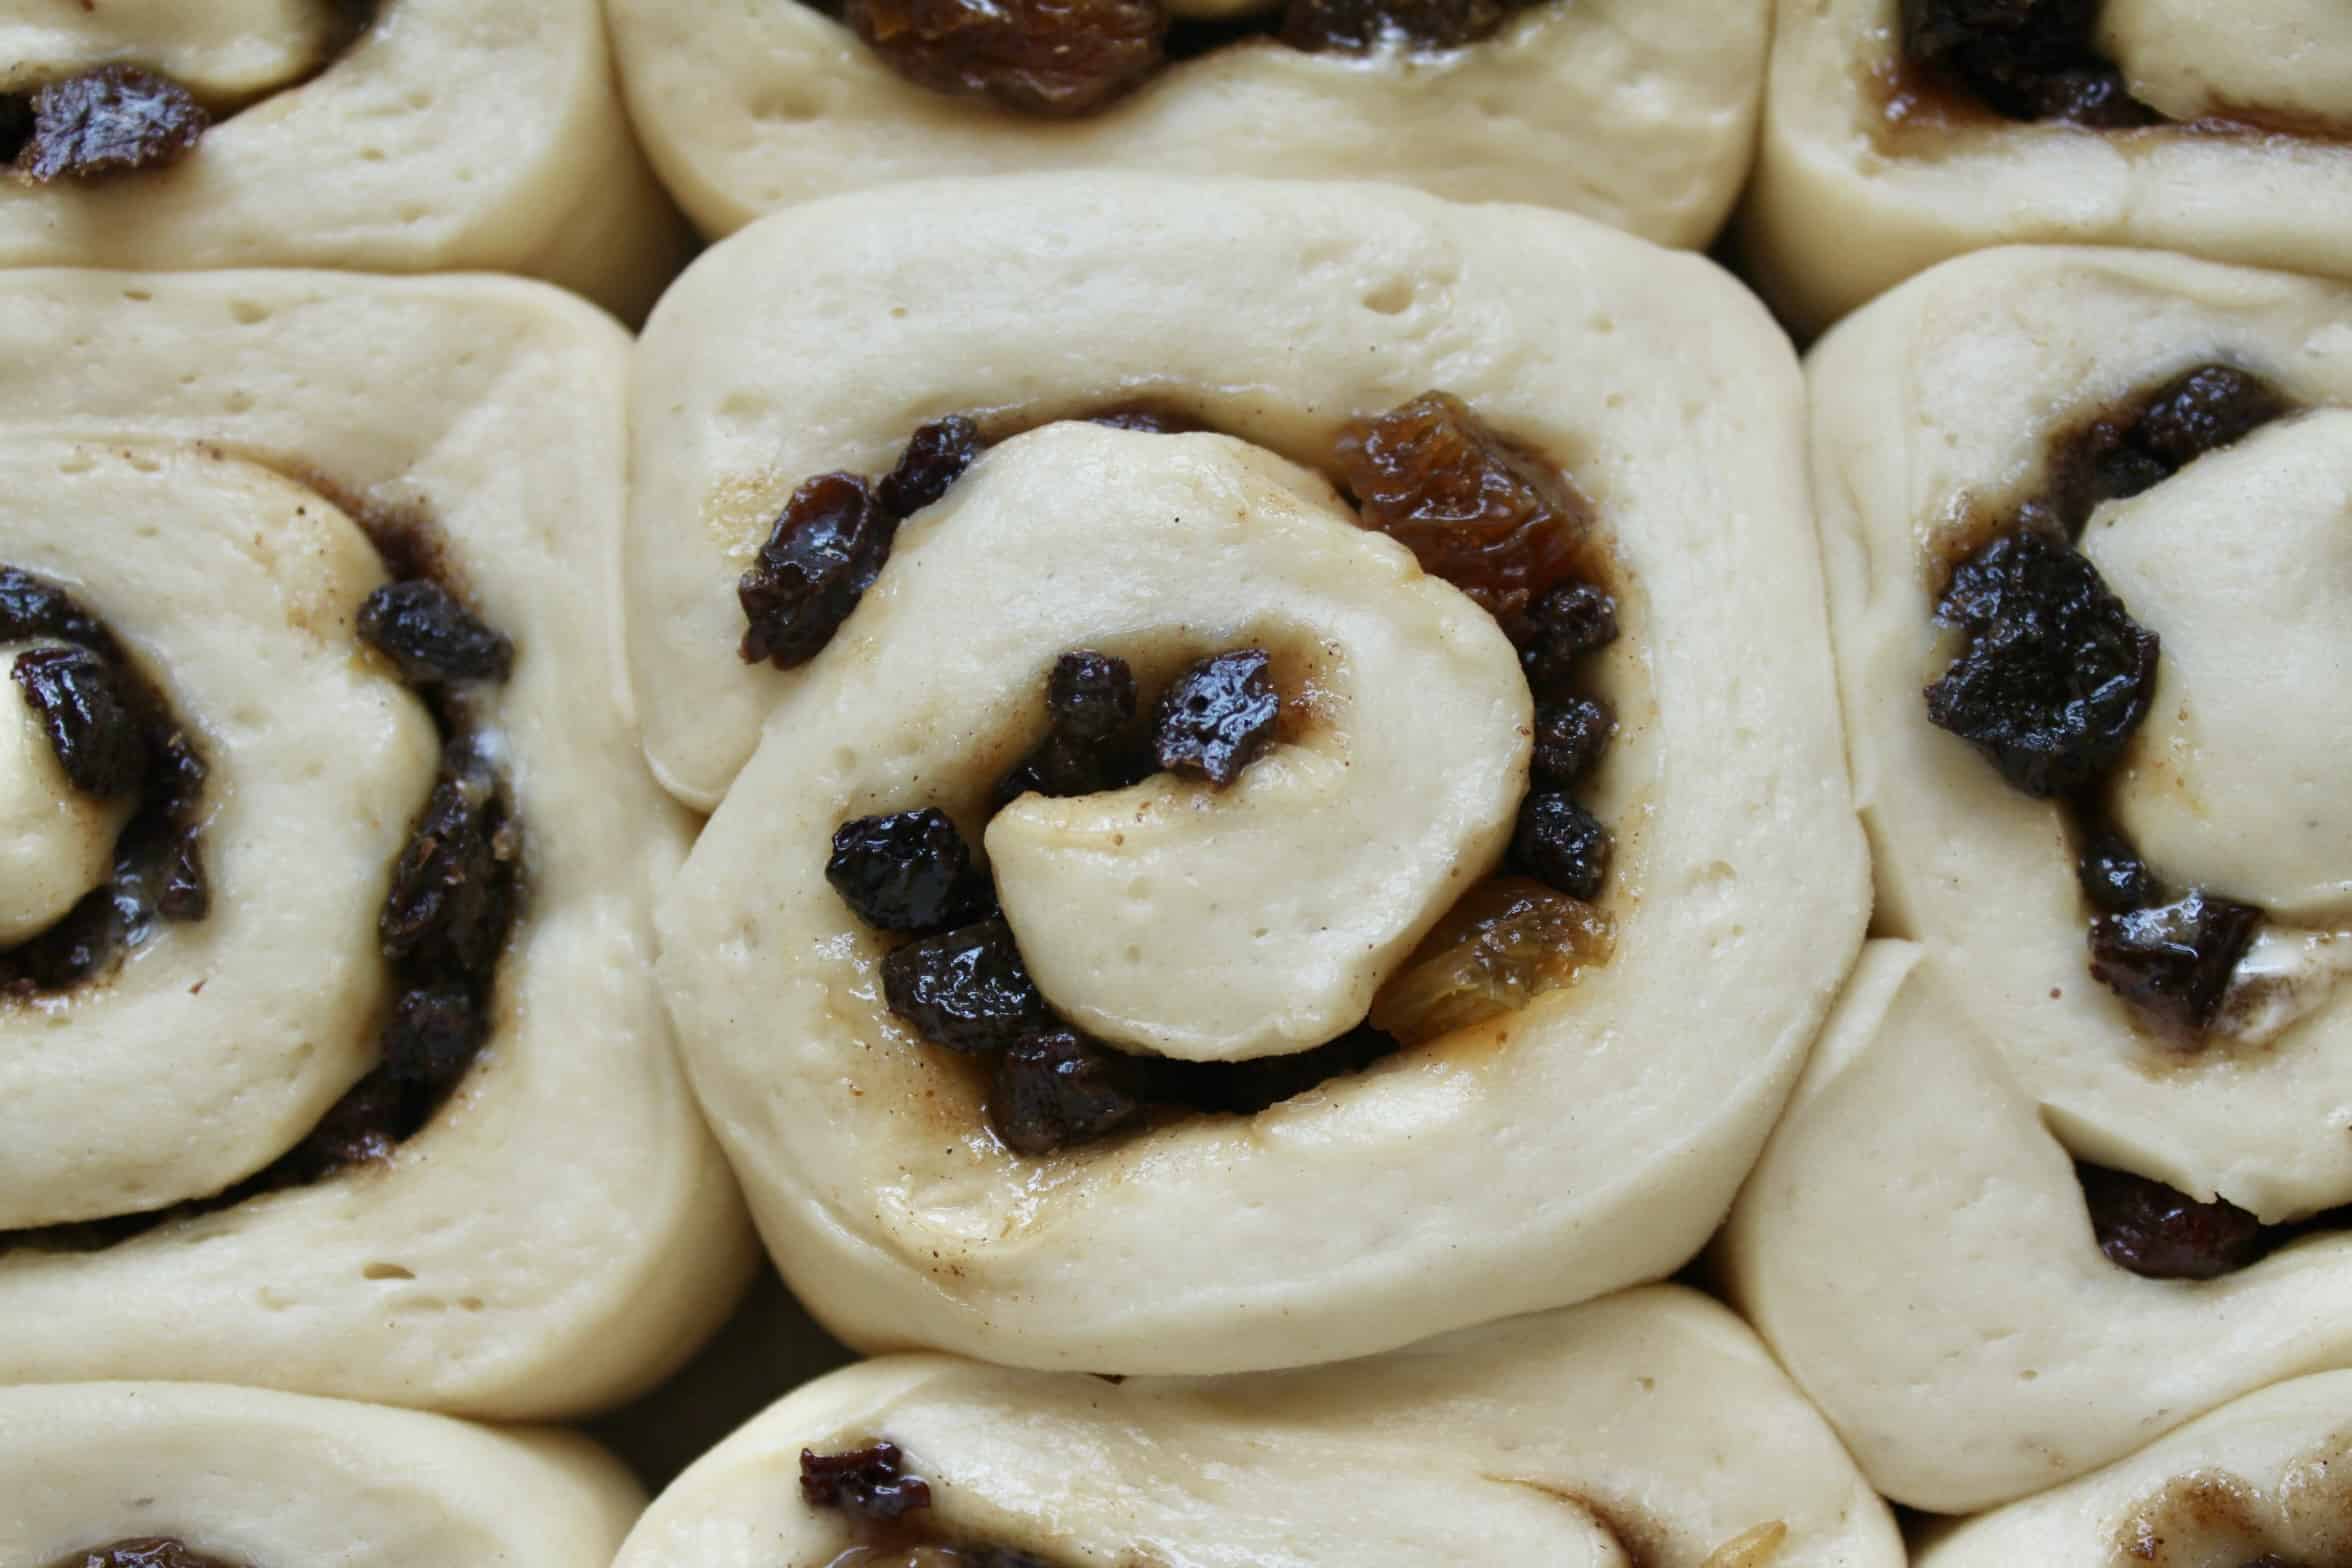
After allowing to rise.
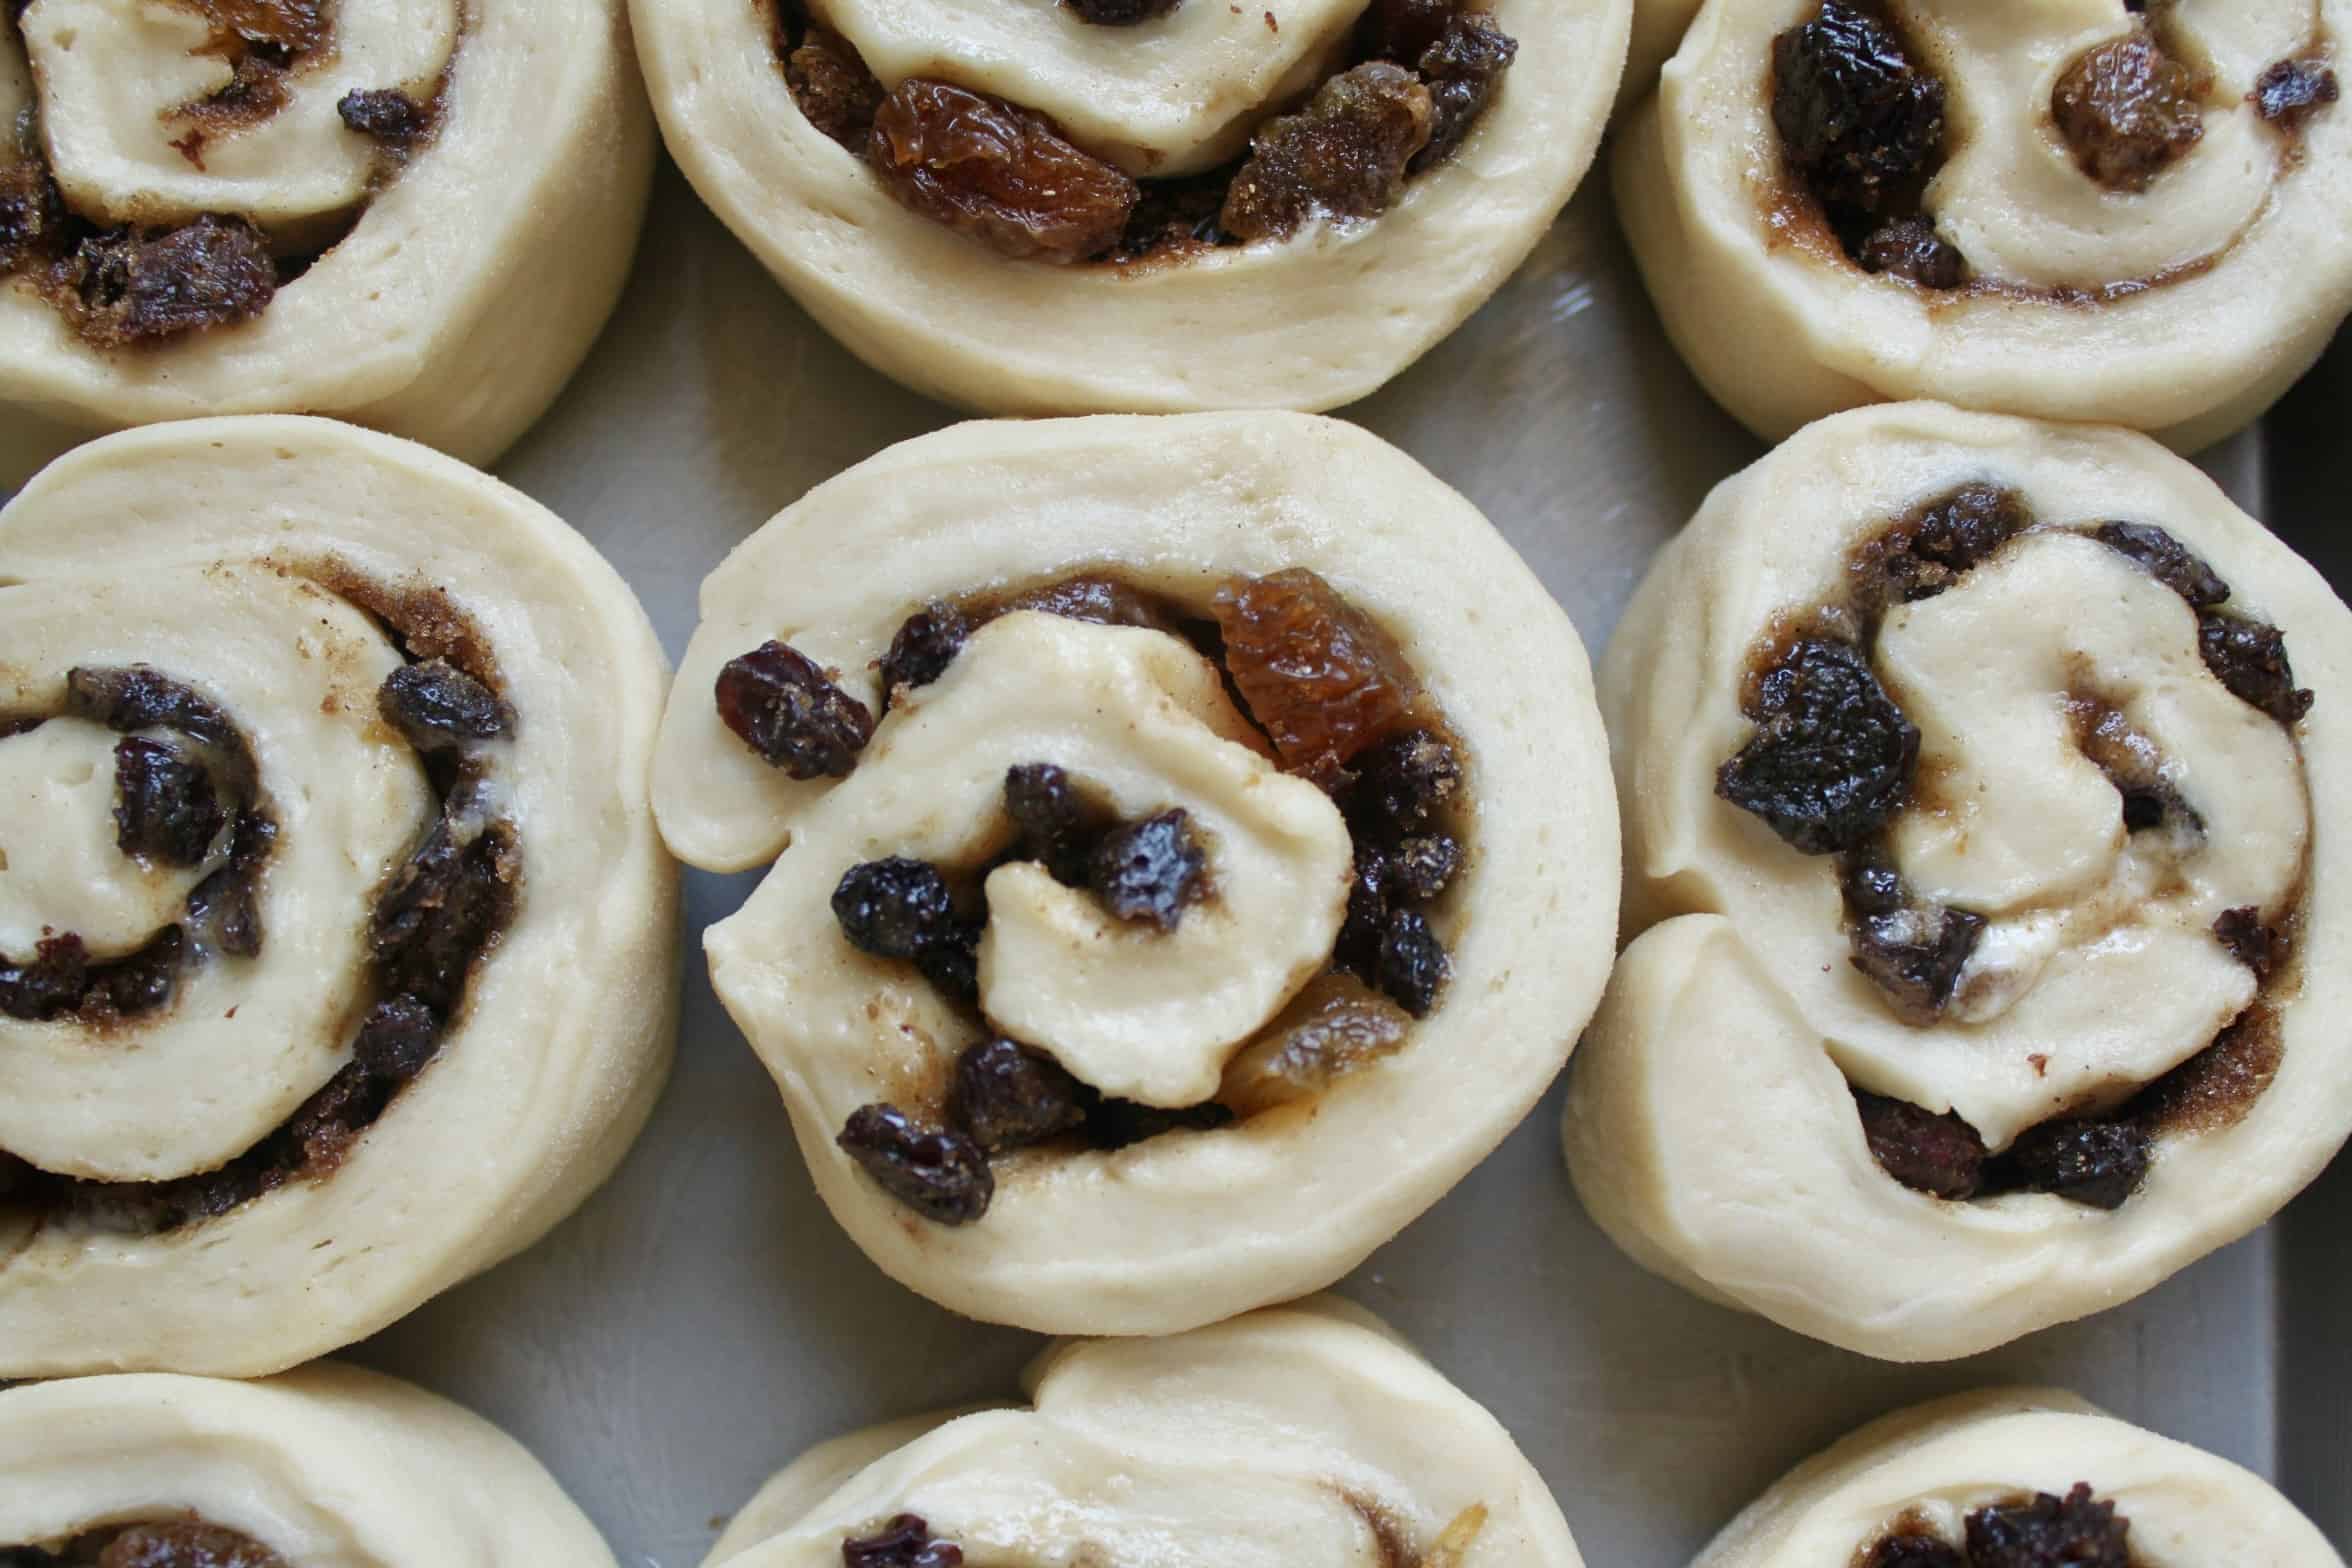
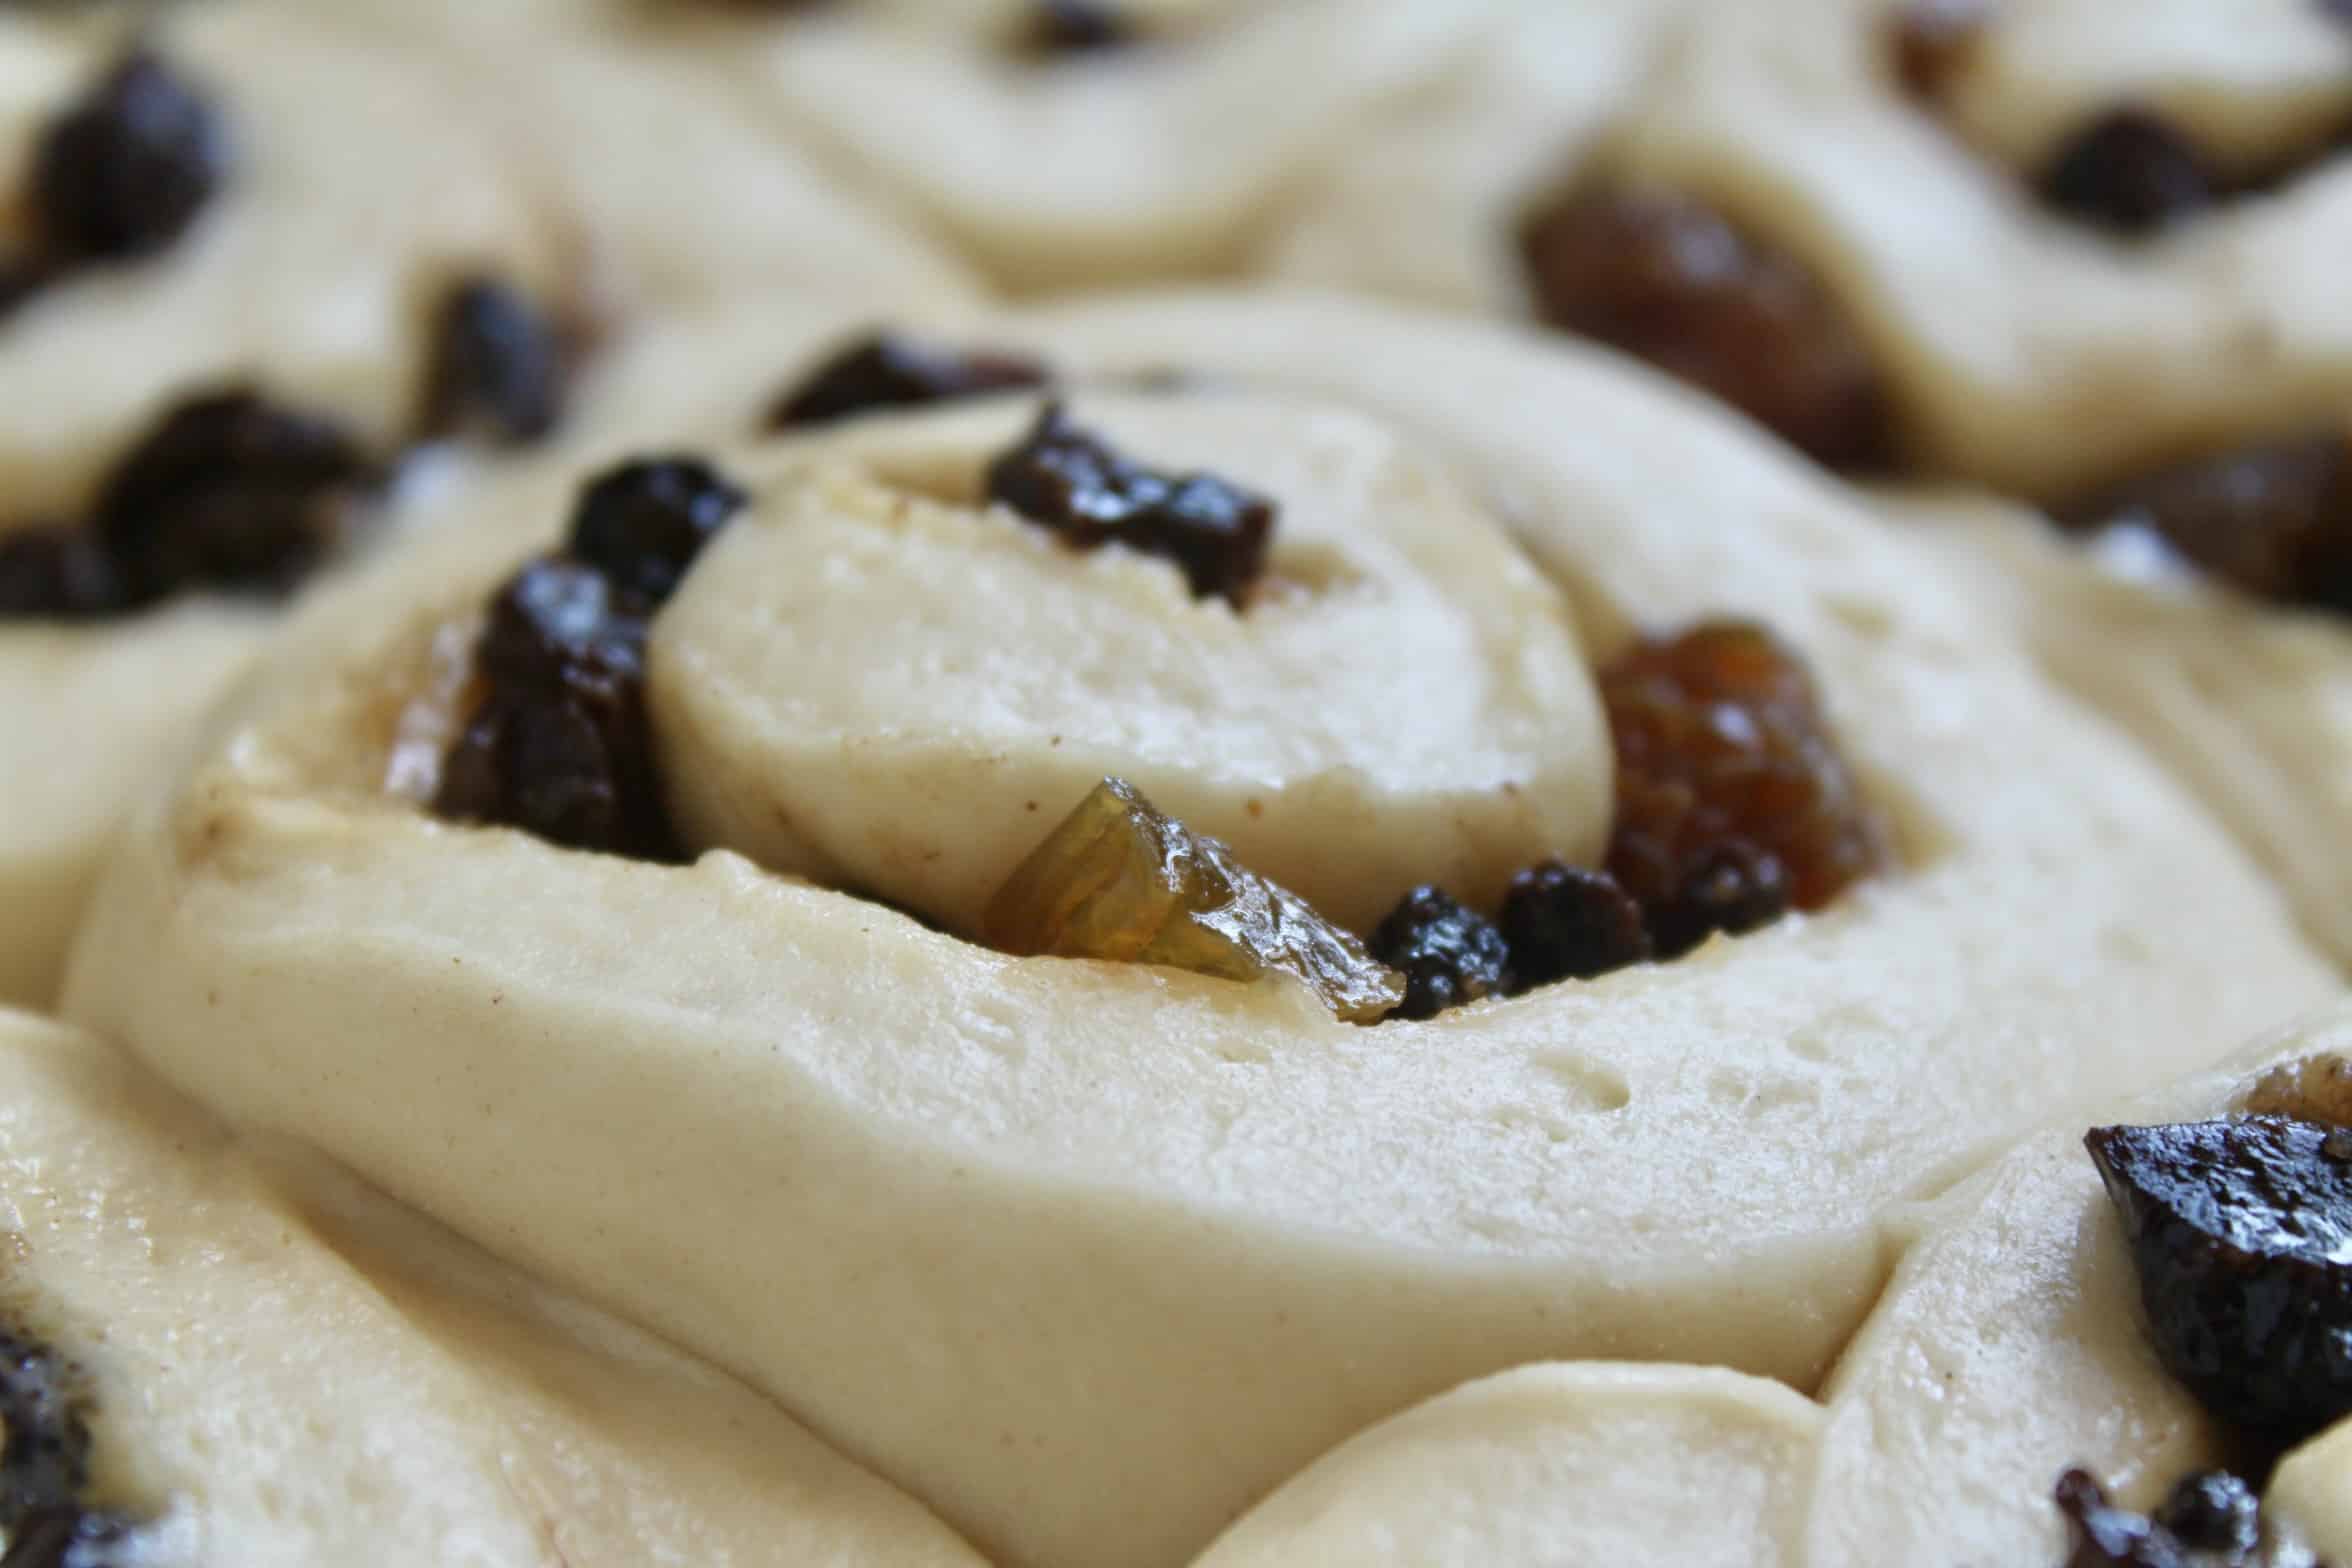
Don’t let the buns overproof or they won’t turn out well; this is perfect.
In the pan, they will look like this when they are ready to bake.
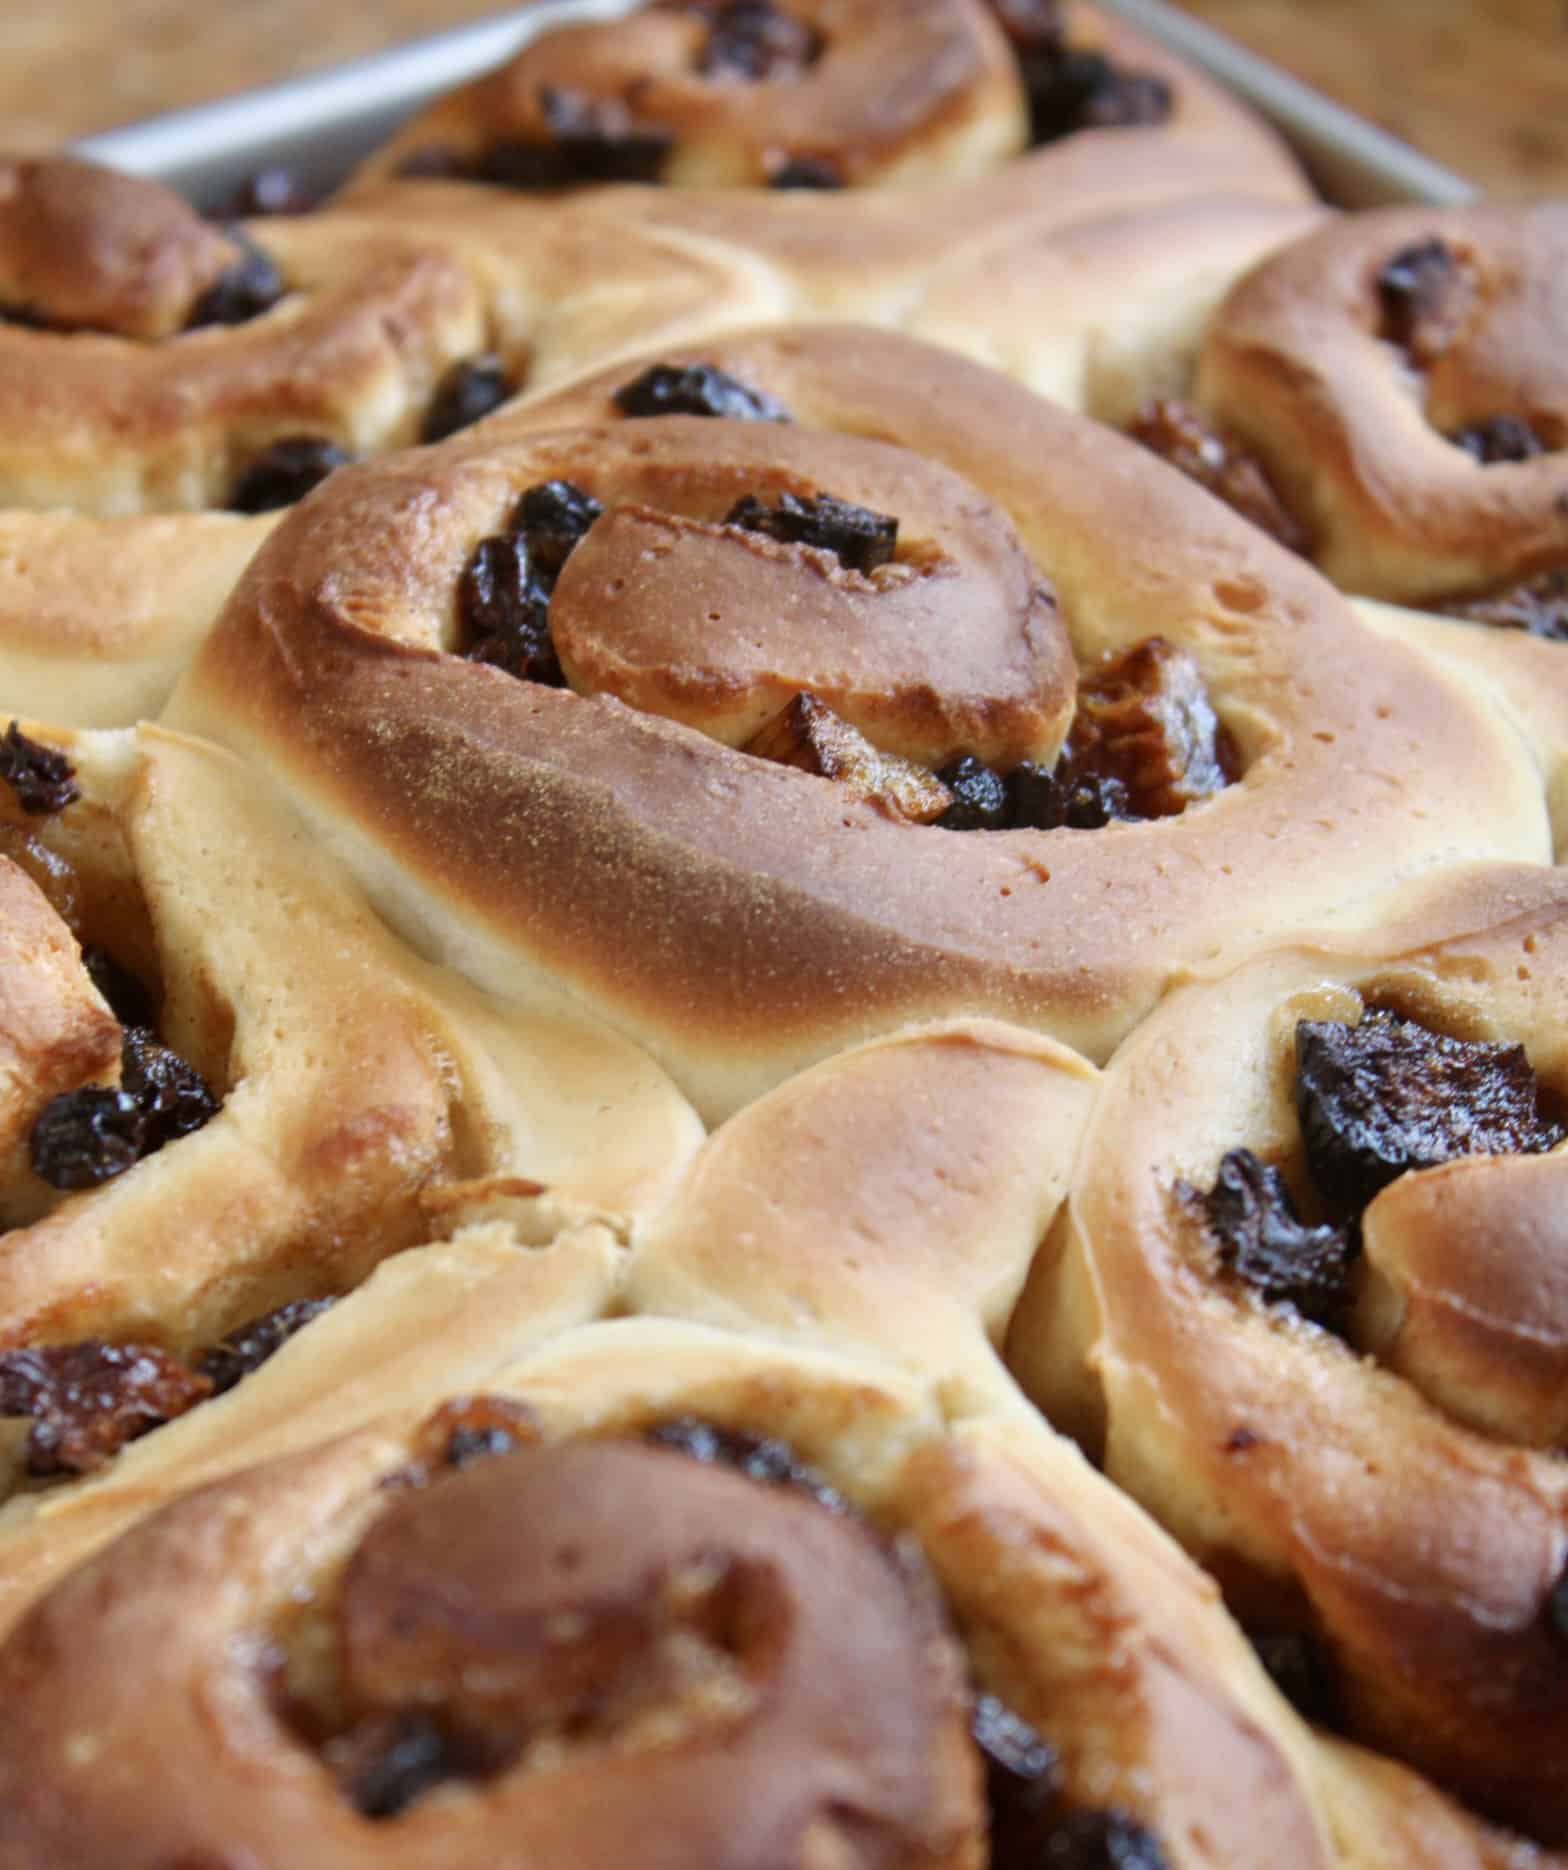
Gently place into the middle of a preheated 400 F degree (200 C) oven and bake for about 15 to 20 minutes or until golden brown and well risen.
Make the Glaze
After you remove the pan from the oven, make the glaze.
Glaze the Chelsea Buns and Serve
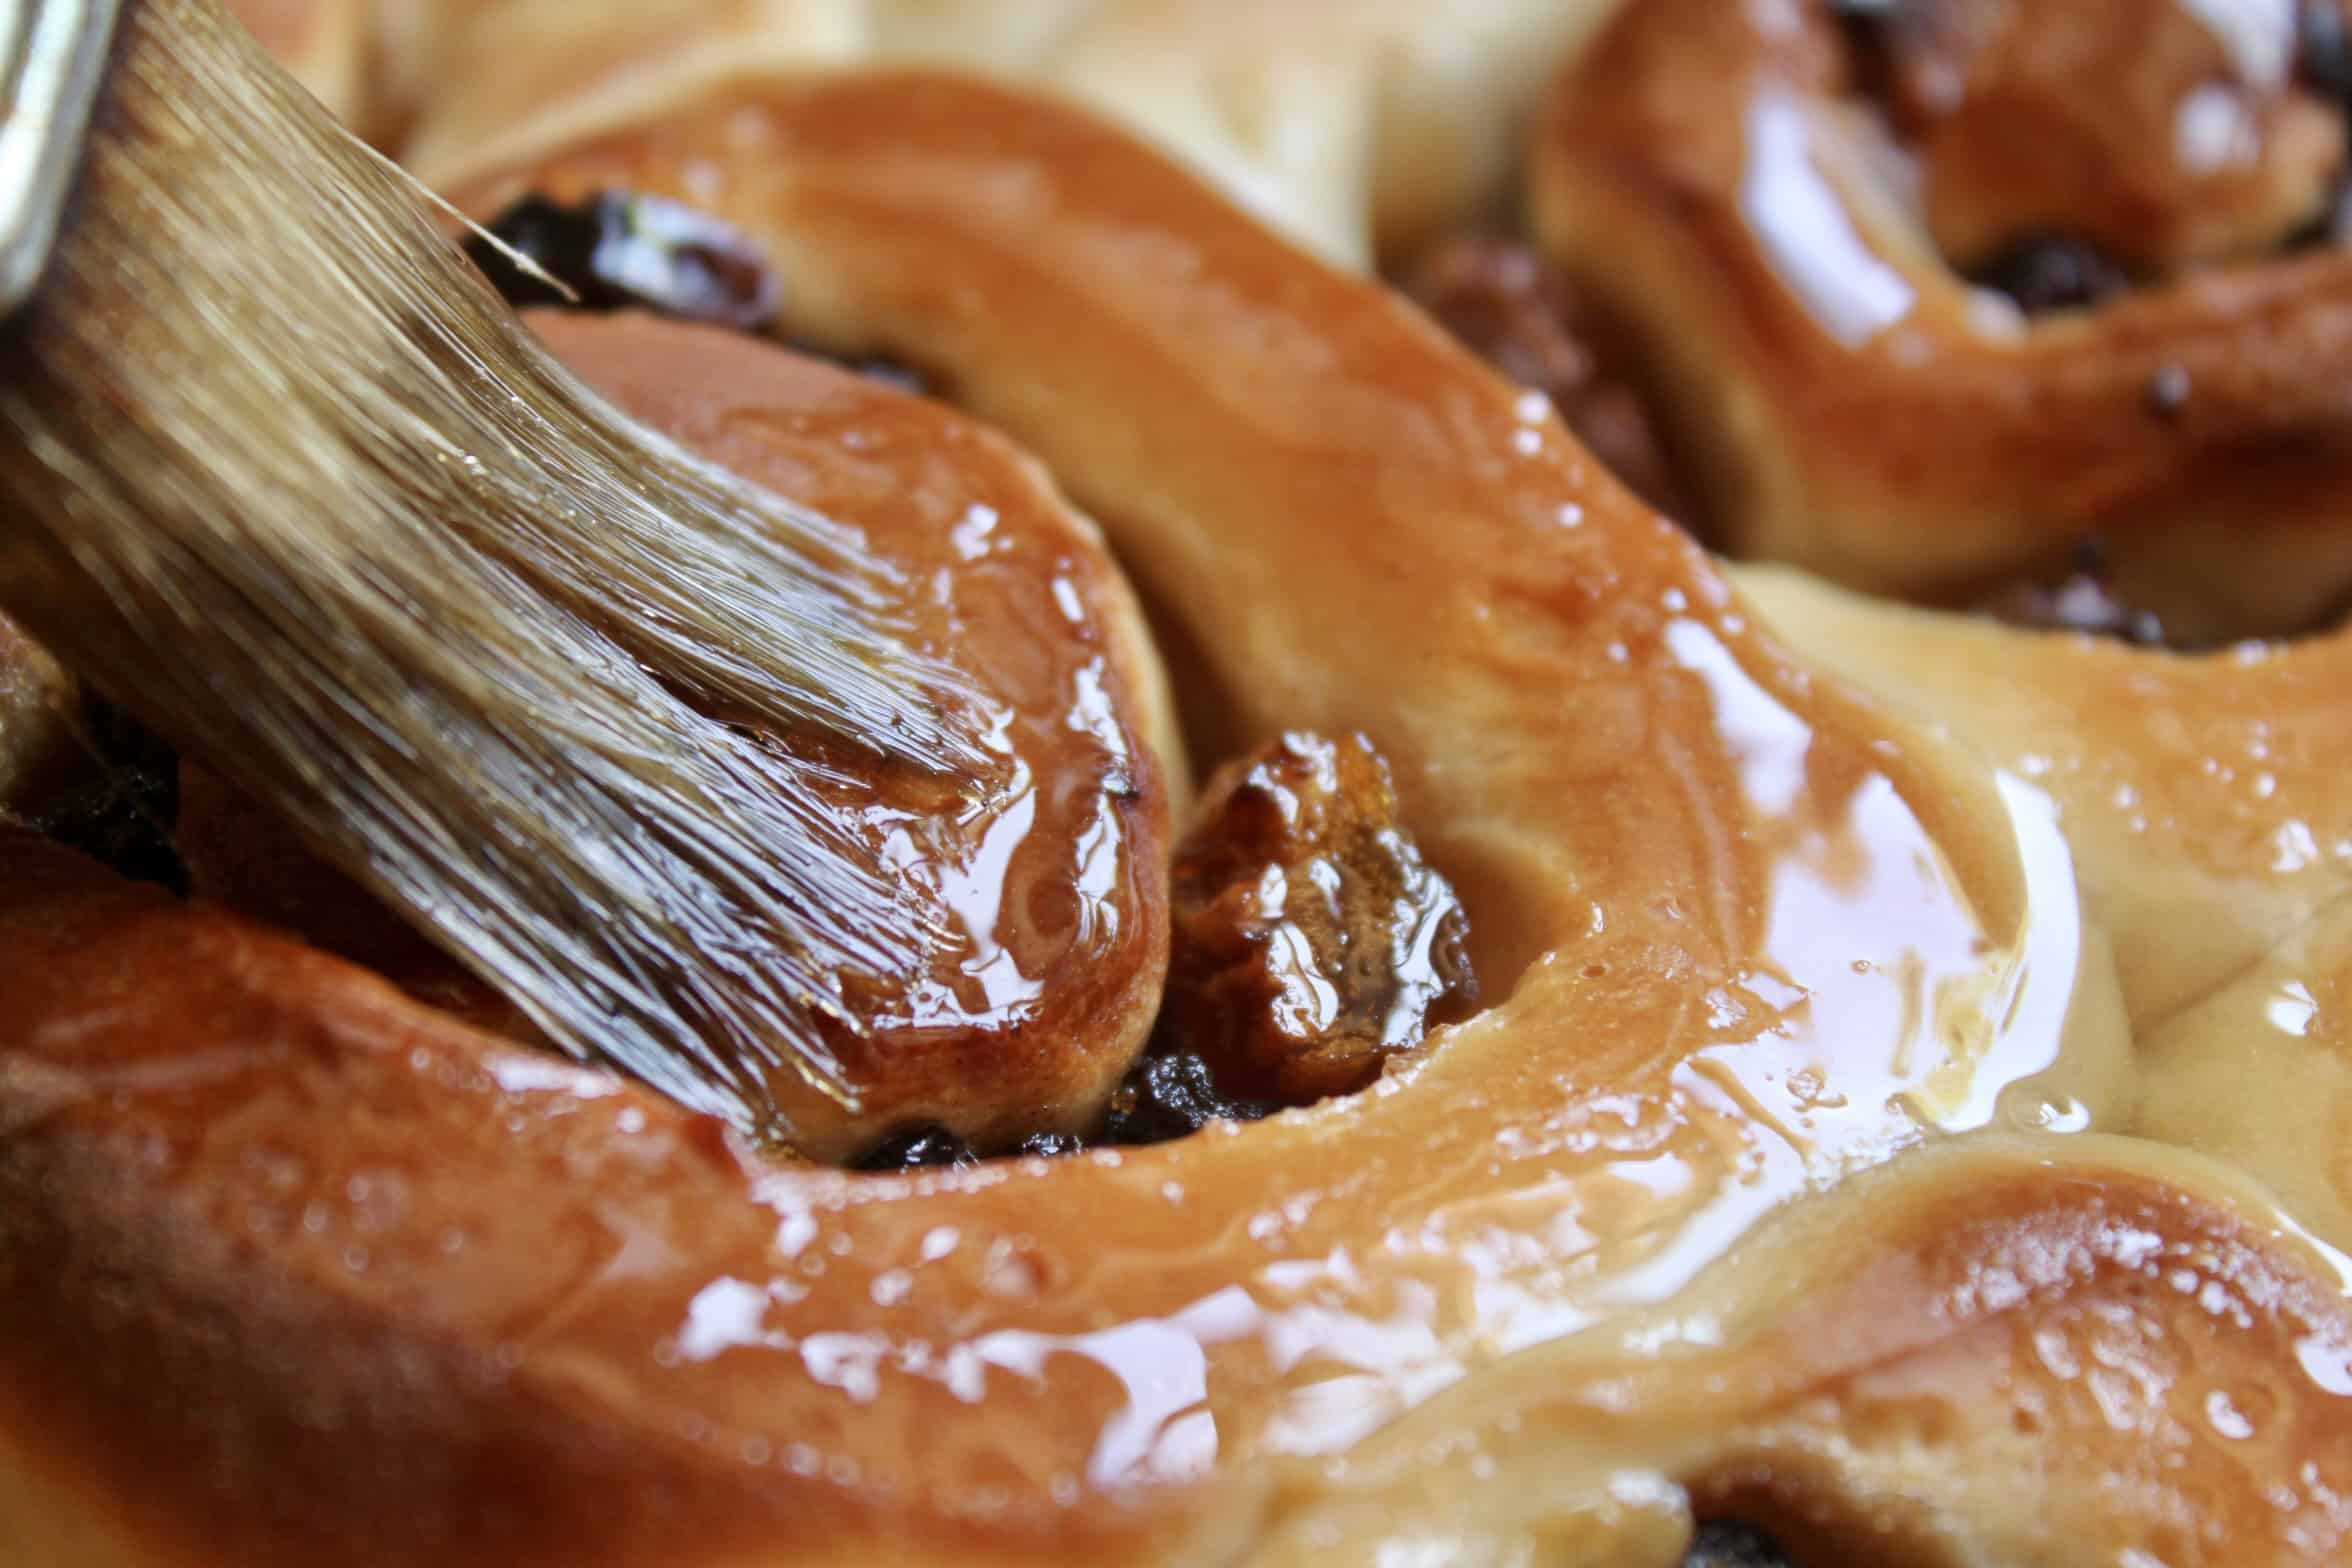
While the buns are still hot, glaze generously with a pastry brush while still in the pan. Allow to cool.
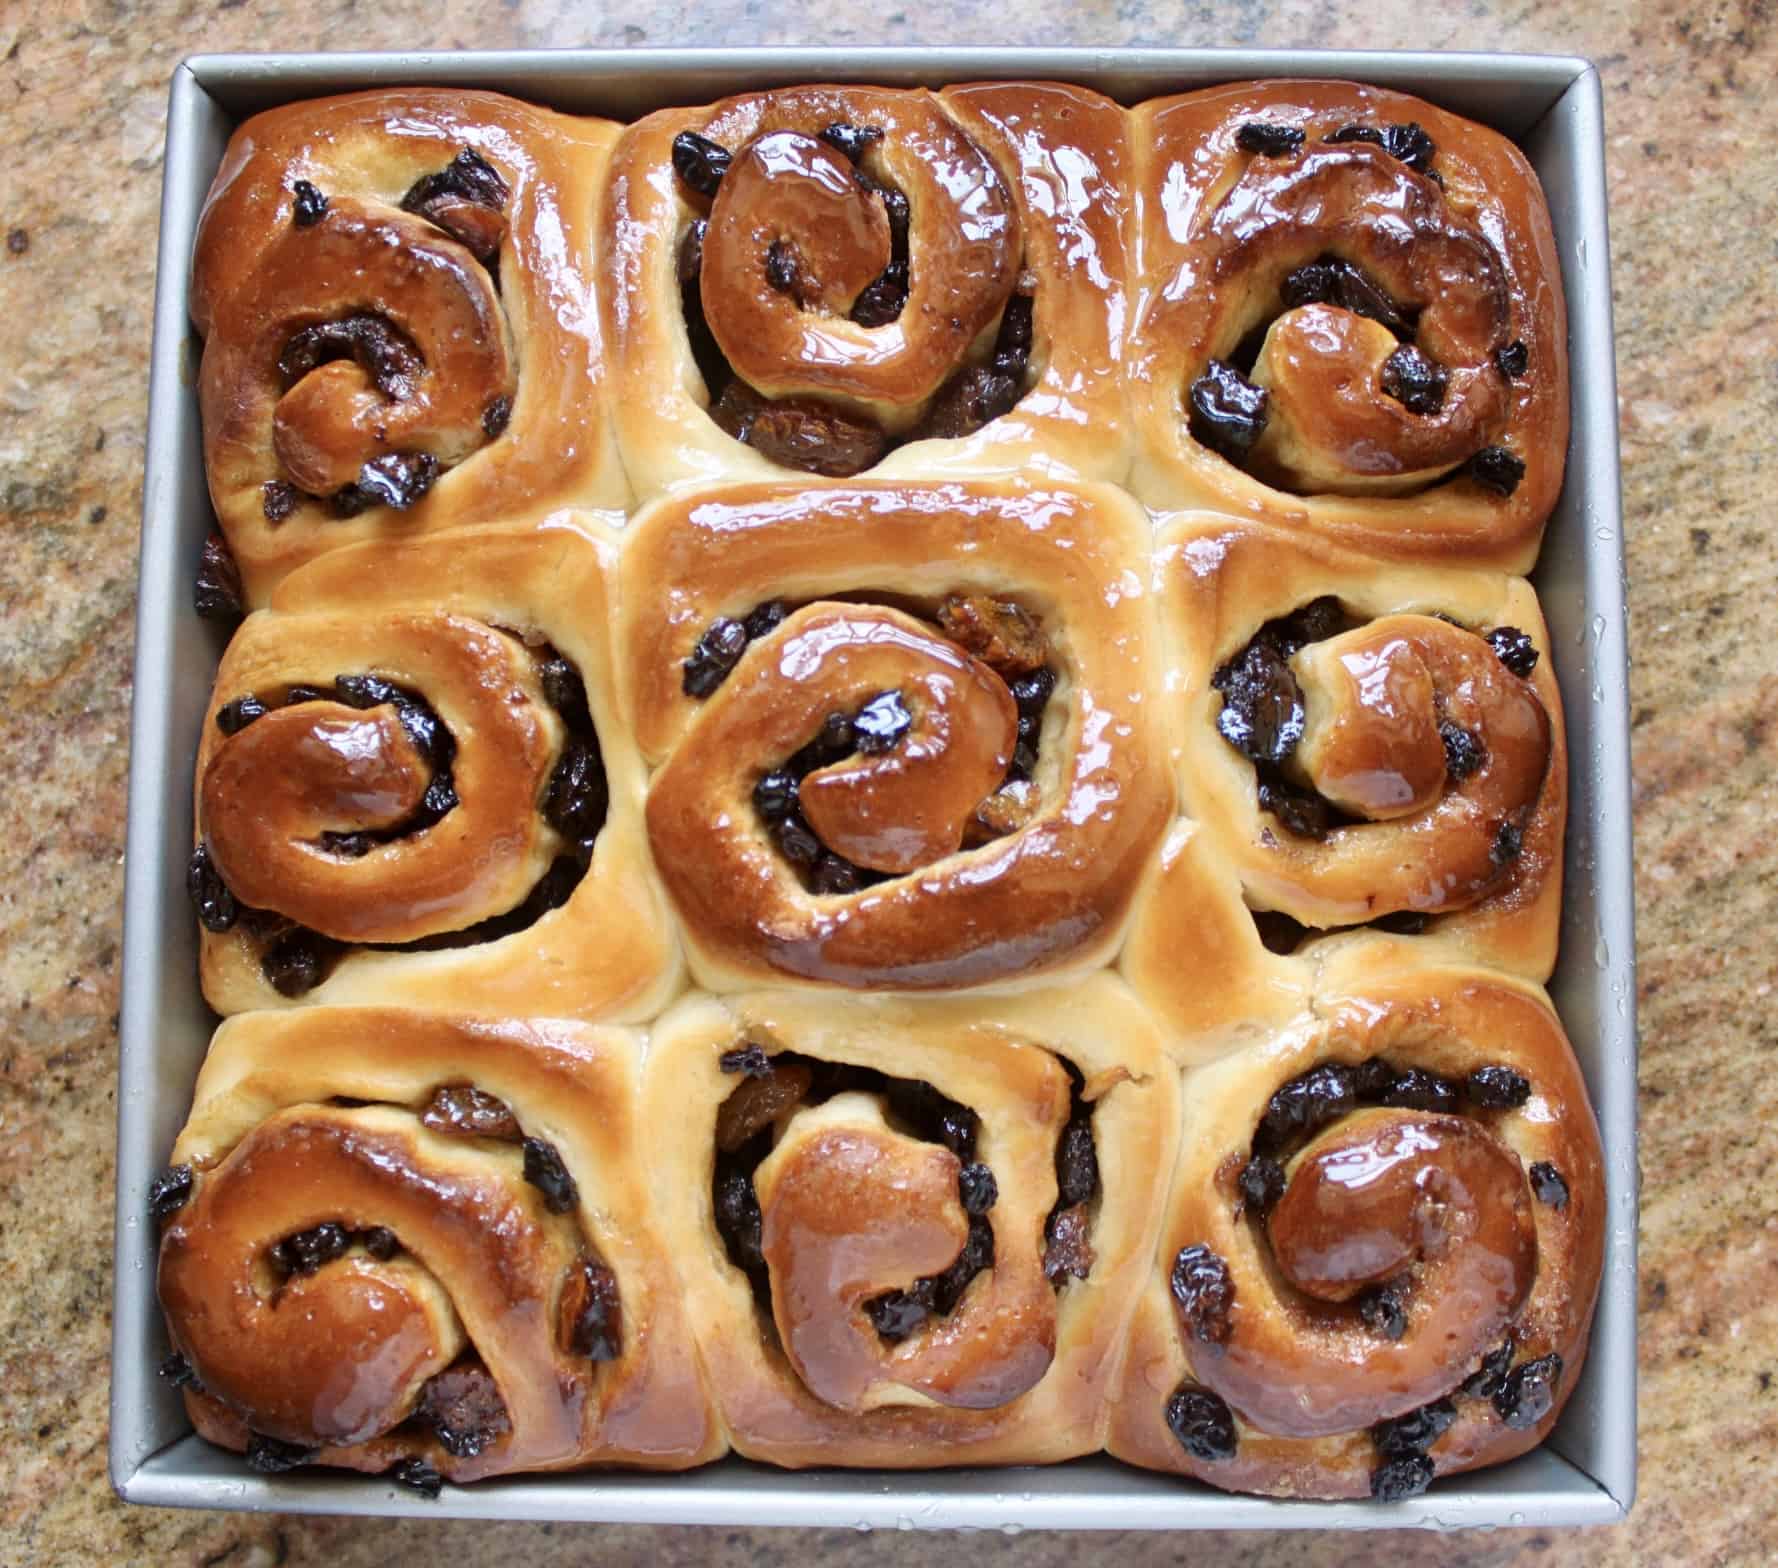
Turn out onto a board, then serve.
The smell that will fill your home is divine!
You definitely will enjoy them more with a cup of tea, or coffee.
Let me know if you can stop at just one, because I can’t!
They might be just a wee bit addictive! Good luck!
Don’t miss another recipe, sign up for my free subscription today!
Chelsea Buns
Ingredients
Dough:
- 8 oz milk (buttermilk can be used)
- 1 egg (beaten)
- 4 ½ cups all-purpose flour (or bread flour)
- ½ tsp salt
- 5 Tbsp sugar
- 2 oz butter (softened, good quality)
- 1 tsp dry yeast (rapid-rise or normal)
Filling:
- 1 oz butter (melted)
- ½ cup golden raisins (Sultanas)
- ½ cup raisins
- ¼ cup Zante currants
- 2 Tbsp light brown sugar (soft)
- 1 tsp mixed spice
Glaze:
- ¼ cup sugar
Instructions
- Oven temperature 400ºF (200ºC)
- Make the Dough: Please choose the directions below depending on if you want to use a bread machine, stand mixer, or make the dough by hand.
In a Bread Machine:
- Put the milk and egg into the bread machine container, then add the flour, salt, sugar and butter.
- Make a well on top and place the yeast in it. Set the machine for the "dough" cycle.
- When finished allow to rise to be double the size of the dough when it finished the cycle. Skip to the Make the Filling step below.
In a Stand Mixer:
- Add the yeast to the milk, and let stand for a few minutes. Stir in the egg.
- Put the flour, salt, sugar and butter in the mixing bowl, then add the liquid. Using a dough hook, turn on the mixer until a smooth dough is formed.
- Cover and allow to double in size (at room temperature, or in a barely warm oven). Skip to the Make the Filling step below.
By Hand:
- Follow the directions for the Stand Mixer above, but mix all the ingredients together using a Danish dough whisk or spatula, until it forms a sticky dough.
- Place onto floured board or counter, and knead until a smooth dough is formed.
- Put into a floured bowl, cover and allow to rise at room temperature or in a slightly warm oven until doubled in size.
Make the Filling:
- While the dough is rising, put all of the ingredients for the filling, except for the butter, into a medium sized bowl.
- Stir to combine.
Roll Out the Dough and Fill the Chelsea Buns:
- Knead the dough gently, then roll out into a 12" by 18" rectangle. Brush with the melted butter.
- Sprinkle the filling evenly over the buttered dough.
- Start rolling up the dough from the longest end.
- When the entire dough is rolled, put the seam side down and cut into 9 equal slices with a sharp knife.
- Place each slice into an 9" (23 cm) greased, square baking pan.
Proof and Bake the Buns:
- Don't let the buns overproof or they won't turn out well. In the pan, they will look like this when they are ready to bake.

- Gently place into the middle of a preheated oven and bake for about 15 to 20 minutes or until golden brown and well risen.
Make the Glaze:
- After you remove the pan from the oven, make the glaze.
- Simmer the sugar with 4 tablespoonfuls of water for about 2 minutes. If you simmer it longer, it will be too sticky.
Glaze the Chelsea Buns and Serve:
- While the buns are still hot, glaze generously with a pastry brush while still in the pan. Allow to cool until just warm.
- Turn out onto a board, and serve.
Notes
- Don't overproof the dough either time or the buns won't taste or look as they should. Keep an eye on that dough :)
Nutrition
Christina’s Cucina is a participant in the Amazon Services LLC Associate Program, an affiliate advertising program designed to provide a means for sites to earn advertising fees by advertising and linking to Amazon.com.





I love Chelsea buns but have never mastered making them myself. It’s time I had another go at them.
These look wonderful!
Thanks, Suzanne! Have a go!
What is the mixed spice made from?
Please read my post as the recipe is included. Enjoy the buns! :)
I didn’t understand what mixed spice was either. I thought maybe it was the same thing as allspice, but a quick reference check stated that it is different. I looked it up on Amazon, and it can be purchased from their website.
Hi Julie, I am assuming you and Susan used the JUMP TO RECIPE button because if you had read my post you would have seen my link to mixed spice, including an easy recipe. I also included the link to buy it on Amazon, but I’m sure you missed that too. It’s frustrating to spend so much time writing posts only to have people skip the content to just read the recipe, then message me to ask about things I have already explained, and google the information elsewhere. Disappointing. :(
I’ve never had a Chelsea bun and the spice mix and dried fruit addition is right up my alley. And that is one beautiful dough! :-) ~Valentina
I think you’d love them, Valentina!
These look beautiful. Thank you for all the different versions of the instructions… That is a lot of work. Something about these makes me want to make them by hand, and skip the mixer. What a perfect bun for the holidays.
It also makes the recipe more “messy”, but this way everyone can make it the way they choose. Yes, if you have the time, making it by hand is lovely!
I bake all my bread recipes by hand, and these turned out amazing. Really easy to do…
Great to hear!
Can you please clarify the dough step? The ingredients lust calls for 2oz softened butter but it’s not mentioned in the directions.
Thanks
Yes, it’s been fixed, Becky, sorry.
Hey Christina – I also don’t see the oven temp. I’ve looked and looked.
I baked at 350F but I don’t think that was right, 25 mins and they looked beautifully golden but we’re still doughy in the middle.
I will definately give these another try soon. Thanks.
Oh dear, I was fighting with WordPress to write this post and it shows. I’ve added the temp (400) which is why they didn’t bake properly. Please check your FB messages Becky, I want to make amends for this. SO sorry!
Leo sayer sings ,you make me feel like dancing.Christina your scrumptious Chelsea buns ,make me feel like baking.sorry I’ll get my coat.
Haha! I love this! :)
I can almost smell the deliciousness now. I must make these.
You’ll love them, Cathy!
Your baking skills never cease to impress me, Christina. These buns looks like they’re fresh from a professional oven. Though I bet they’re actually much more delicious than anything we could buy at our local bakery. Wish I could have one to go with this morning’s coffee!
Thanks so very much, Frank! That means a lot to me!