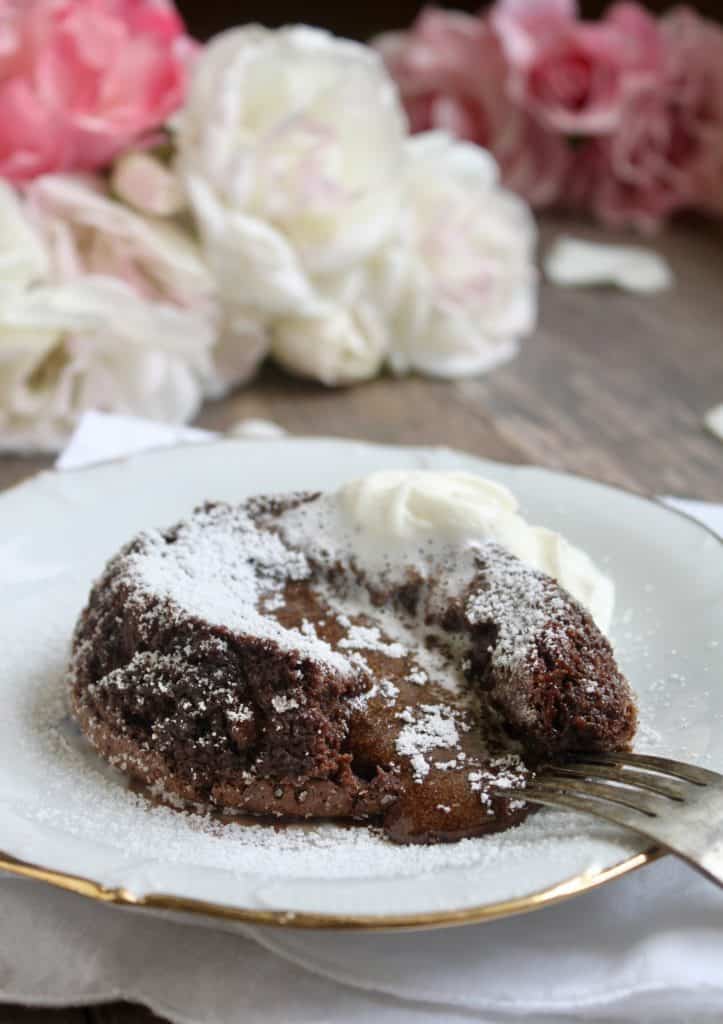
Molten lava cake is dessert that’s so easy to whip up anytime you like. They are so impressive with a dusting of sugar and a dollop of cream! When that molten chocolate oozes out, you’ll be a star!
Originally published February 11, 2013
Despite the fact that there must be hundreds of other online recipes for making molten lava cake, I have to share this recipe with you. It’s a dessert that we make religiously in my household.
As an Amazon Associate I earn from qualifying purchases.
I’ve also discovered you can make them ahead of time and keep in the fridge or freezer, until ready to bake! That’s a huge plus!
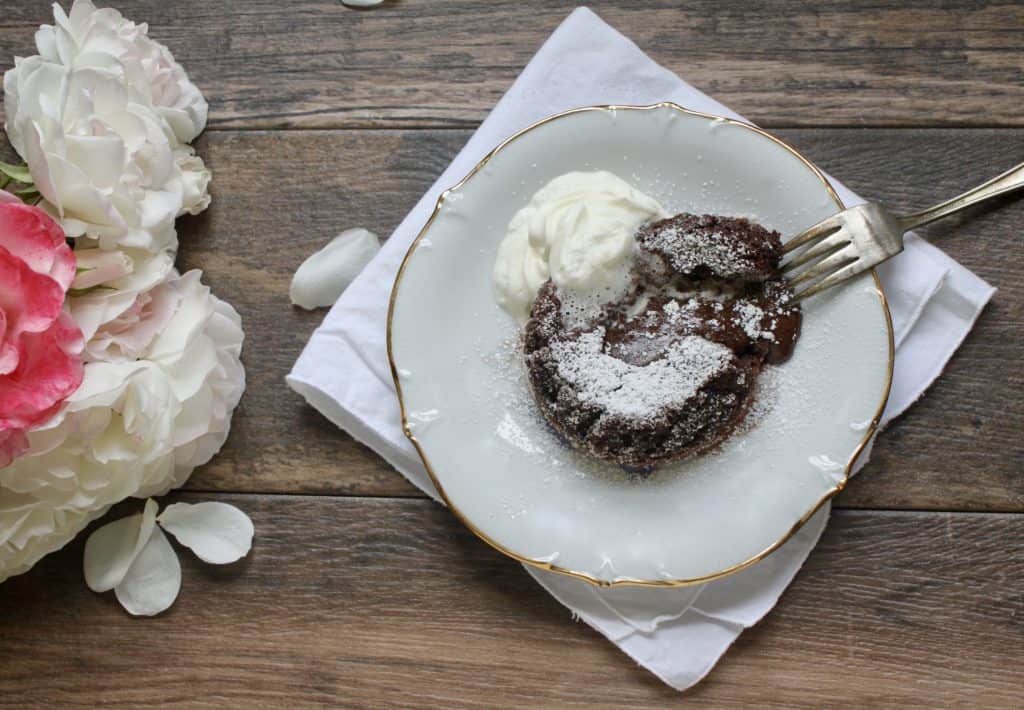
This is one of my daughter’s favorite recipes, and it’s so easy, she can whip up a batch of molten chocolate lava cakes in no time. The other nice thing about this recipe, is that it can be made gluten free by switching the ONE tablespoon of all-purpose flour, with any type of gluten-free flour. It is very similar to the decadent chocolate torte I posted last year.
Don’t miss my tips below for ensuring
perfect results every time!
These little oozy chocolate cakes are perfect for special occasions such as a birthday, Valentine’s Day or Mothers’ Day. However, I’m sure you’ll want to make them again and again, and not just for special occasions.
Molten Lava Cake Recipe
adapted from a Bon Appetit recipe serves 6
FULL PRINTABLE RECIPE BELOW
Ingredients
- bittersweet or dark chocolate
- butter
- sugar
- eggs
- egg yolks
- flour (substitute rice flour or GF baking mix for gluten free)
Optional
- strawberries for garnish
- whipping cream or ice cream, to serve
Special equipment: 6 to 8 ramekins (I recommend these ramekins, as they are made in France.)
Preheat oven to 425º F (215º C)
Prepare the Ramekins
Begin by buttering the ramekins, then coating them in sugar.
Make the Molten Lava Cake Batter
In a small pot, melt butter and chocolate pieces over low heat until smooth. Remove from heat and set aside. (Do not overheat, or it will cook the eggs when added to the mixture.)
In a large mixing bowl, beat eggs, egg yolks and sugar until very thick and pale yellow (it should almost triple in size) about 5 or 6 minutes if using a stand mixer, or similar.
Gently add about a third of the melted chocolate mixture to the egg mixture, then fold in the remaining chocolate, and tablespoon of flour.
Try not to stir the cake batter; gently fold it until it looks uniform in color.

Bake the Molten Chocolate Lava Cakes
Divide equally into the prepared ramekins, then place them on a baking tray.
Bake in preheated oven for 10 to 13 minutes (ovens vary and depending on how much batter is in each ramekin, baking times will also vary.) SEE MY TIPS FOR ENSURING A MOLTEN CENTER IN THE TEXT ABOVE THE RECIPE.
While the cakes are baking, whip some cream, if desired, and prepare the strawberry garnishes: with a sharp knife, make several slices into the strawberry, then fan out and place on plate.
The molten chocolate lave cakes are ready when edges are puffed, but center inch still moves slightly when shaken. The center is meant to be undercooked.
Serve the Molten Chocolate Lava Cakes
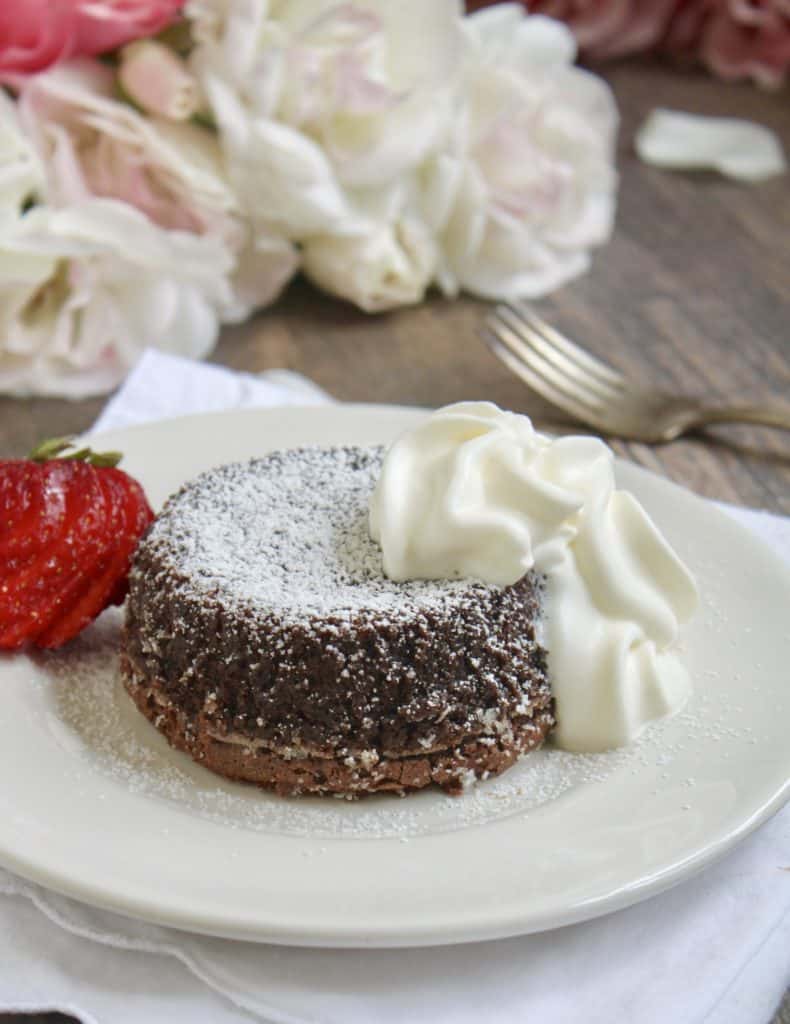
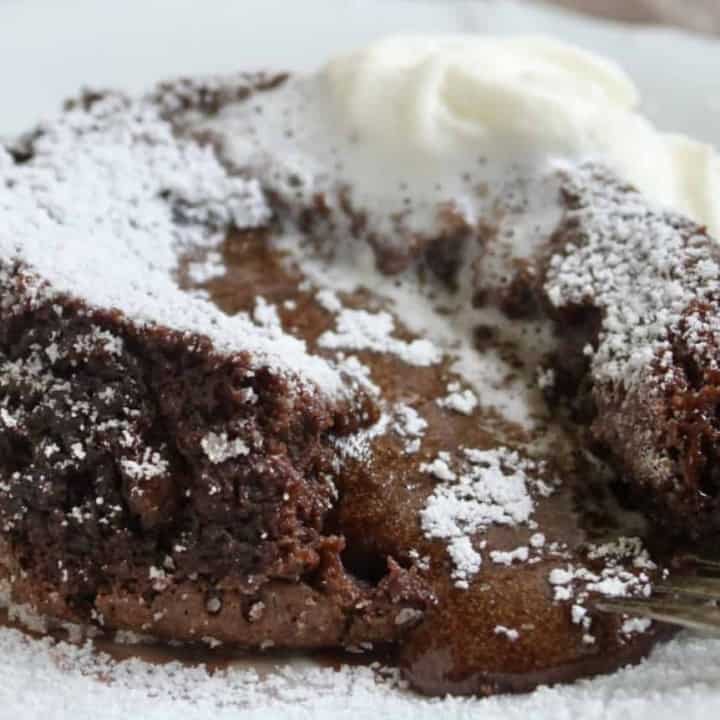
Serve immediately with a dusting of powdered sugar, whipped cream or ice cream and a strawberry garnish. You may choose to serve them in the ramekin, however, I think the presentation is lost unless it’s turned out onto a plate.
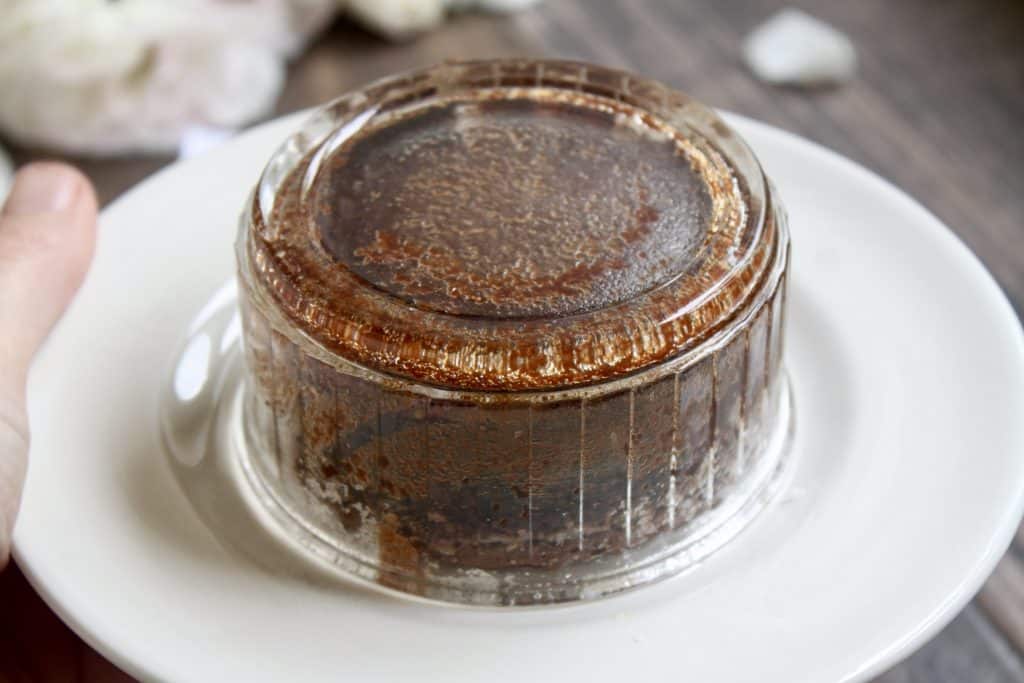
To serve this way, first, run a knife around the outside of the ramekin and and place a dessert plate on top (upside down). Now, invert the cake onto the plate with your hand underneath the dessert plate; it’s very easy.
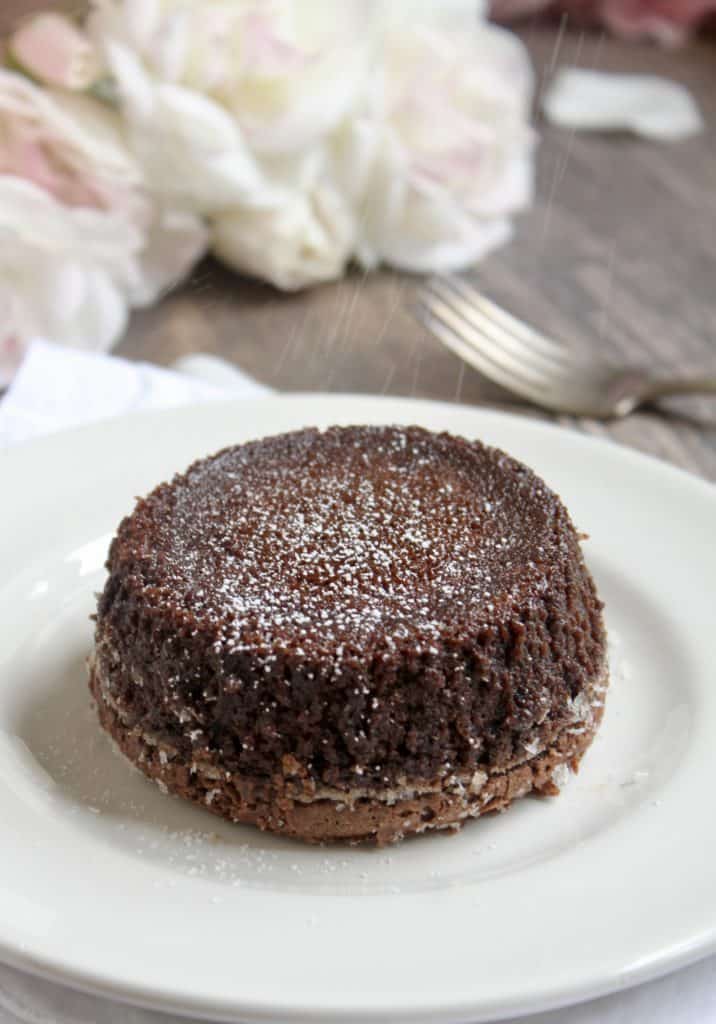
Dust with powdered sugar.
Want to make these ahead of time and reheat in the microwave? You can! See the directions in the notes section of the printable recipe card below.
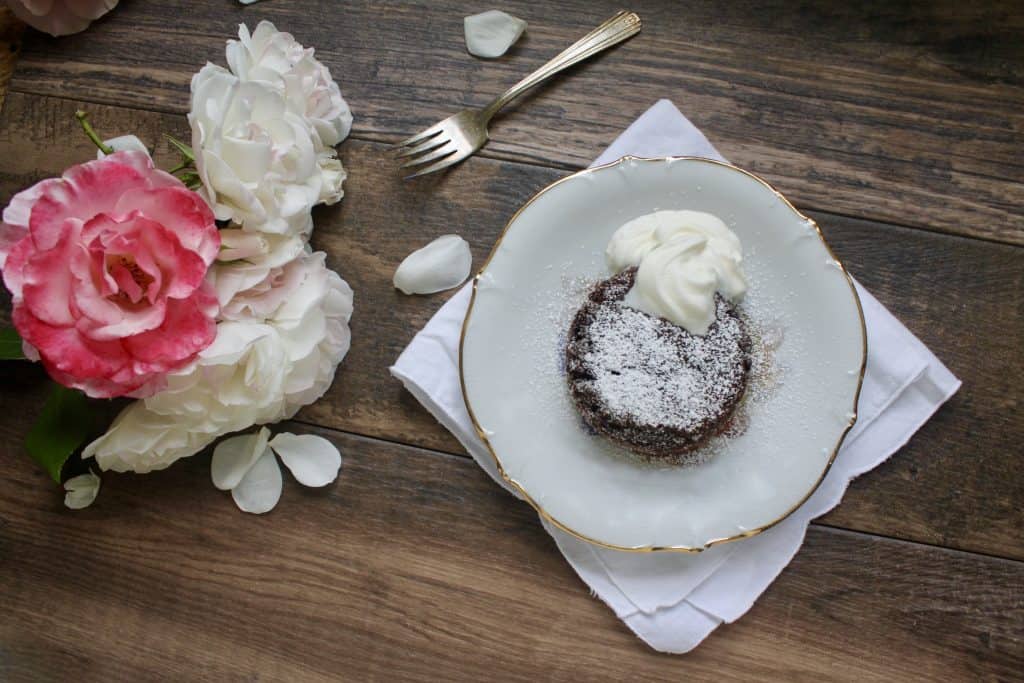
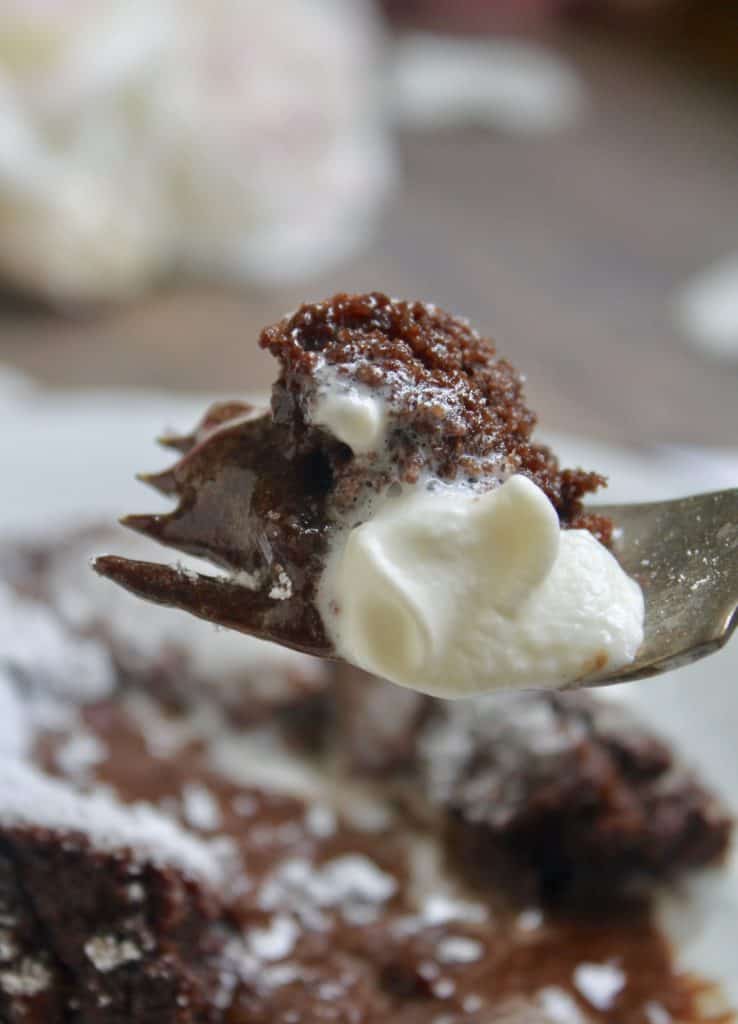
Now comes the best part: watching the center ooze out!

Oops! Sorry, I misspoke! The very best part is eating the molten lava cake!
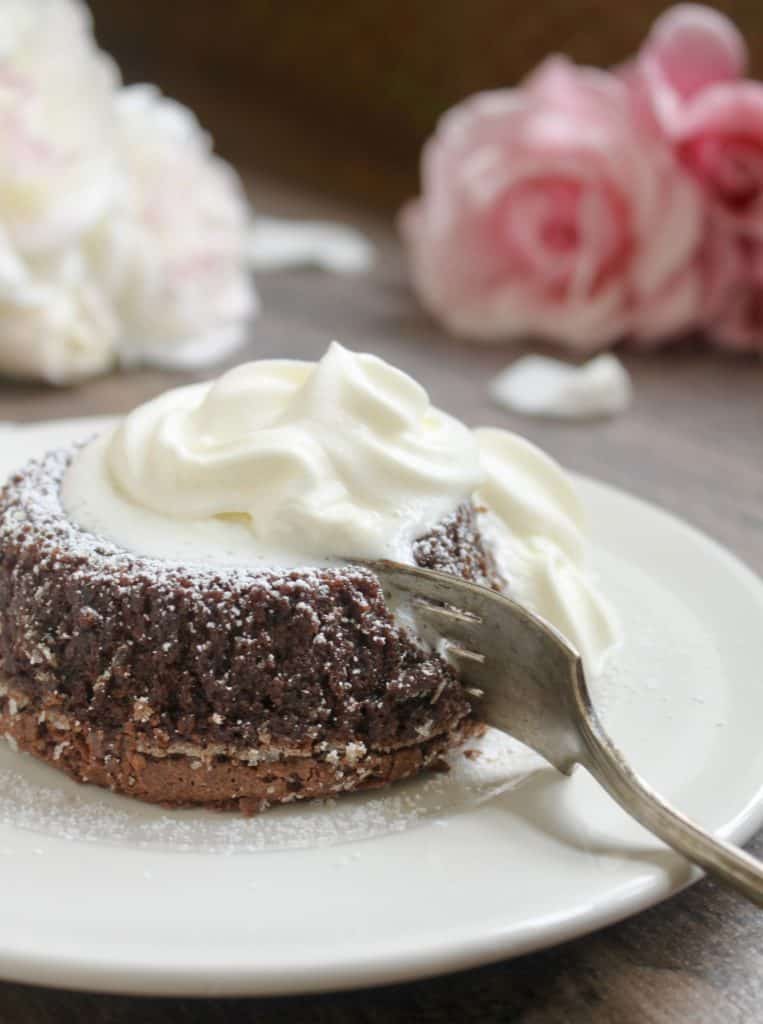
So who is off to the kitchen to make their own molten lava cakes now?
Amy from Constellation Inspiration has some seriously beautiful candied strawberries that I think would be perfect alongside these lava cakes (one on each plate, without the lollipop stick)!
Don’t miss another post! Click to sign up for my free weekly recipe & travel subscription.
Bittersweet Molten Chocolate Lava Cakes
Perfect molten chocolate lava cakes are easy to make with this solid recipe. So good and so easy to make.
Ingredients
- 8 oz (1 cup) good quality bittersweet or dark chocolate (I used 70%)
- 6 oz (1 1/2 sticks) unsalted butter
- 5 tbsp sugar
- 3 large eggs, at room temperature
- 3 large egg yolks, at room temperature
- 1 tbsp all-purpose flour (substitute quinoa flour for Gluten Free)
- strawberries for garnish
- whipping cream or ice cream, to serve
- extra butter and sugar to coat 6 to 8 ramekins
Instructions
- Preheat oven to 425º F (215º C)
- Begin by buttering the ramekins, then coating them in sugar.
- In a small pot, melt butter and chocolate pieces over low heat until smooth. Remove from heat and set aside. (Do not overheat, or it will cook the eggs when added to the mixture.)
- In a large mixing bowl, beat eggs, egg yolks and sugar until very thick and pale yellow (it should almost triple in size) about 5 or 6 minutes if using a stand mixer, or similar.
- Gently add about 1/3 of the melted chocolate mixture to the egg mixture, then fold in the remaining chocolate and tablespoon of flour. Try not to stir the cake batter; gently fold it until it looks uniform in color.
- Divide equally into the prepared ramekins, then place them on a baking tray.
- Bake in preheated oven for 10 to 13 minutes (ovens vary and depending on how much batter is in each ramekin, baking times will also vary.)
- While the cakes are baking, whip some cream, if desired, and prepare the strawberry garnishes: with a sharp knife, make several slices into the strawberry, then fan out and place on plate.
- Cakes are ready when edges are puffed, but center inch still moves slightly when shaken. The center is meant to be undercooked.
- Serve immediately with a dusting of powdered sugar, whipped cream or ice cream and a strawberry garnish, directly in the ramekin. Alternately, run a knife around the outside and empty out onto a dessert plate (this is how I like to serve them).
Notes
- Freezing and reheating instructions: bake for 8 minutes instead of 11. Cool in the ramekin and freeze.
- To reheat, run a knife around the ramekin to release the frozen cake and invert it onto a microwave safe plate. Heat for about 50 seconds and serve.
Nutrition Information:
Yield: 6 Serving Size: 1Amount Per Serving: Calories: 340Total Fat: 25gSaturated Fat: 14gTrans Fat: 1gUnsaturated Fat: 9gCholesterol: 268mgSodium: 199mgCarbohydrates: 22gFiber: 1gSugar: 19gProtein: 8g
Nutrition information is only estimated.
Christina’s Cucina is a participant in the Amazon Services LLC Associates Program, an affiliate advertising program designed to provide a means for sites to earn advertising fees by advertising and linking to Amazon.com



Lava cakes and a great cup of coffee will fit the bill for tomorrow’s snowy Valentine’s Day.
This looks totally decadent and I will make this at Mom’s next week. Chocolate and coffee, a perfect pairing.
Yay, good luck!
I have made lava cakes in the past. This one looks just heavenly. I would definitely serve coffee with this. The D&G Bialetti Moka Coffee Pot would make the occasion seem like a party. Cheers!
Good luck, Carol!
Christina – I tried this delicious lava cake, and it could only be improved by having it with Brazilian Pilao decaf coffee brewed in a D&G Bialetti Moka Coffee maker! Thanks for recipe and this chance! Steve
I bet, good luck, Steve!
This looks like this year’s Valentine Day treat, and my first choice for the recipe I would serve with coffee made from a D&G Bialetti Moka Coffee Pot. :-)
Perfect choice, Dennis! Good luck!
I’ve never tried making molten lava cakes – this recipe looks easy enough to try this week. Wednesday to be more exact! It would be delicious with a cup of mocha coffee! Looking forward to it.
Yes, MaryAnn! Best of Luck!
This is what I would serve with coffee made from a D&G Bialetti Moka Coffee Pot! A warm molten lava cake with a scoop creamy vanilla ice cream and the perfect cup of coffee. Sigh
Yay! Good luck!
Looks divine! I’m looking forward to eating this with a fresh cup of cold brewed Coffee. The perfect match for a romantic Valentine’s Dessert!
It truly is! Good luck, Vicki!