Mimosa Cake for International Women’s Day on March 8th
Mimosa cake for International Women’s Day is THE cake for the day’s celebrations! International Women’s Day has become more popular in the US over the past few years. In Italy, this torta mimosa is made on March 8th to celebrate the achievements of women the world over!
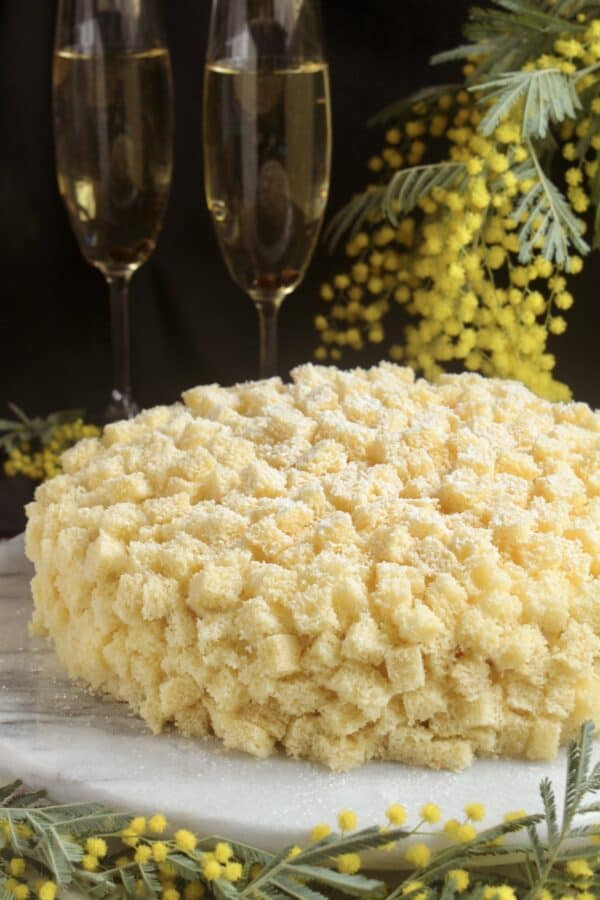
If you’ve ever seen a mimosa tree in bloom, you’ll appreciate this mimosa cake.
As an Amazon Associate I earn from qualifying purchases.
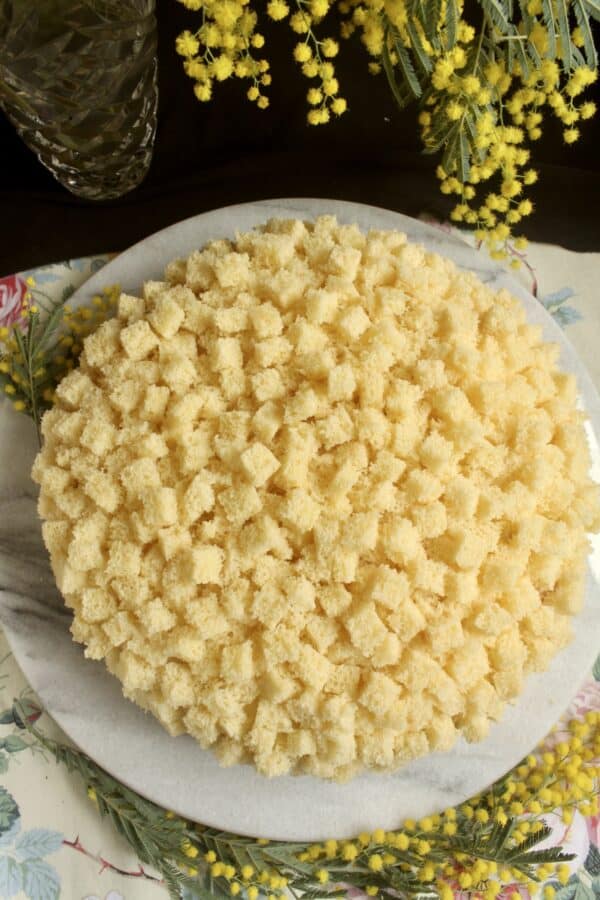
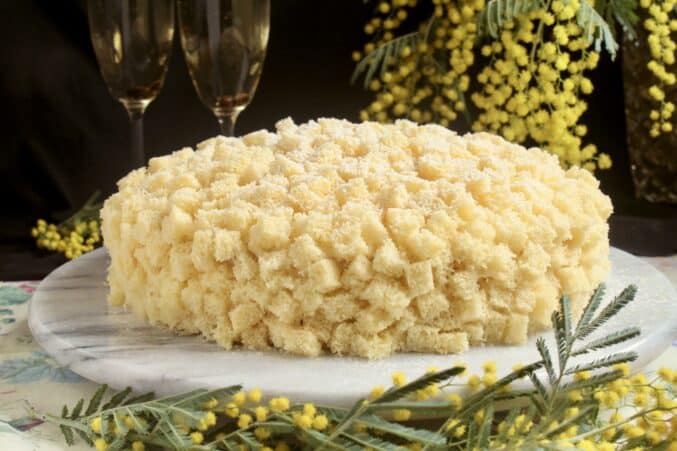
It mimics the delicate yellow clusters of flowers to create a cake that is truly unique.
What is International Women’s Day?
International Women’s Day has been more widely celebrated outside the US until recently, however, the day came about due to events that occurred in the USA. This is a day to celebrate the achievements of women around the globe and bring awareness to continued discrimination.
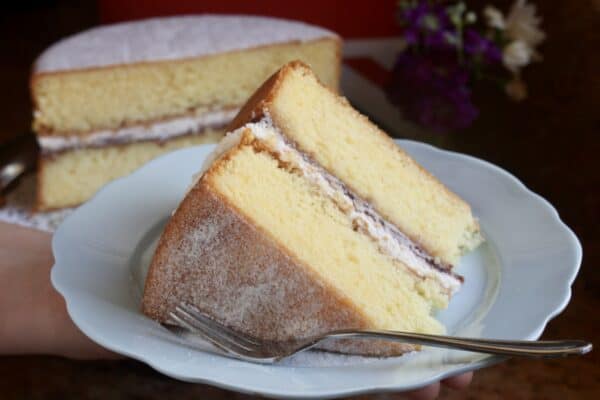
Looking for a classic sponge cake recipe? Try a British Victoria sandwich cake.
What is a Mimosa Cake?
If there is a cake connected to International Women’s Day, it’s a mimosa cake, or torta mimosa (in Italian). This cake has two possible histories. One is that it was created in Rome in the 1950s to look like the flowers on a mimosa tree, which happens to be in bloom in early March. The other theory is that Italian mimosa cake was made for a contest in Sanremo, Italy, in 1962, according to Bombonette.
How is an International Women’s Day Cake Made? How to Make a Mimosa Cake.
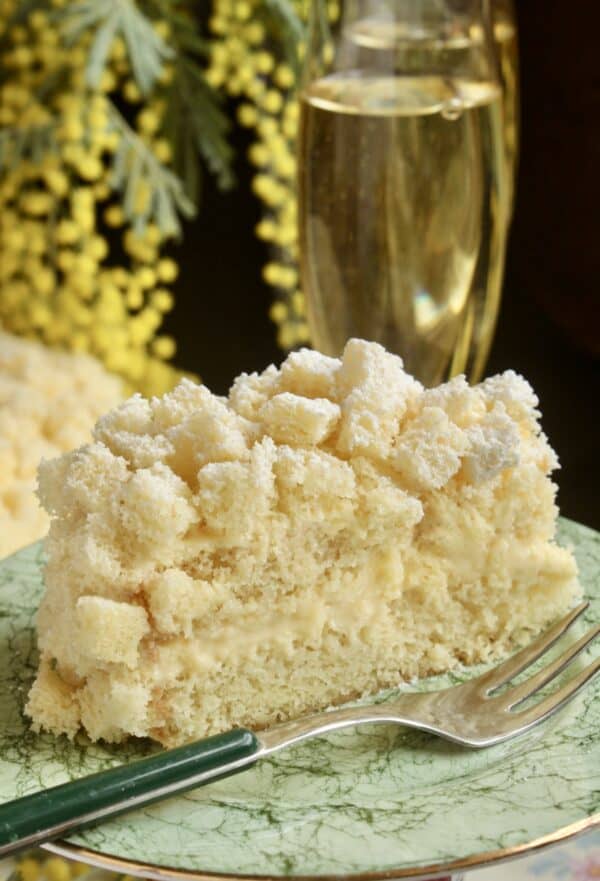
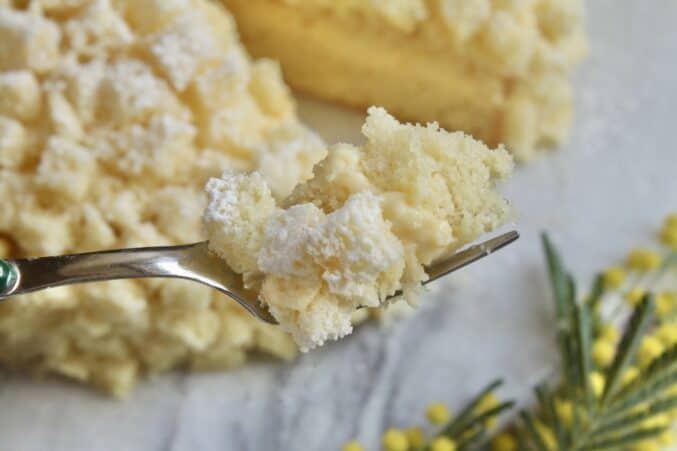
It’s more simple to make this cake than it appears. Two layers of sponge cake are baked. One is split into two or three layers, and the other is either cut into tiny cubes, or completely crumbled. A light pastry cream is then spread between the layers of the cake (which are soaked with a liqueur laced syrup) and all over the top and sides of the cake.
The cubes or crumbs of sponge cake are then stuck to the exterior of the cake until it’s completely covered. It’s then optional to dust the International Women’s Day cake with powdered sugar.
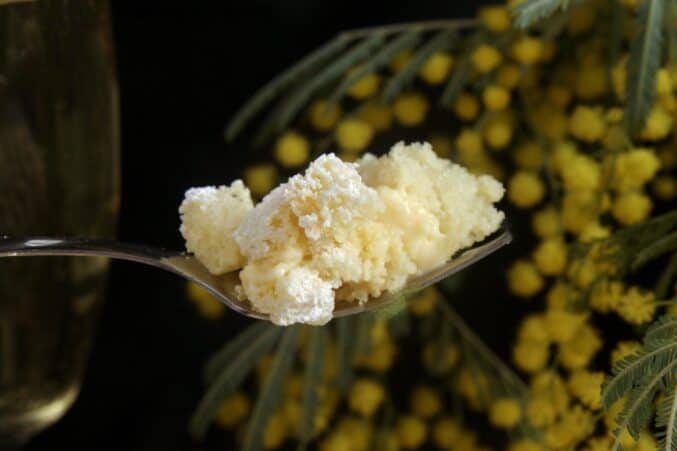
International Women’s Day Cake (Torta Mimosa)
cake recipe inspired by Ricetta Della Nonna serves 10
FULL PRINTABLE RECIPE BELOW
Ingredients
CAKE
- cake flour
- sugar
- eggs
SYRUP
- water
- sugar
- Grand Marnier
PASTRY CREAM
- egg yolks
- milk
- sugar
- potato or corn starch
- salt
- vanilla beans/powder
- heavy whipping cream
- Grand Marnier (optional)
Oven temperature 350 F (175 C)
Two 8″ (20cm) cake tins
Prepare the Pastry Cream (before, or while the cakes are baking)
Make the pastry cream according to the crema pasticcera recipe below.
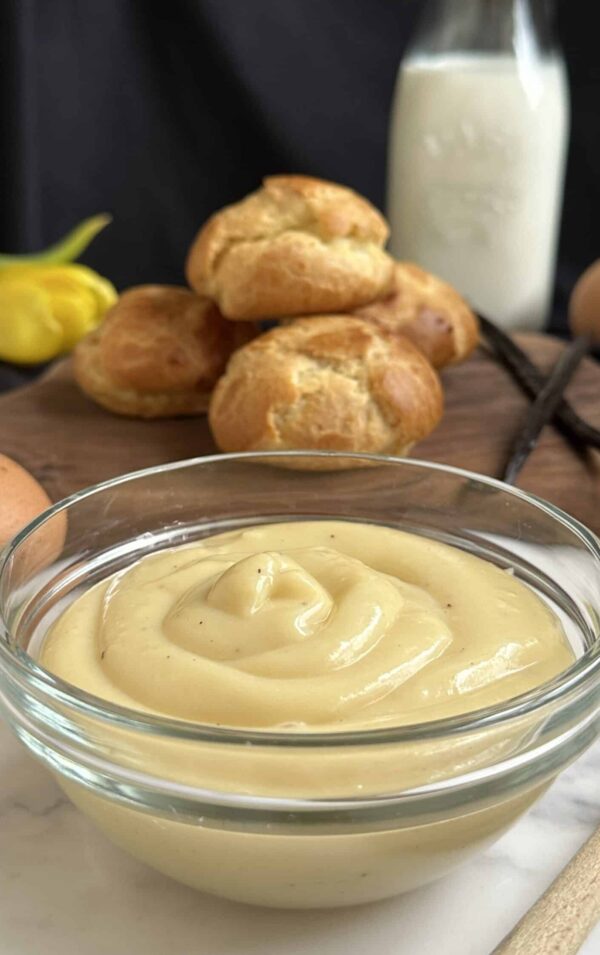
Once the pastry cream is made and chilled, fold in the Grand Marnier and whipped cream, then cover and refrigerate once again.
Make the Cakes
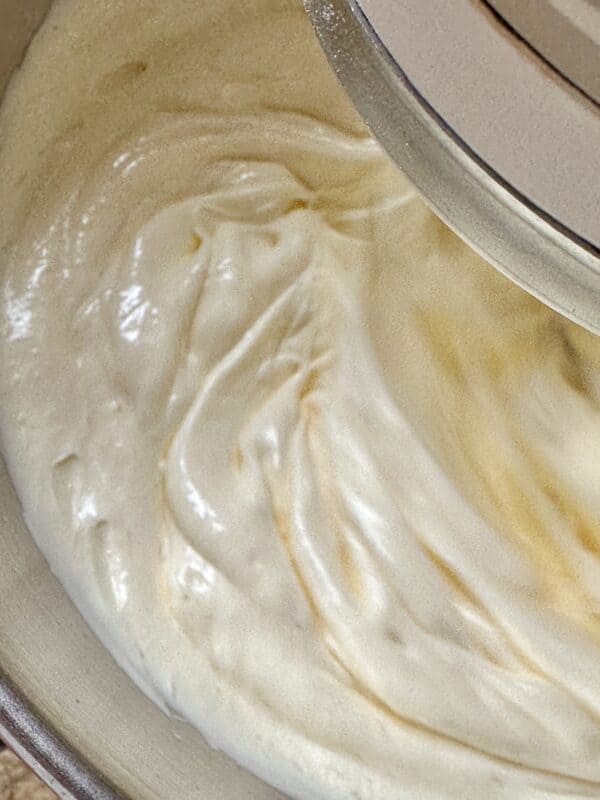
With ingredients at room temperature, beat the eggs and sugar in a stand mixer (or with hand beater) until super thick and pale (between 5-10 minutes, depending on the mixer).
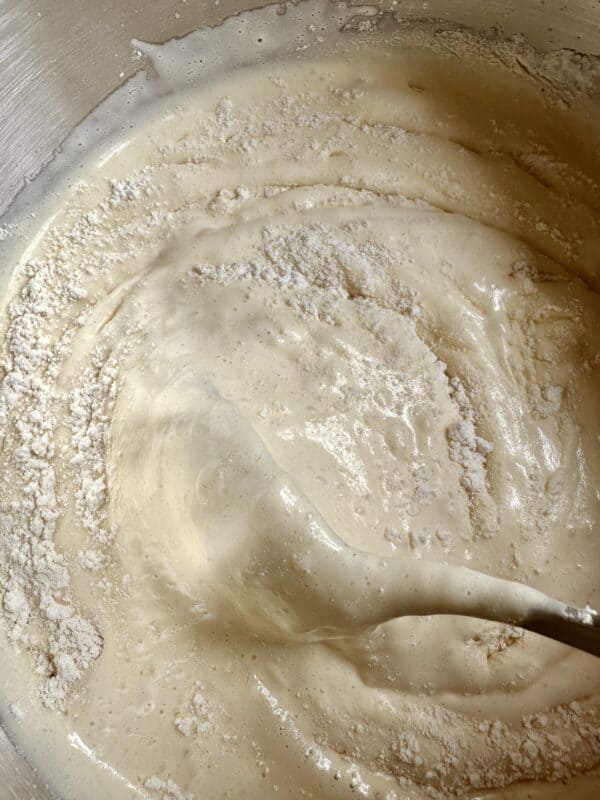
Fold flour into mixture a little at a time (by hand), carefully keeping in as much air as possible.
Gently spoon into prepared cake pans, and place into preheated oven.
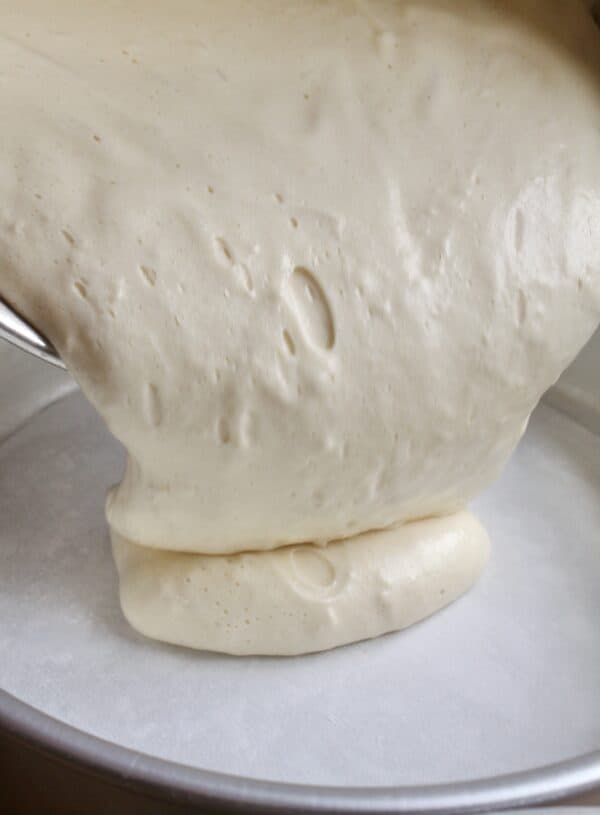
Bake the cakes for 20-25 minutes. Remove from oven and allow to cool in pan for 15 minutes.
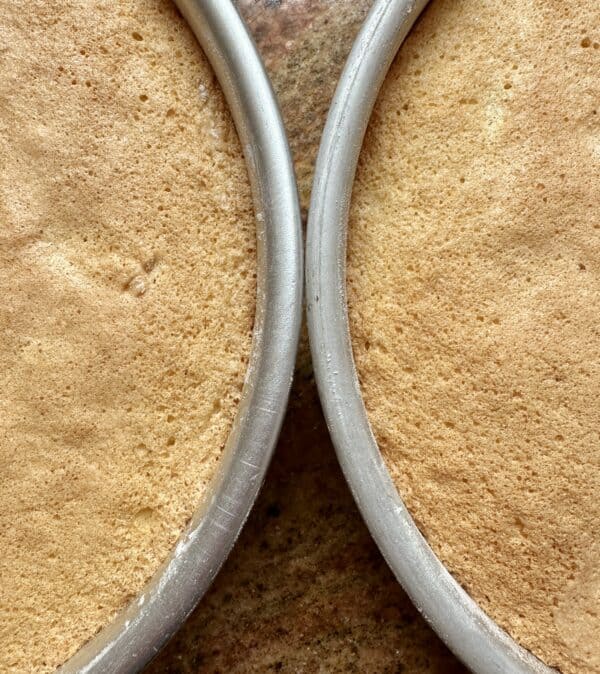
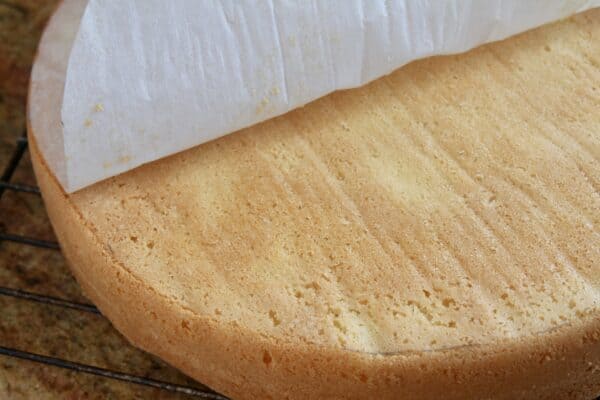
Remove from pan, place on a cooling rack, then peel off the parchment paper. Allow to cool completely. It does not matter which side is on the rack as the entire cake is covered with cake pieces.
Make the Syrup for the International Women’s Day Cake
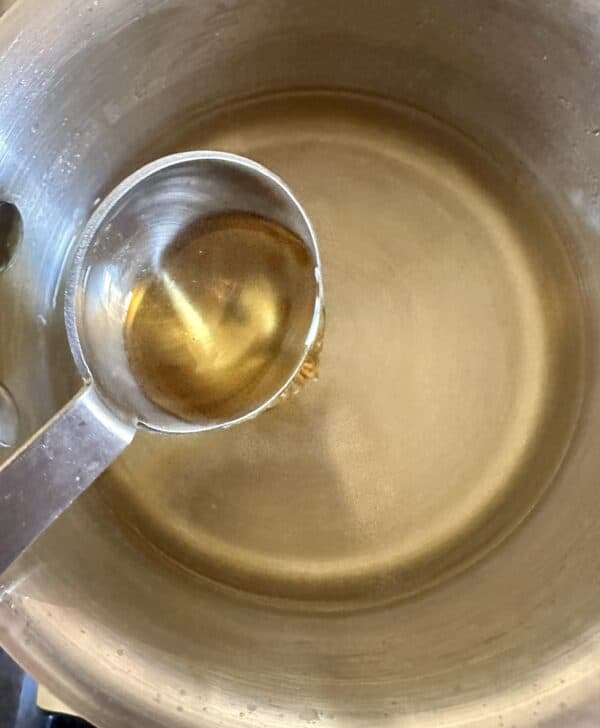
Simmer the sugar and water for about 3 minutes, then add the Grand Marnier and set aside to cool.
Prepare the First Cake to Assemble
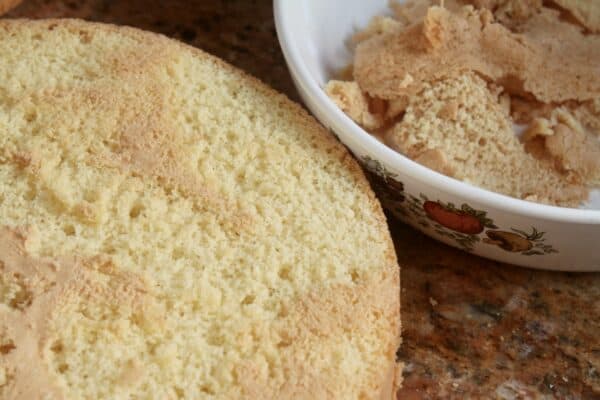
Trim off the top and bottom browned parts of both cakes. This is similar to taking crust off bread for tea sandwiches.
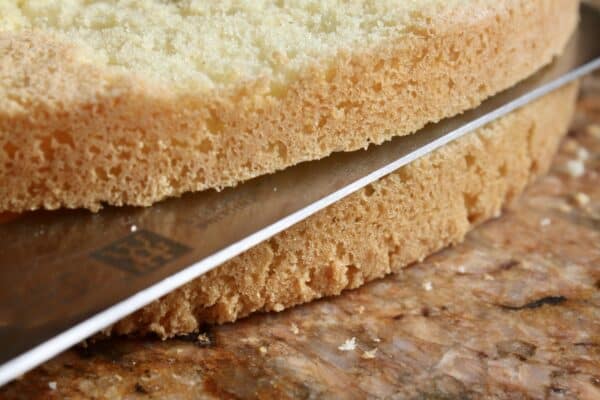
Cut one sponge cake in half with a bread knife (this one will be the main cake so choose the nicest of the two).
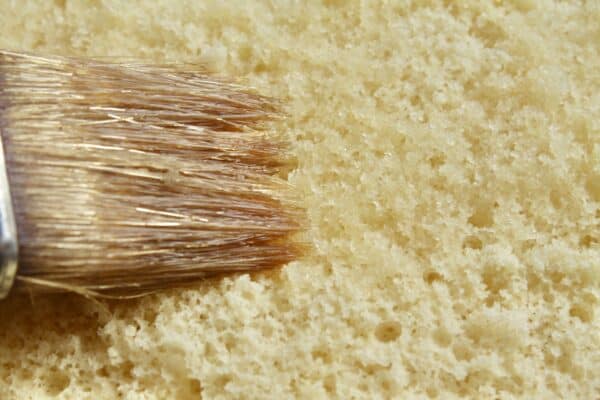
Brush the top of each of these two layers with the syrup.
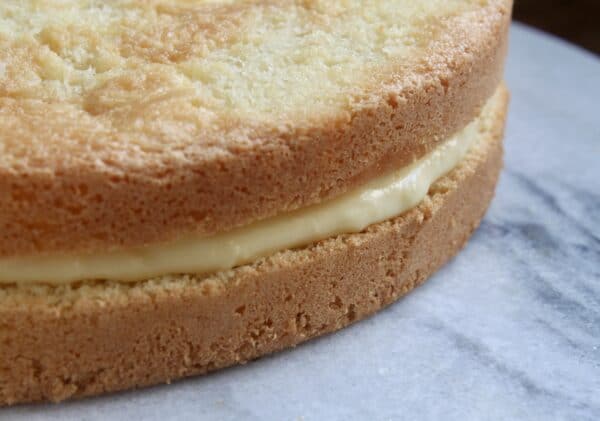
Place one layer on a cake plate or serving tray and cover with some of the pastry cream (enough for a cake filling). Next, cover the top and sides with the remaining pastry cream.
Prepare the Second Cake to Assemble
Slice the other cake horizontally into three layers, then cut each layer into long, thin strips.
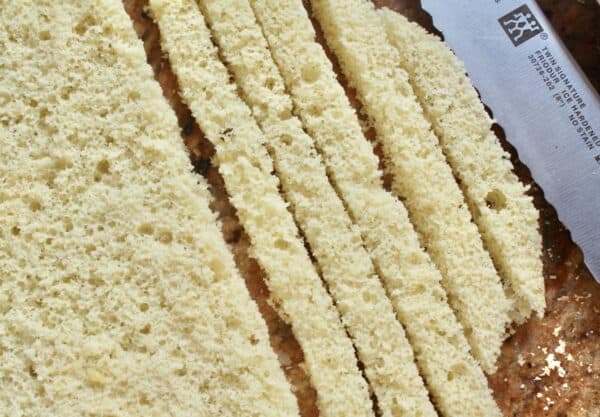
Continue cutting the strips into tiny cubes which will be used to decorate the cake.
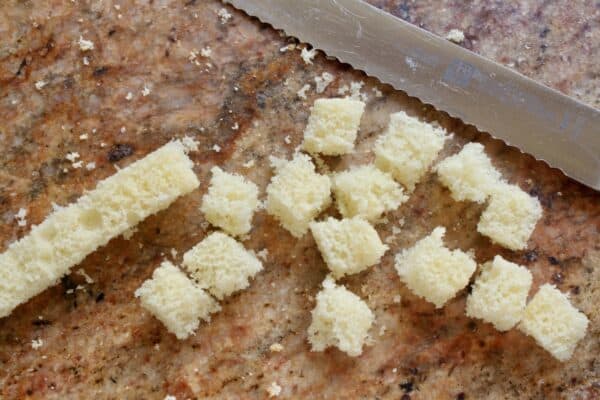
Assemble and Decorate the Mimosa Cake
Begin decorating the cake by dropping cubes onto the top of the sponge cake.
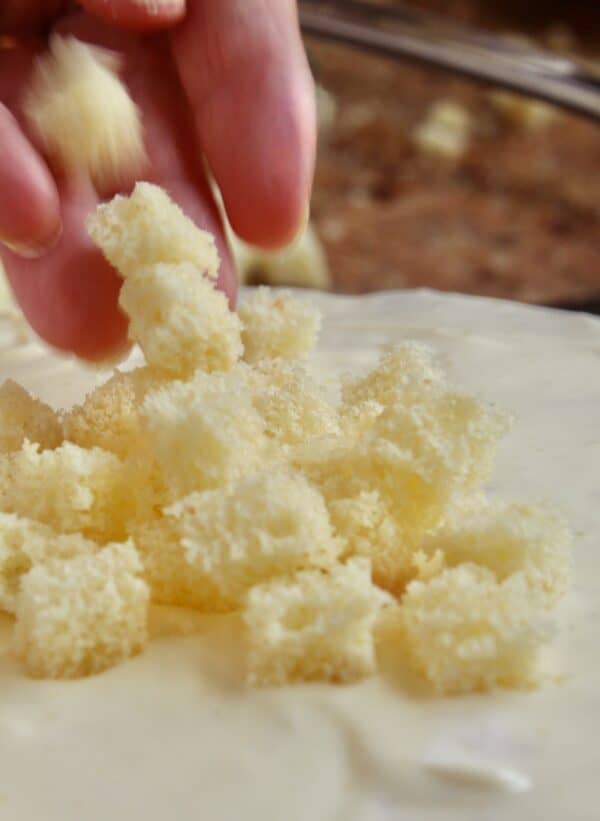
Continue adding the cubes and pushing them onto the sides and top of the cake so that they cover the cake completely. It doesn’t take too long, and isn’t difficult to do.
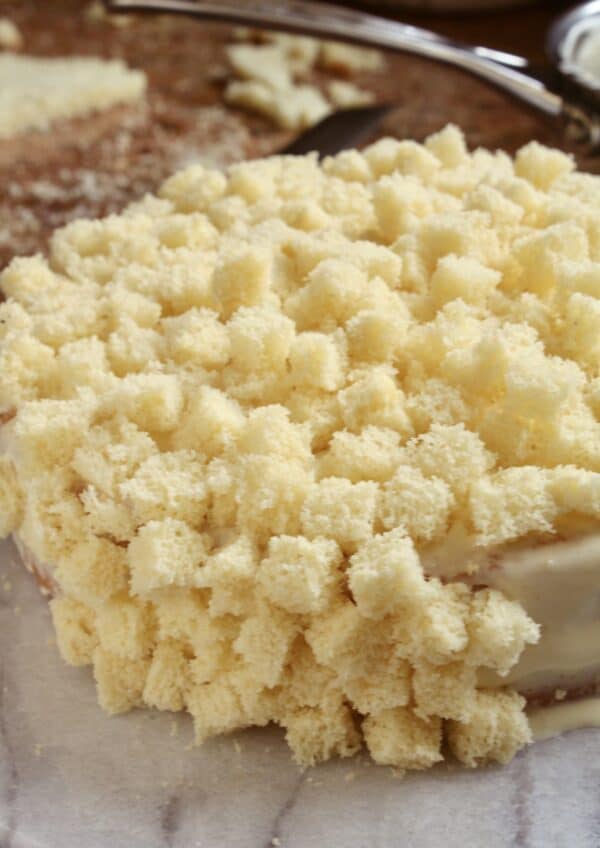
Ta dah! That wasn’t so difficult, was it? Now you should refrigerate the cake for at least 2 hours so that it can set, however, be sure to cover it to keep it from drying out. As much as I hate cling film, this is the best product for the job.
You can choose to serve the cake as is.
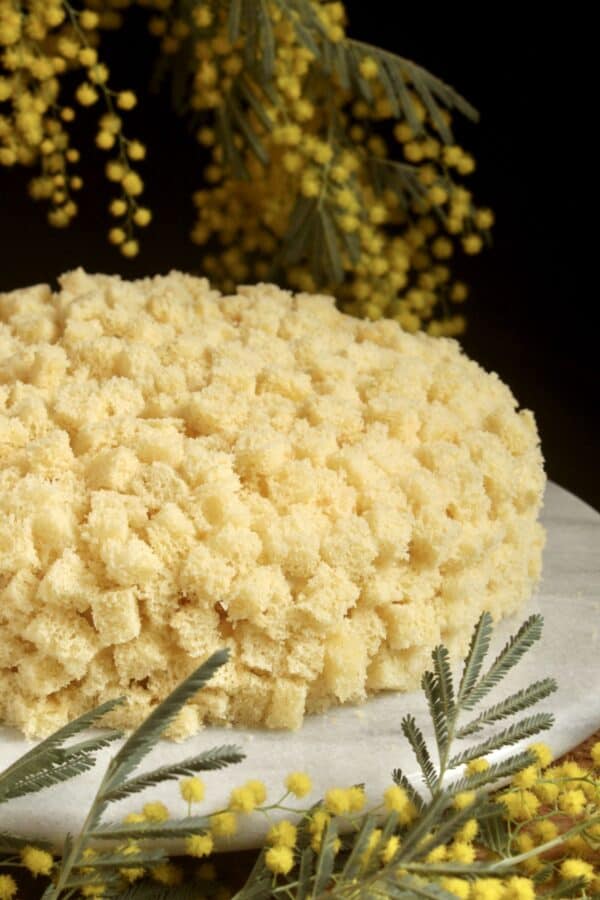
Or dust your beautiful mimosa cake with powdered sugar, which I prefer. It gives it a more “finished” look. An alternative decorating style is to make crumbs instead of cubes, and cover the cake with them. It’s also a very pretty look. I plan to make one in this way and share the photo, as well.
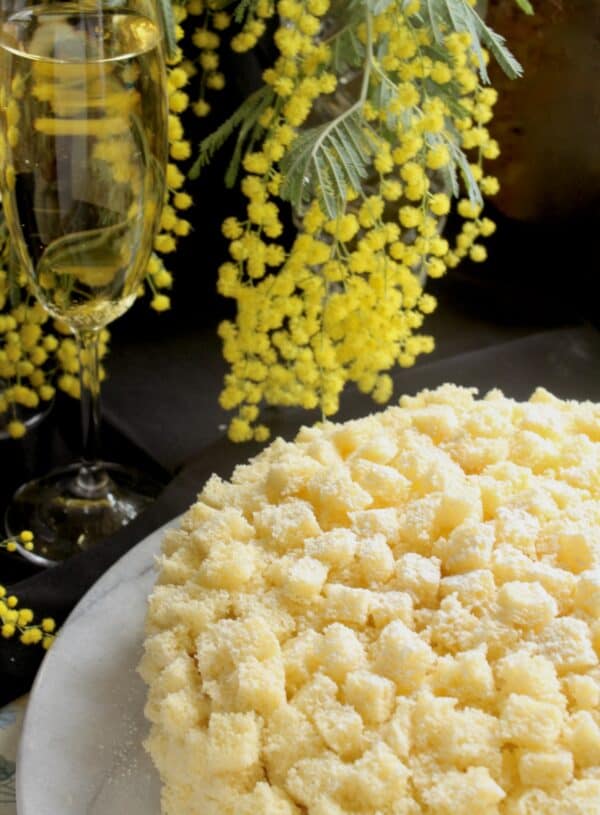
All that’s left to do is open a bottle and slice the International Women’s Day cake!
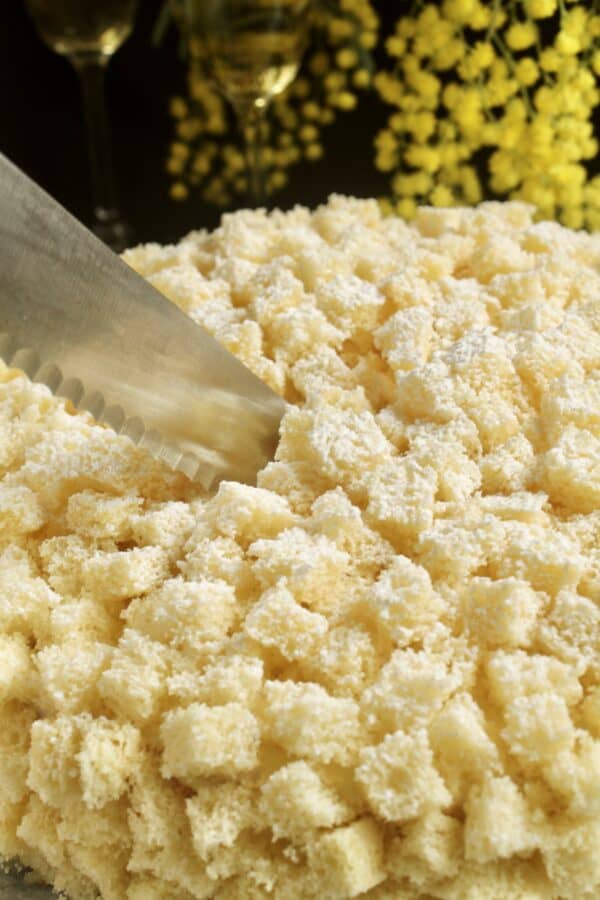
Happy International Women’s Day to all women around the world!
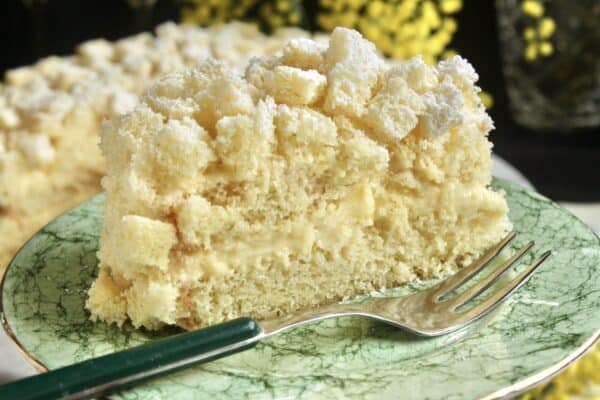
I hope you’ll enjoy the International Women’s Day Cake Recipe!
Let me know in the comments below.
Don’t forget Mother’s Day in May (in the US and many other places around the globe). This mimosa cake would be a great choice for this day, and here is a menu for a very special mother’s day!
Sign up for my free subscription and never miss another post!
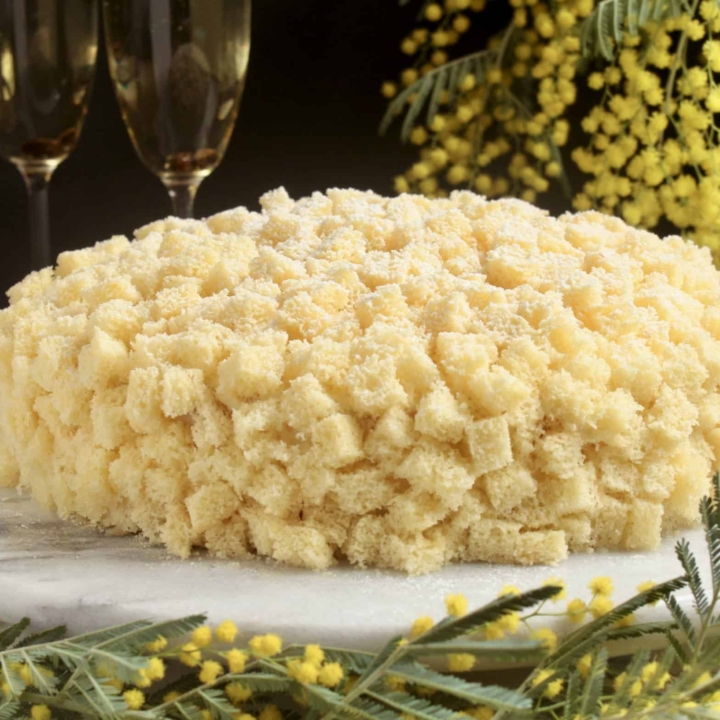
International Women's Day Cake (Torta Mimosa) for March 8th
A light sponge cake drenched in a boozy syrup, filled and covered with pastry cream and coated in tiny pieces of sponge cake.
Ingredients
Cake
- 240 g (2 1/4 c) Baker's or caster sugar (fine sugar)
- 5 eggs
- 240 g (2 c) cake flour
Syrup
- ¾ c water (175 ml)
- 3 Tbsp sugar
- 2 Tbsp Grand Marnier
Filling and coating
- 1 recipe of pastry cream made with 12 oz (350 ml) of milk (see notes)
- 4 oz (120 ml) heavy whipping cream
To decorate
- Confectioner's/powdered sugar to dust (optional)
Instructions
Oven temperature 350 F (175 C)
Grease, and flour two 8" (20cm) cake tins. You can line the bottom with parchment paper as well, if desired.
Prepare the Pastry Cream (before, or while the cakes are baking)
- Make the pastry cream according to the crema pasticcera recipe below but use only 12 oz (350 ml) of milk. The rest of the ingredients remain the same.
- Once the pastry cream is made and chilled, fold in the Grand Marnier and whipped cream, then cover and refrigerate once again.
Make the Cakes
- With ingredients at room temperature, beat the eggs and sugar in a stand mixer (or with hand beater) until super thick and pale (between 5-10 minutes, depending on the mixer).
- Fold flour into mixture a little at a time (by hand), carefully keeping in as much air as possible.
- Gently spoon into prepared cake pans, and place into preheated oven.
- Bake the cakes for 20-25 minutes. Remove from oven and allow to cool in pan for 15 minutes.
- Remove from pan, place on a cooling rack, then peel off the parchment paper. Allow to cool completely. It does not matter which side is on the rack as the entire cake is covered with cake pieces.
- Gently pour the batter into the 2 prepared cake pans.
- Bake the cakes for 20-25 minutes. Remove from oven and allow to cool in pan for 15 minutes. Remove from pan, place on a cooling rack, then peel off the parchment paper. Allow to cool completely.
Make the Syrup
Simmer the sugar and water for about 3 minutes, then add the Grand Marnier and set aside to cool.
Prepare the First Cake to Assemble
- Trim off the top and bottom browned parts of both cakes. This is similar to taking crust off bread for tea sandwiches.
- Cut one sponge cake in half with a bread knife (this one will be the main cake so choose the nicest of the two).
- Brush the top of each of these two layers with the syrup.
- Place one layer on a cake plate or serving tray and cover with some of the pastry cream (enough for a cake filling). Next, cover the top and sides with the remaining pastry cream.
Prepare the Second Cake to Assemble
- Slice the other cake horizontally into three layers, then cut each layer into long, thin strips.
- Cut each strip into tiny cubes which will be used to decorate the cake.
Assemble and Decorate the Mimosa Cake
- Begin decorating the cake by dropping cubes onto the top of the sponge cake.
- Continue adding the cubes and pushing them onto the sides and top of the cake so that they cover the cake completely. It doesn't take too long, and isn't difficult to do.
- Refrigerate the cake for at least 2 hours so that it can set, however, be sure to cover it to keep it from drying out. As much as I hate cling film, this is the best product for the job.
- Serve the cake as-is, or dust with powdered sugar, which I prefer. It gives it a more "finished" look.
Notes
- Make the pastry cream using less milk, as it needs to be more thick. All other ingredients remain the same (card below) .
- It is imperative that you use cake flour (in the US) for the sponge or it will NOT turn out properly.
- Use a scale for the very best results.
- An alternative decorating style is to make crumbs instead of cubes, and cover the cake with them. It's also a very pretty look. I plan to make one in this way and share the photo, as well.
Nutrition Information:
Yield: 10 Serving Size: 1Amount Per Serving: Calories: 447Total Fat: 8gSaturated Fat: 4gTrans Fat: 0gUnsaturated Fat: 3gCholesterol: 122mgSodium: 97mgCarbohydrates: 64gFiber: 0gSugar: 43gProtein: 6g
Nutrition information is only estimated.
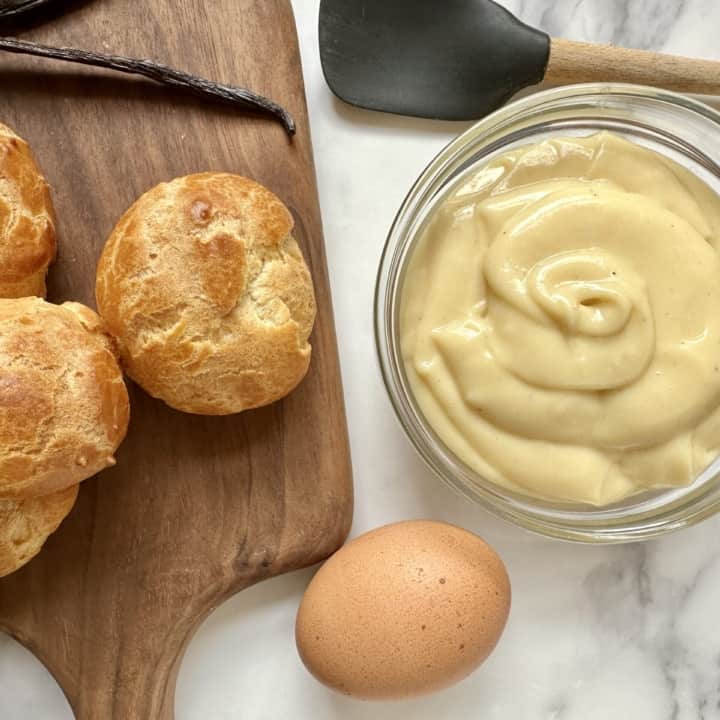
Pastry Cream Recipe (Crema Pasticcera)
Simple Italian pastry cream recipe (crema pasticcera) that is used for filling countless desserts and pastries.
Ingredients
- 4 egg yolks (organic)
- ⅓ c (75 g) sugar
- 3 Tbsp (30g) potato starch (if using corn starch add 1 more tsp)
- pinch of salt
- 14 oz (415 ml) milk
- 1 tsp vanilla or ½ tsp pure vanilla powder or paste
Instructions
- Place the egg yolks into a medium sized pot (off the heat).
- Add the sugar and potato or corn starch and whisk together until uniform.
- When the mixture is smooth, place the pot on the stovetop. Begin pouring in the warm milk whilst whisking. Turn the heat on to medium.
- Continue whisking and gradually increase the heat. The pastry cream will thicken as it heats up.
- When the mixture comes to a boil, let it cook for about 3 minutes then remove from the heat. Add the vanilla and keep stirring as it cools so that it doesn't form a skin. Move into a large bowl and set the bowl into a larger bowl with ice water (if you need to cool it quickly), then refrigerate covered until completely chilled.
- Use as desired.
Notes
- If you want a lighter version of this pastry cream, whip 4 oz of heavy whipping cream until stiff and then fold into the chilled pastry cream.
- You can add more or less cream to your liking, and also add a little sugar to the cream when whipping (I prefer it without).
- Adding a tablespoonful of Grand Marnier makes a lovely addition, too.
- Pastry cream can be kept refrigerated for 1 or 2 days, but consume promptly once the pastries are filled.
Nutrition Information:
Yield: 12 Serving Size: 1Amount Per Serving: Calories: 108Total Fat: 3gSaturated Fat: 1gTrans Fat: 0gUnsaturated Fat: 1gCholesterol: 76mgSodium: 33mgCarbohydrates: 11gFiber: 0gSugar: 8gProtein: 2g
Nutrition information is only estimated.
Christina’s Cucina is a participant in the Amazon Services LLC Associate Program, an affiliate advertising program designed to provide a means for sites to earn advertising fees by advertising and linking to Amazon.com.



Just a few questions. What size cake pans? Could change bake time. In Europe they some times use smaller pans. Are the pans insulated for a flatter rise? I just want to increase my chances of success. I am prone to failure.
Goodness, how did I miss adding the cake tins? I linked out to the proper ones, but forgot to list them. That’s been edited (20cm tins, btw.) I don’t use insulated, just plain aluminum pans. Do not say you are prone to failure as you reinforce that thought and it will be more likely to lead to failure. Instead, “You are going to do your best!” I believe in you. Using a proper recipe is half the battle and you have a solid one, Bradley! Let me know how it turns out! :)
So lovely, it could do with a few colorful yellow sprinkles on top. 🥰
I’m doing it today!
Sandra W
Ooh, share a photo when you finish it, Sandra!
This cake looks like the perfect accompaniment to go with wonderful Italian coffee made in the elegant D &G Bialetti Mika coffee pot
Awesome, Nicola! Good luck!
What a fun cake! And such a nice way to celebrate women!
I think so, too! Thank you, David!
I saw this cake in Italy years ago, I’m glad you sheared the recipe, thank you Christina, it’s a beautiful cake, I’m sure it’s delicious.
What a unique looking cake! I would love to try it for a dinner party, how far in advance do you think I could make this?
It was still good after two days in the fridge!