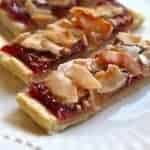
This Scottish Snow Cake recipe starts with a rich short crust pastry bottom, raspberry jam, light cake topped with icing and then coconut. It’s a coconut lover’s dream.
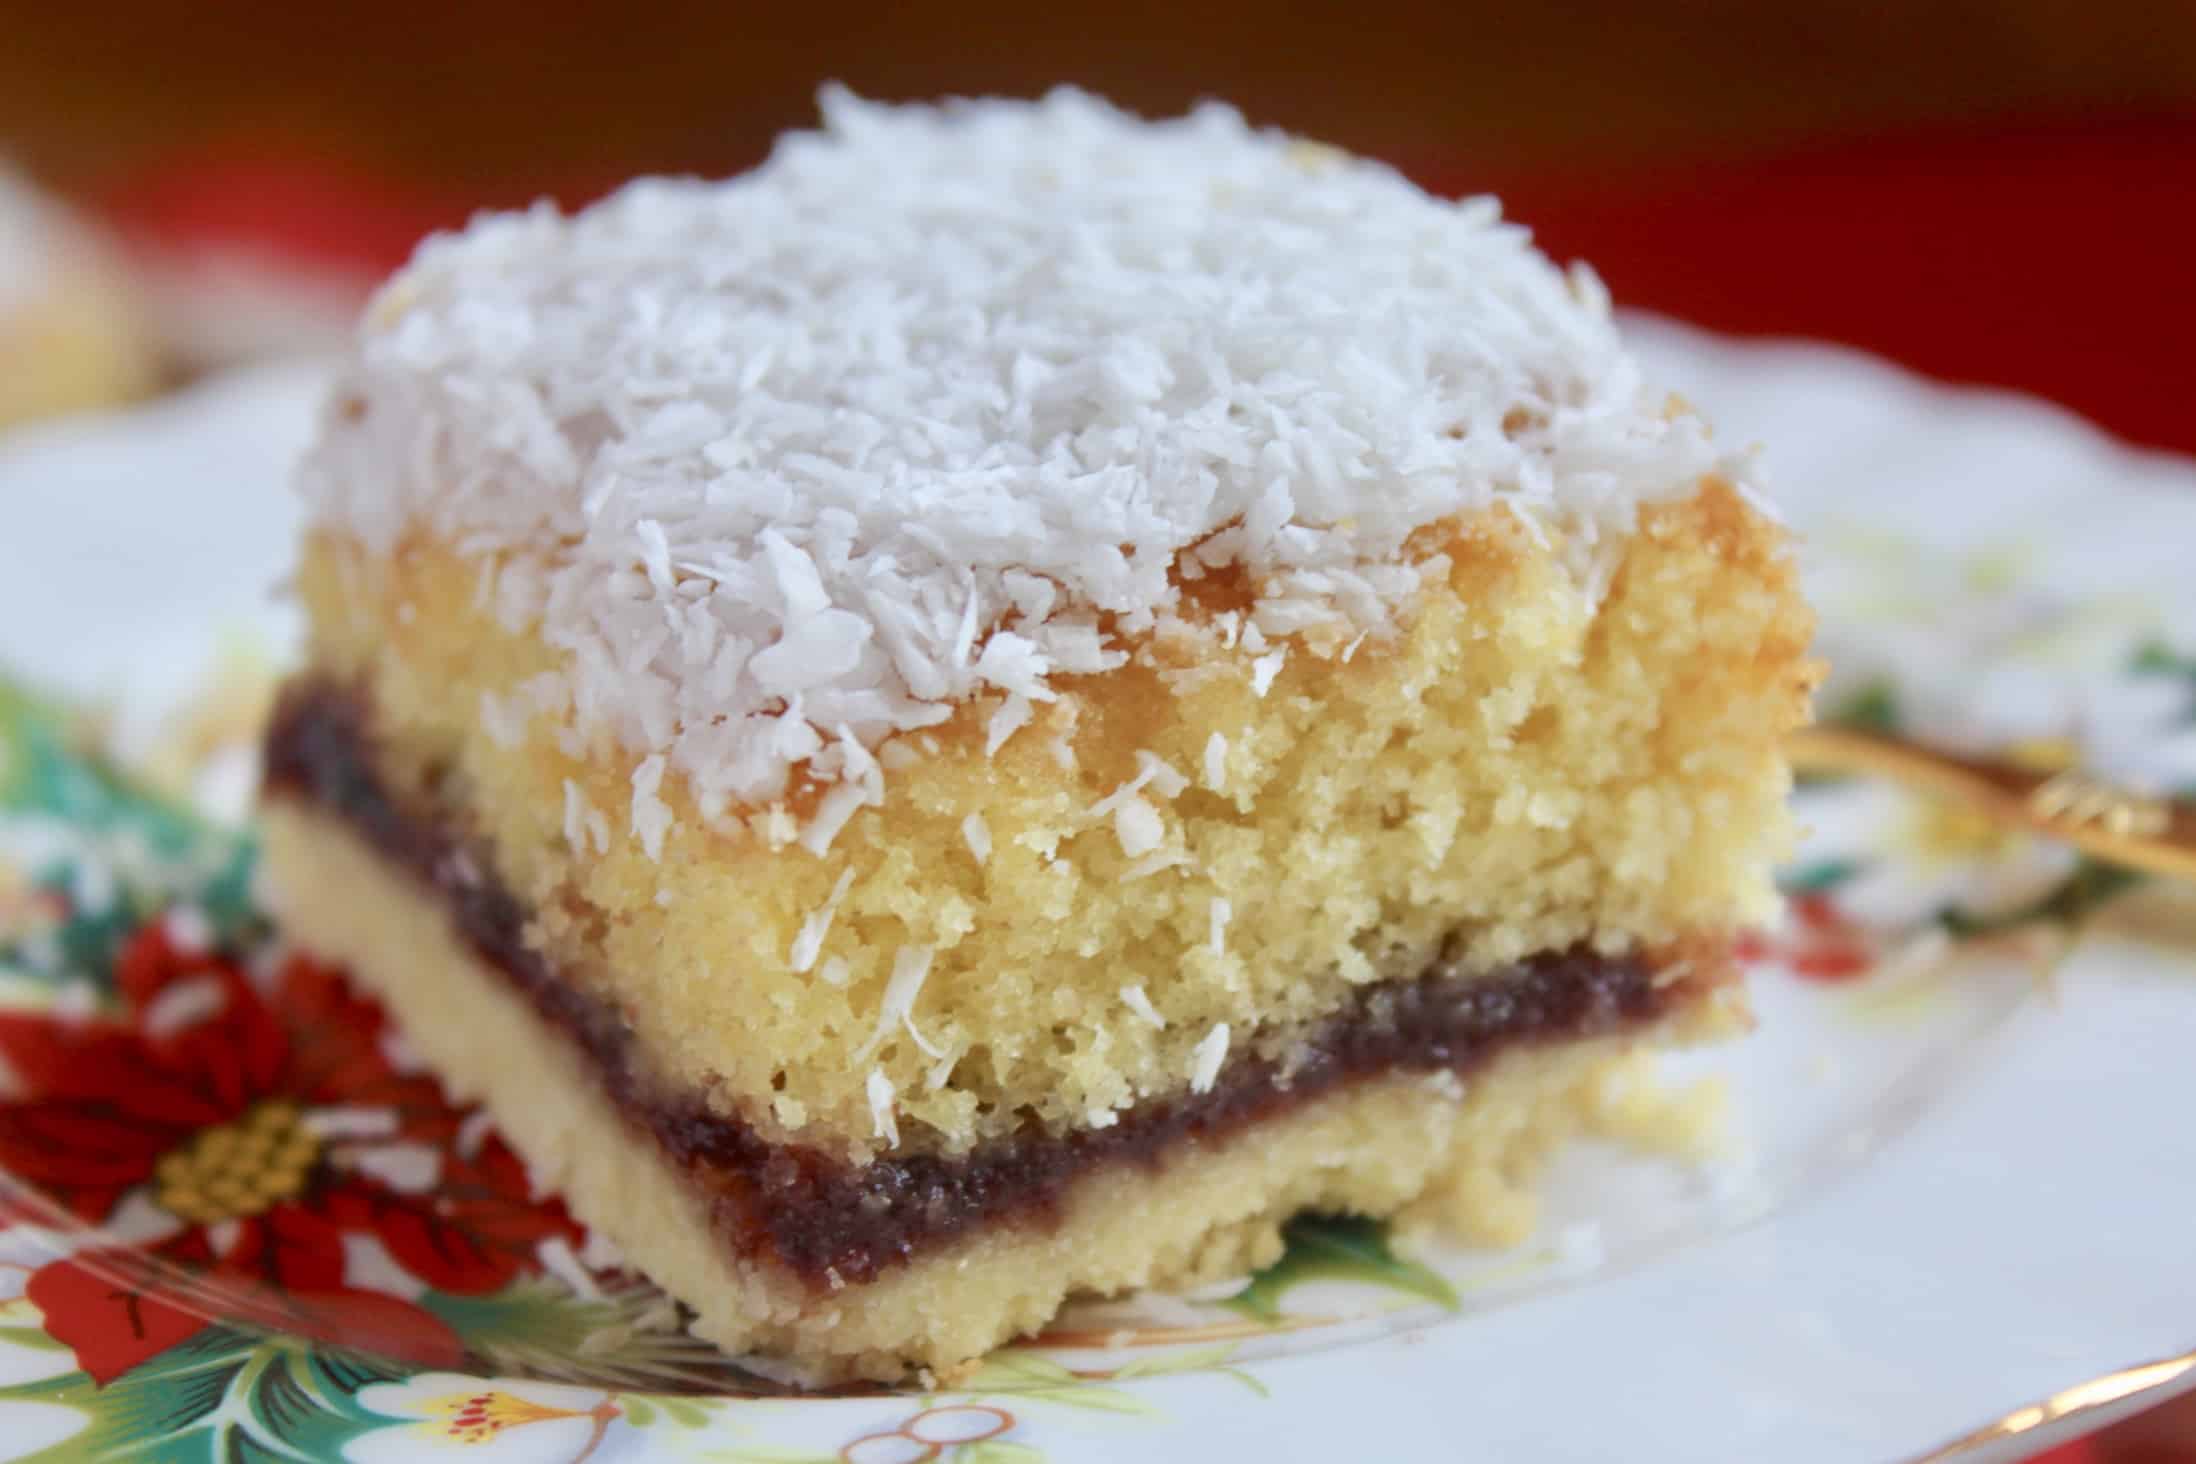
Little did I know before starting to post this recipe that there’s a film from 2006 named Snow Cake, which, incidentally, has absolutely nothing to do with this snow cake recipe.
As an Amazon Associate I earn from qualifying purchases.
I always research before posting a recipe because I don’t want anyone to think I copied them. I was surprised to see so much about the movie, but it was great to see that no one else has shared this recipe before. This is most likely due to the fact that I probably have the last remaining copy of this old Scottish cookbook!

You may recognize the photo above from my award-winning snow cookies recipe post. My snow cookies were inspired by this snow cake my mother used to make from a Lofty Peak paper cookbook when I was a little girl in Scotland. My snow cookies won two separate contests! Click the link or photo for the full recipe.
Snow Cookies
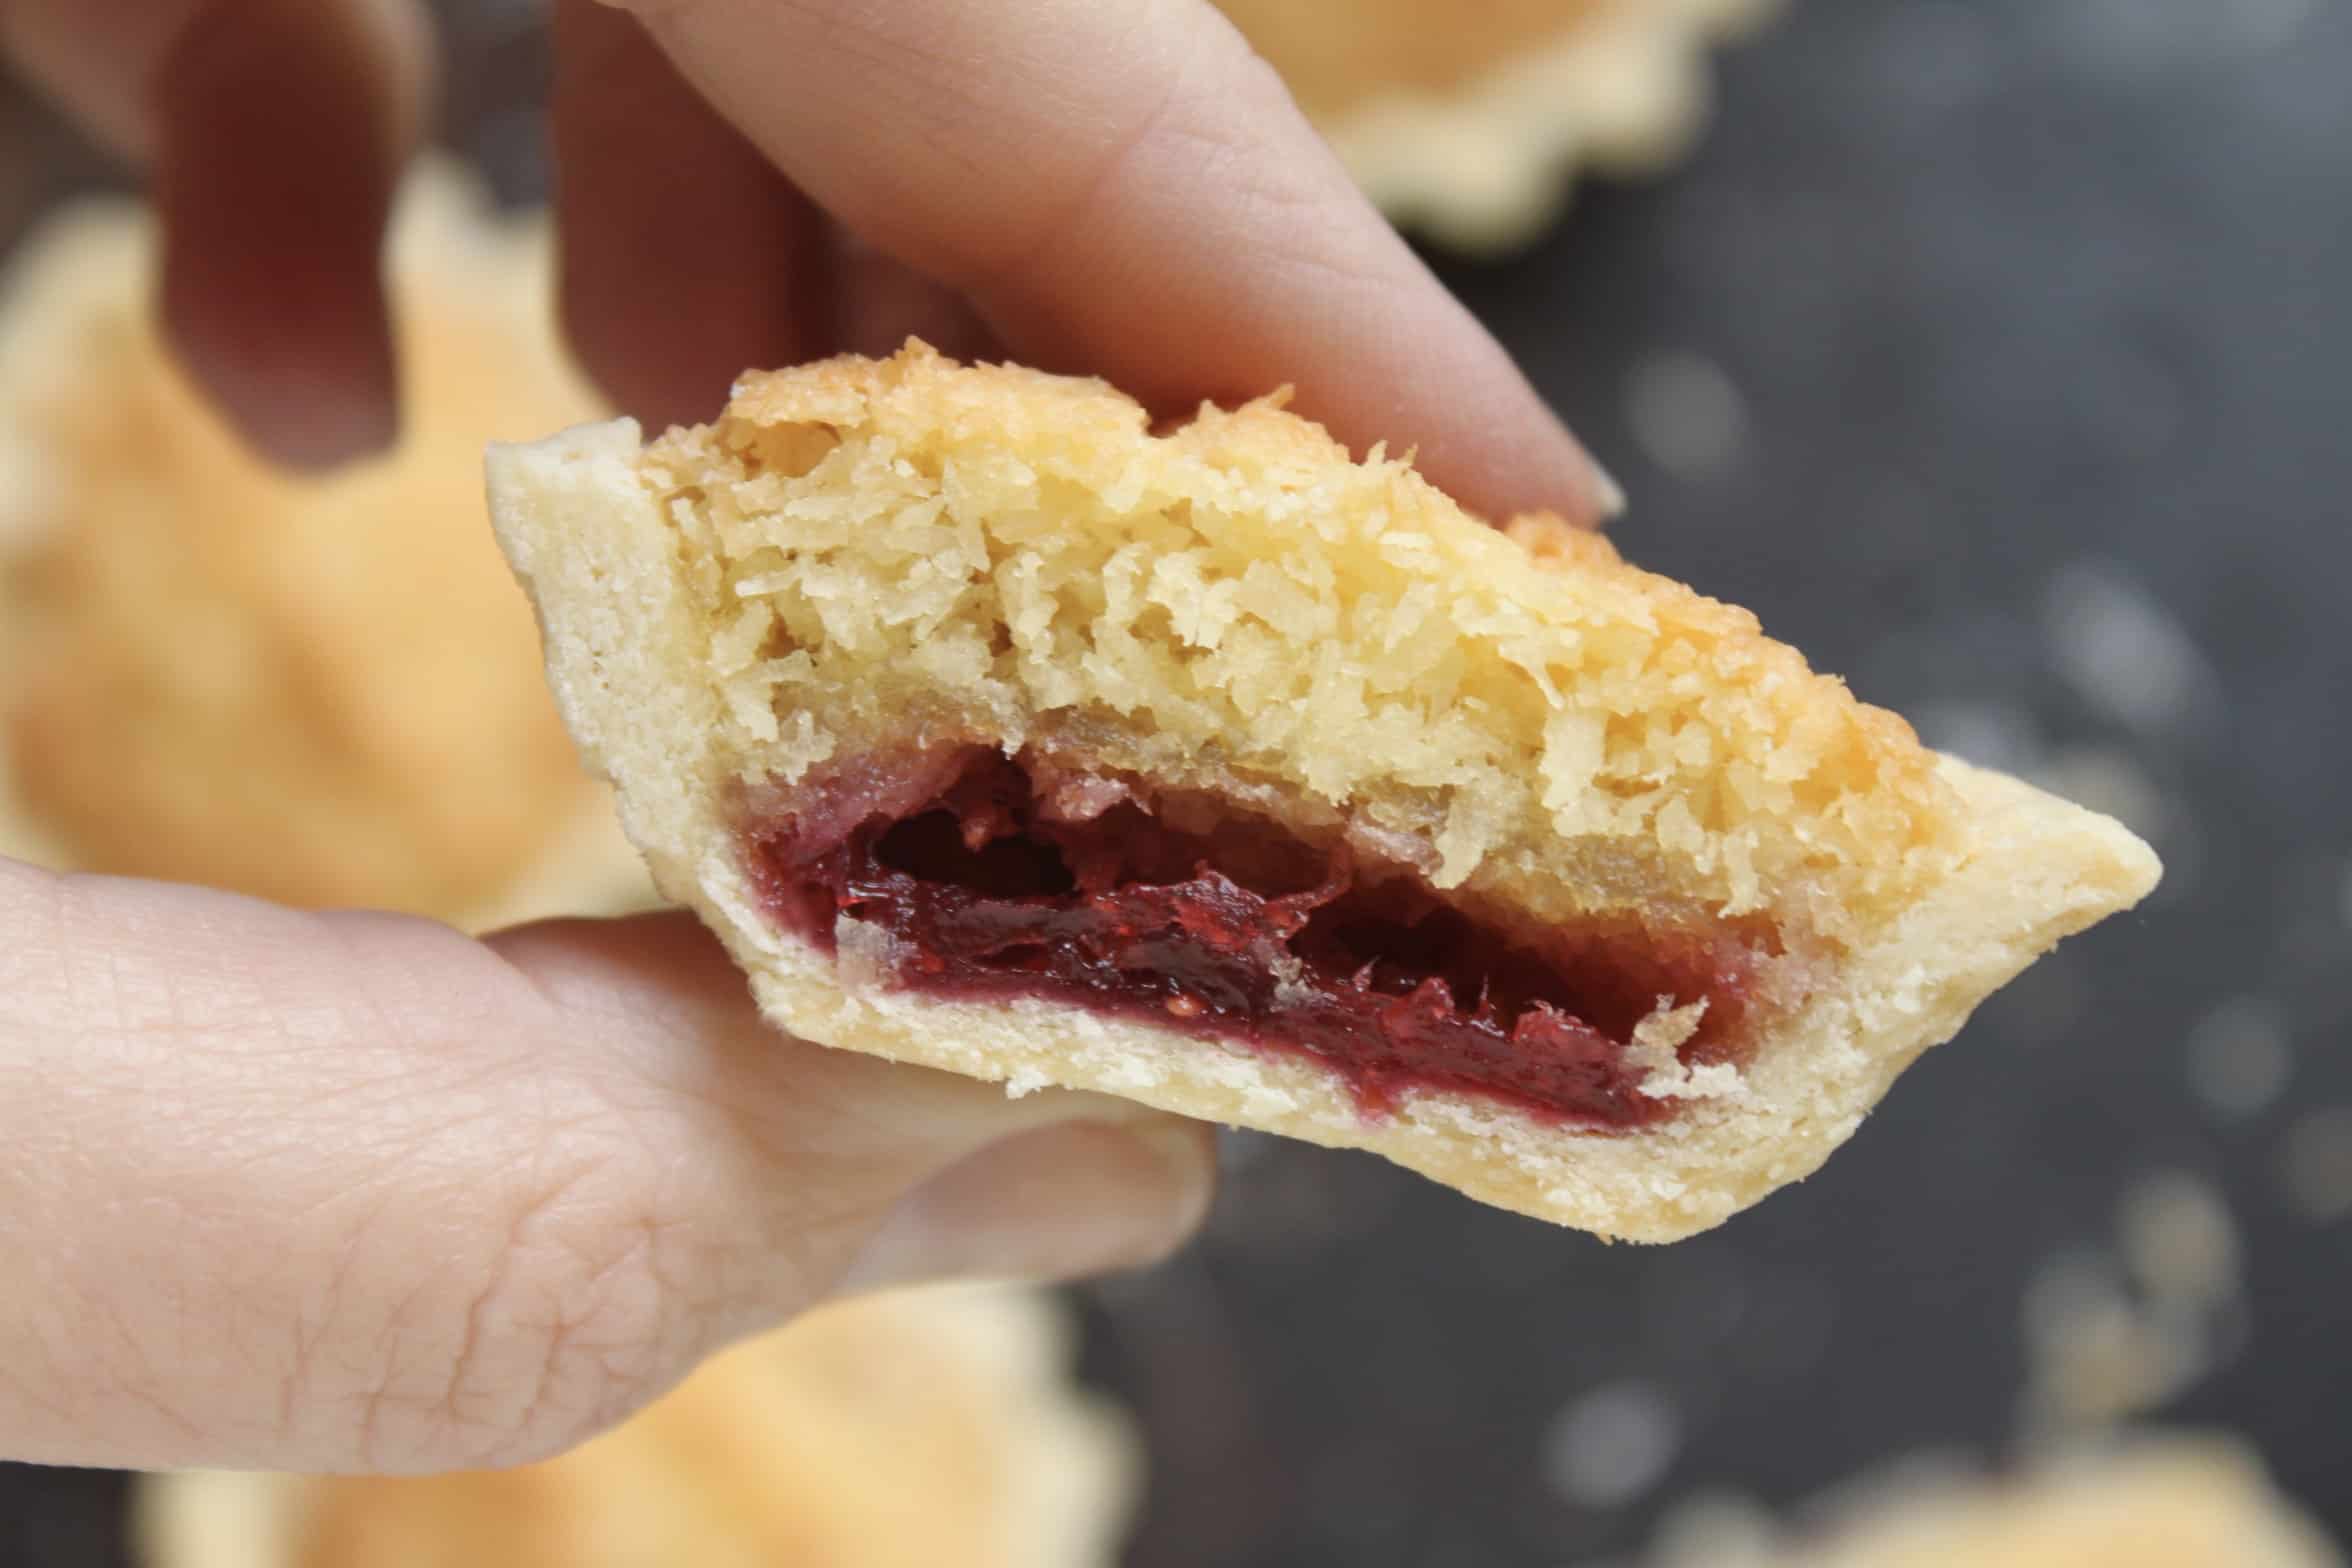
So there’s not much else to tell you about this cake except that it’s rather unique, and extremely delicious! You may have noticed that many of the Scottish recipes I’ve shared include raspberry jam and coconut. Like these snowballs or the coconut tartlets I’ve shared below.
You’ve probably also realized that I love coconut by now, so if you’re like me, you simply have to try this cake. (For best results, please use a scale.) However, if you are a “coconut hater”, simply skip the last step and leave the coconut off the icing. And avert your eyes on the following recipes! 🥥 Haha!
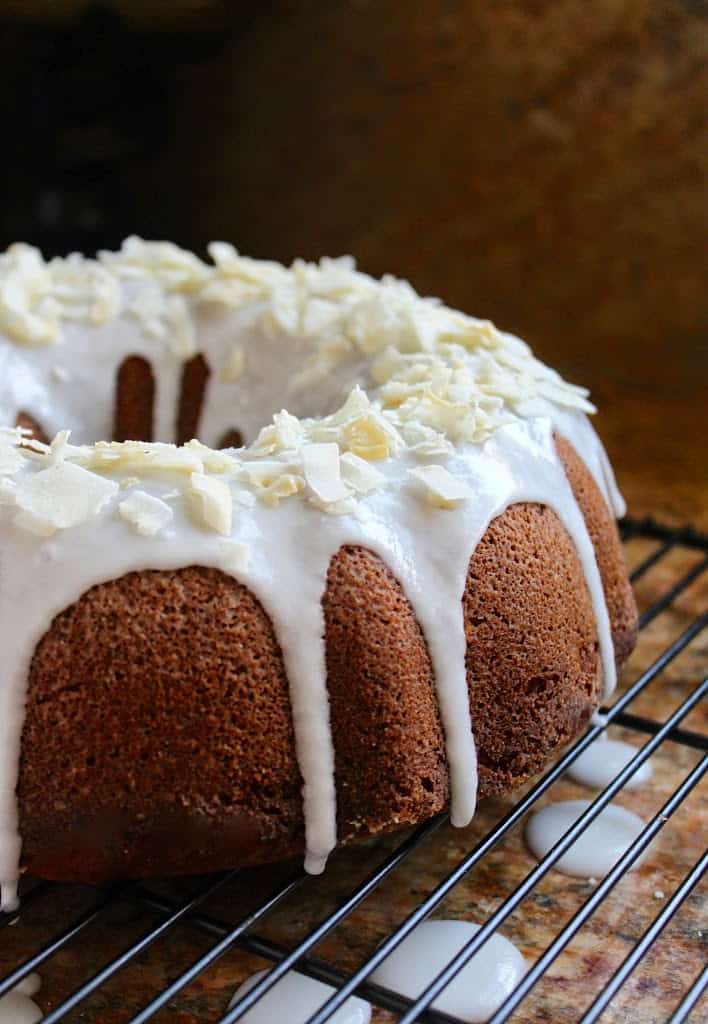
Unlike this banana coconut bundt cake
Or these Scottish coconut tartlets.
Scottish Snow Cake Recipe
adapted from a Lofty Peak recipe makes one 9 x 13 cake
FULL PRINTABLE RECIPE BELOW
Ingredients
Short Crust Pastry
- flour
- butter, cold
- sugar
- egg yolk
- raspberry jam
Cake
- butter
- superfine or Baker’s sugar (caster sugar in the UK)
- eggs
- self-rising flour, or all purpose flour with baking powder
- a pinch of salt
Topping
- confectioner’s/powdered sugar
- milk or water
- finely shredded, unsweetened coconut Oven temp 375˚F (190˚C) for pastry.
Make the Pastry Base
Using two knives or a pastry cutter, cut the butter finely into the sugar, but do not cream.
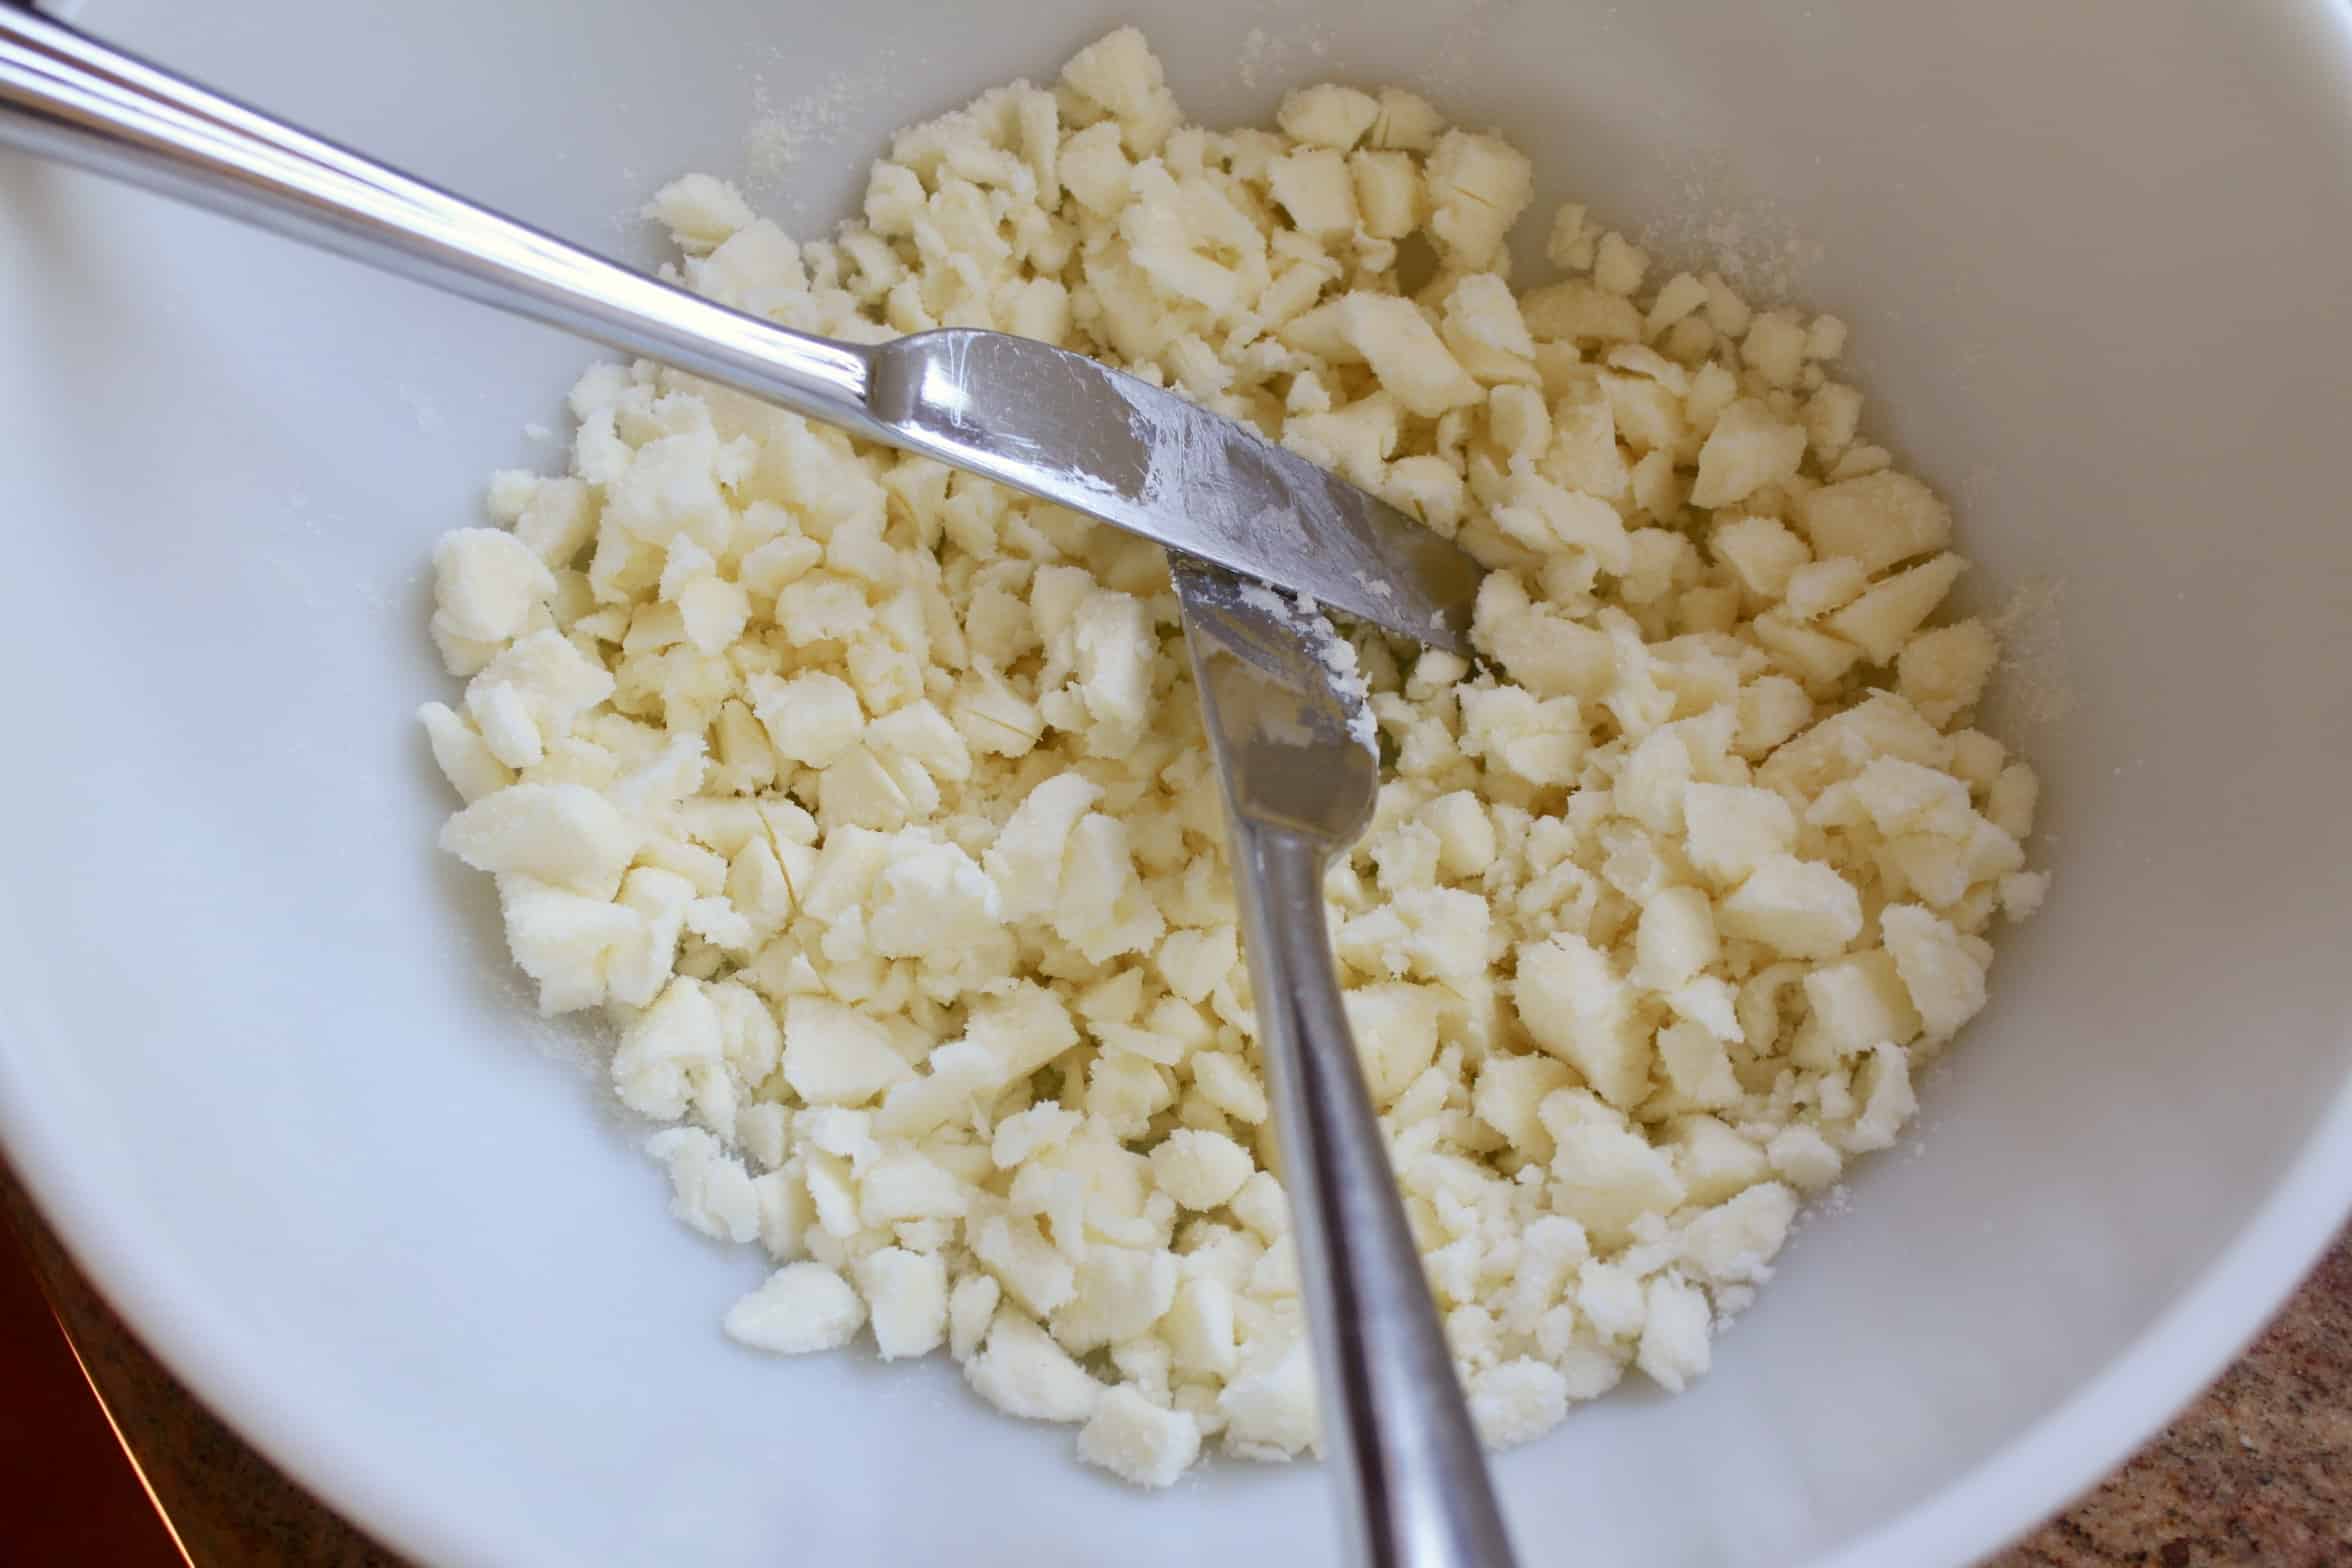
Add the egg yolk and stir to combine.
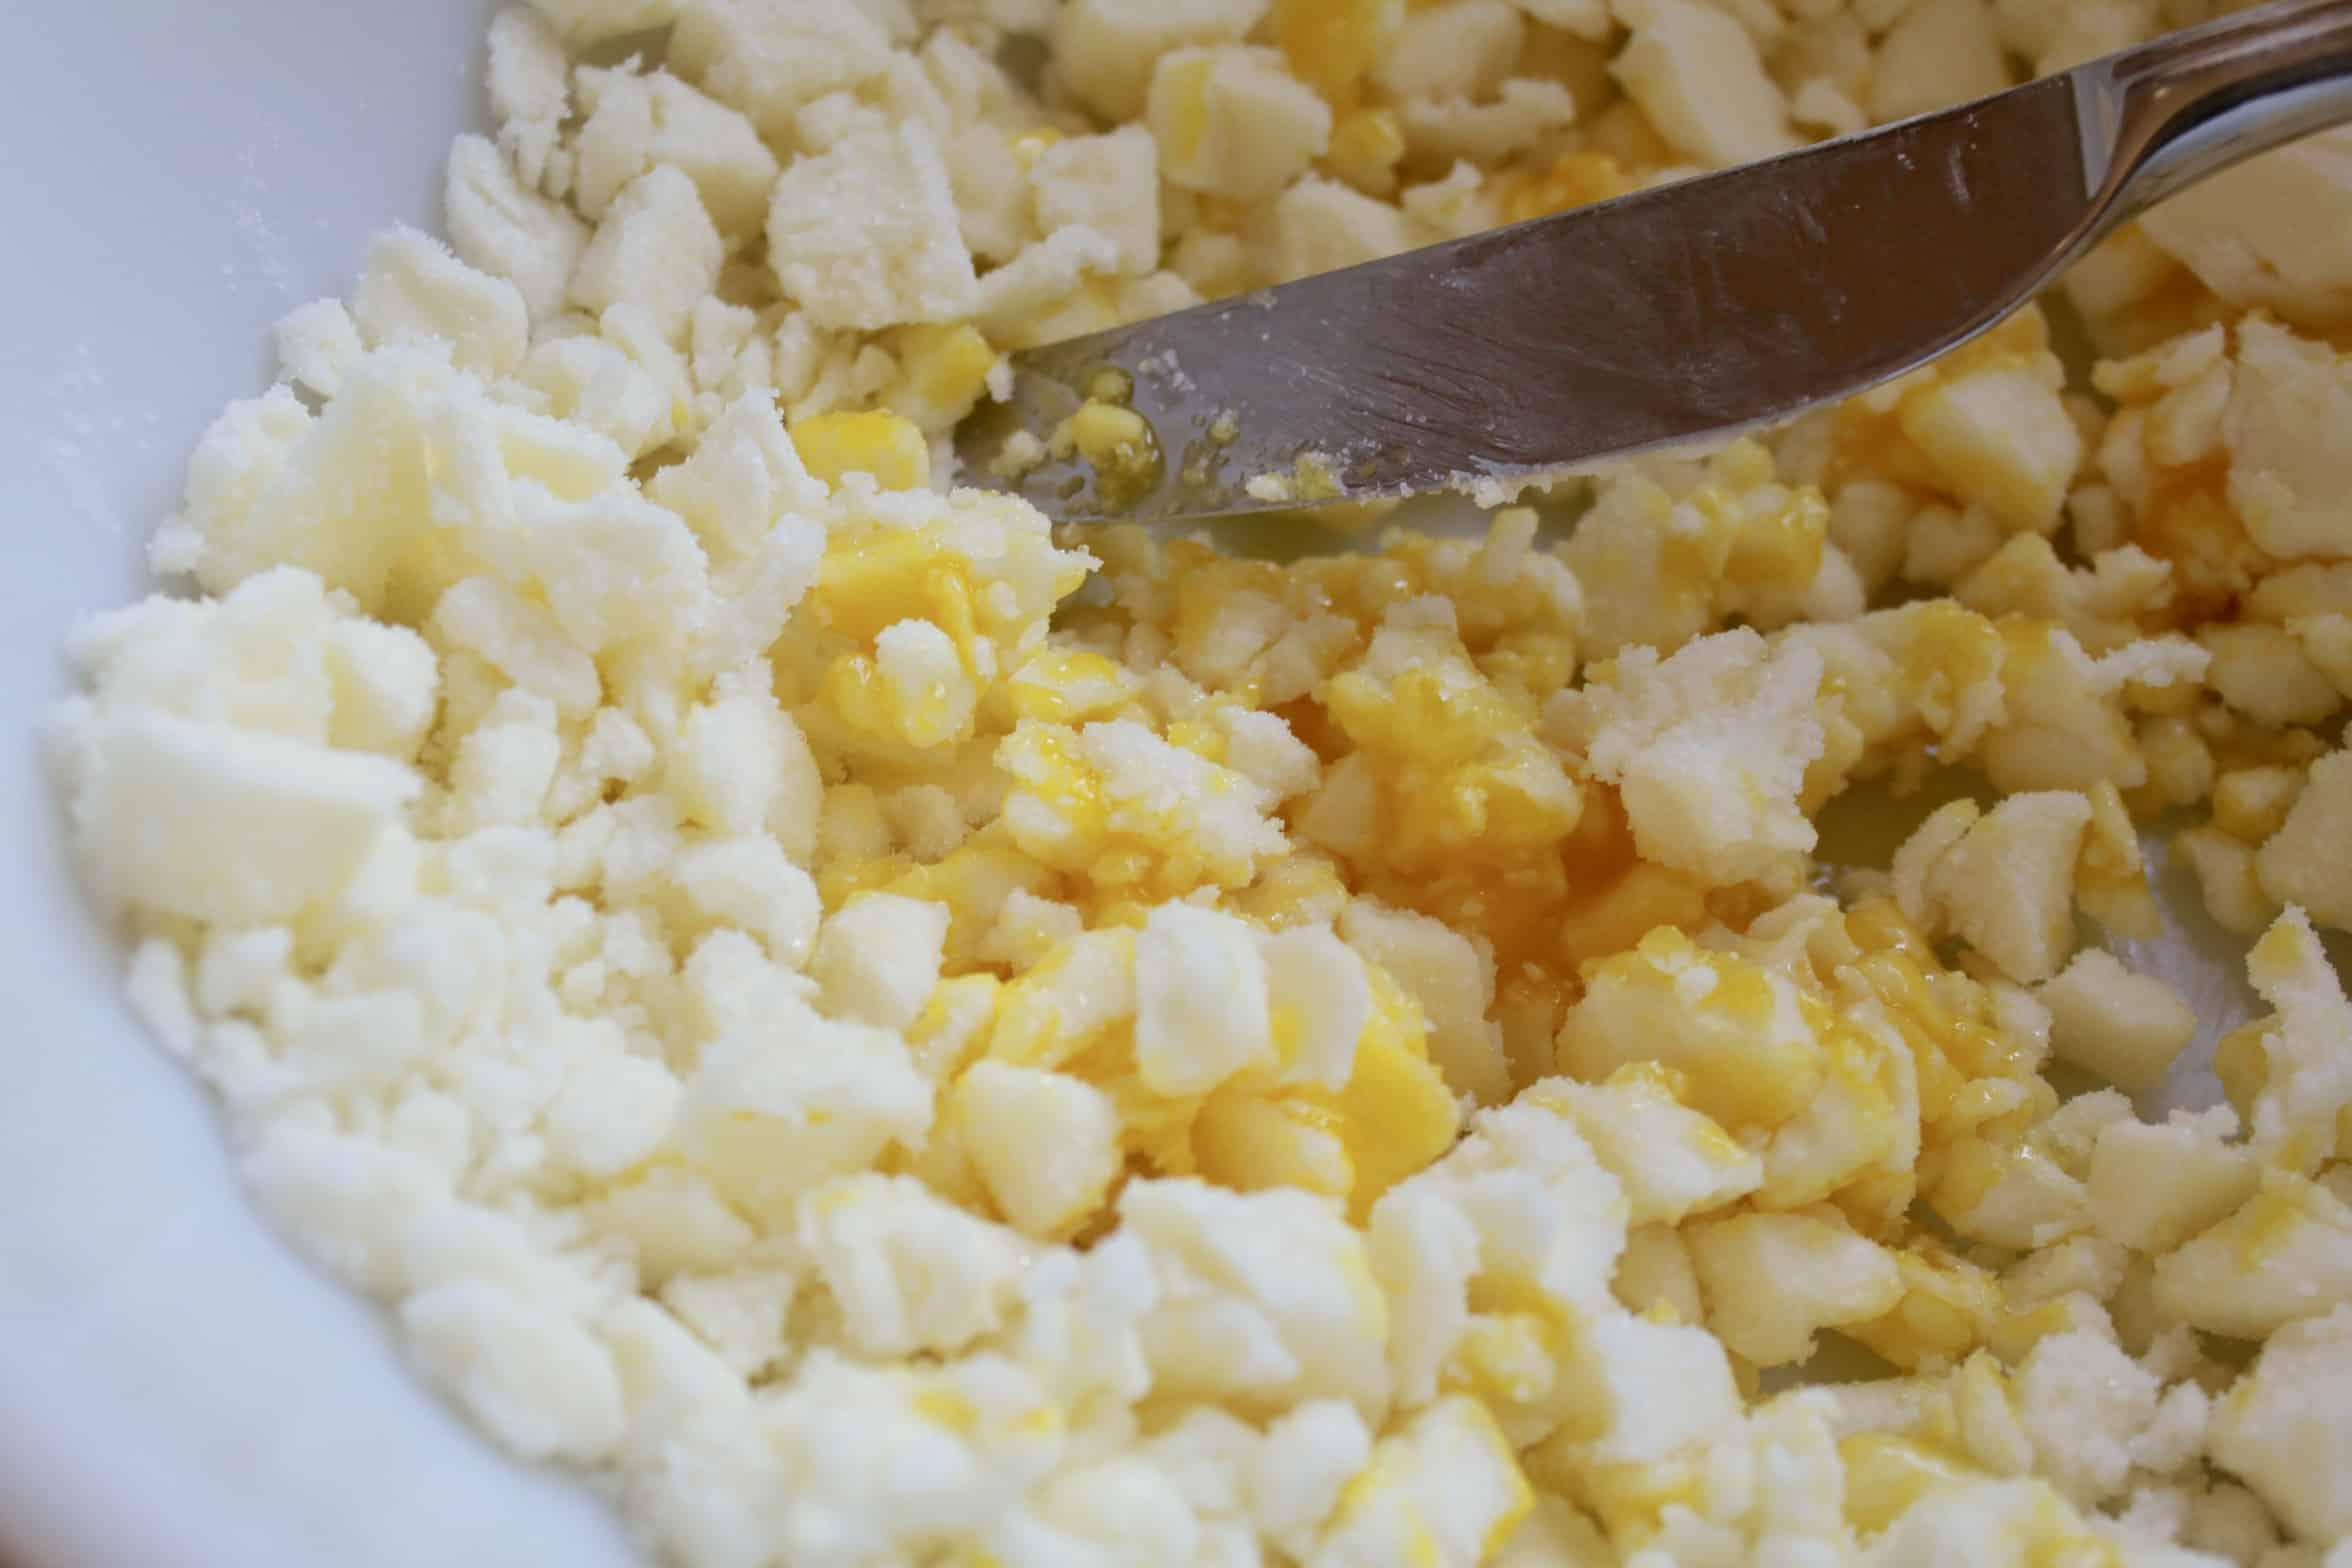
Add the flour.
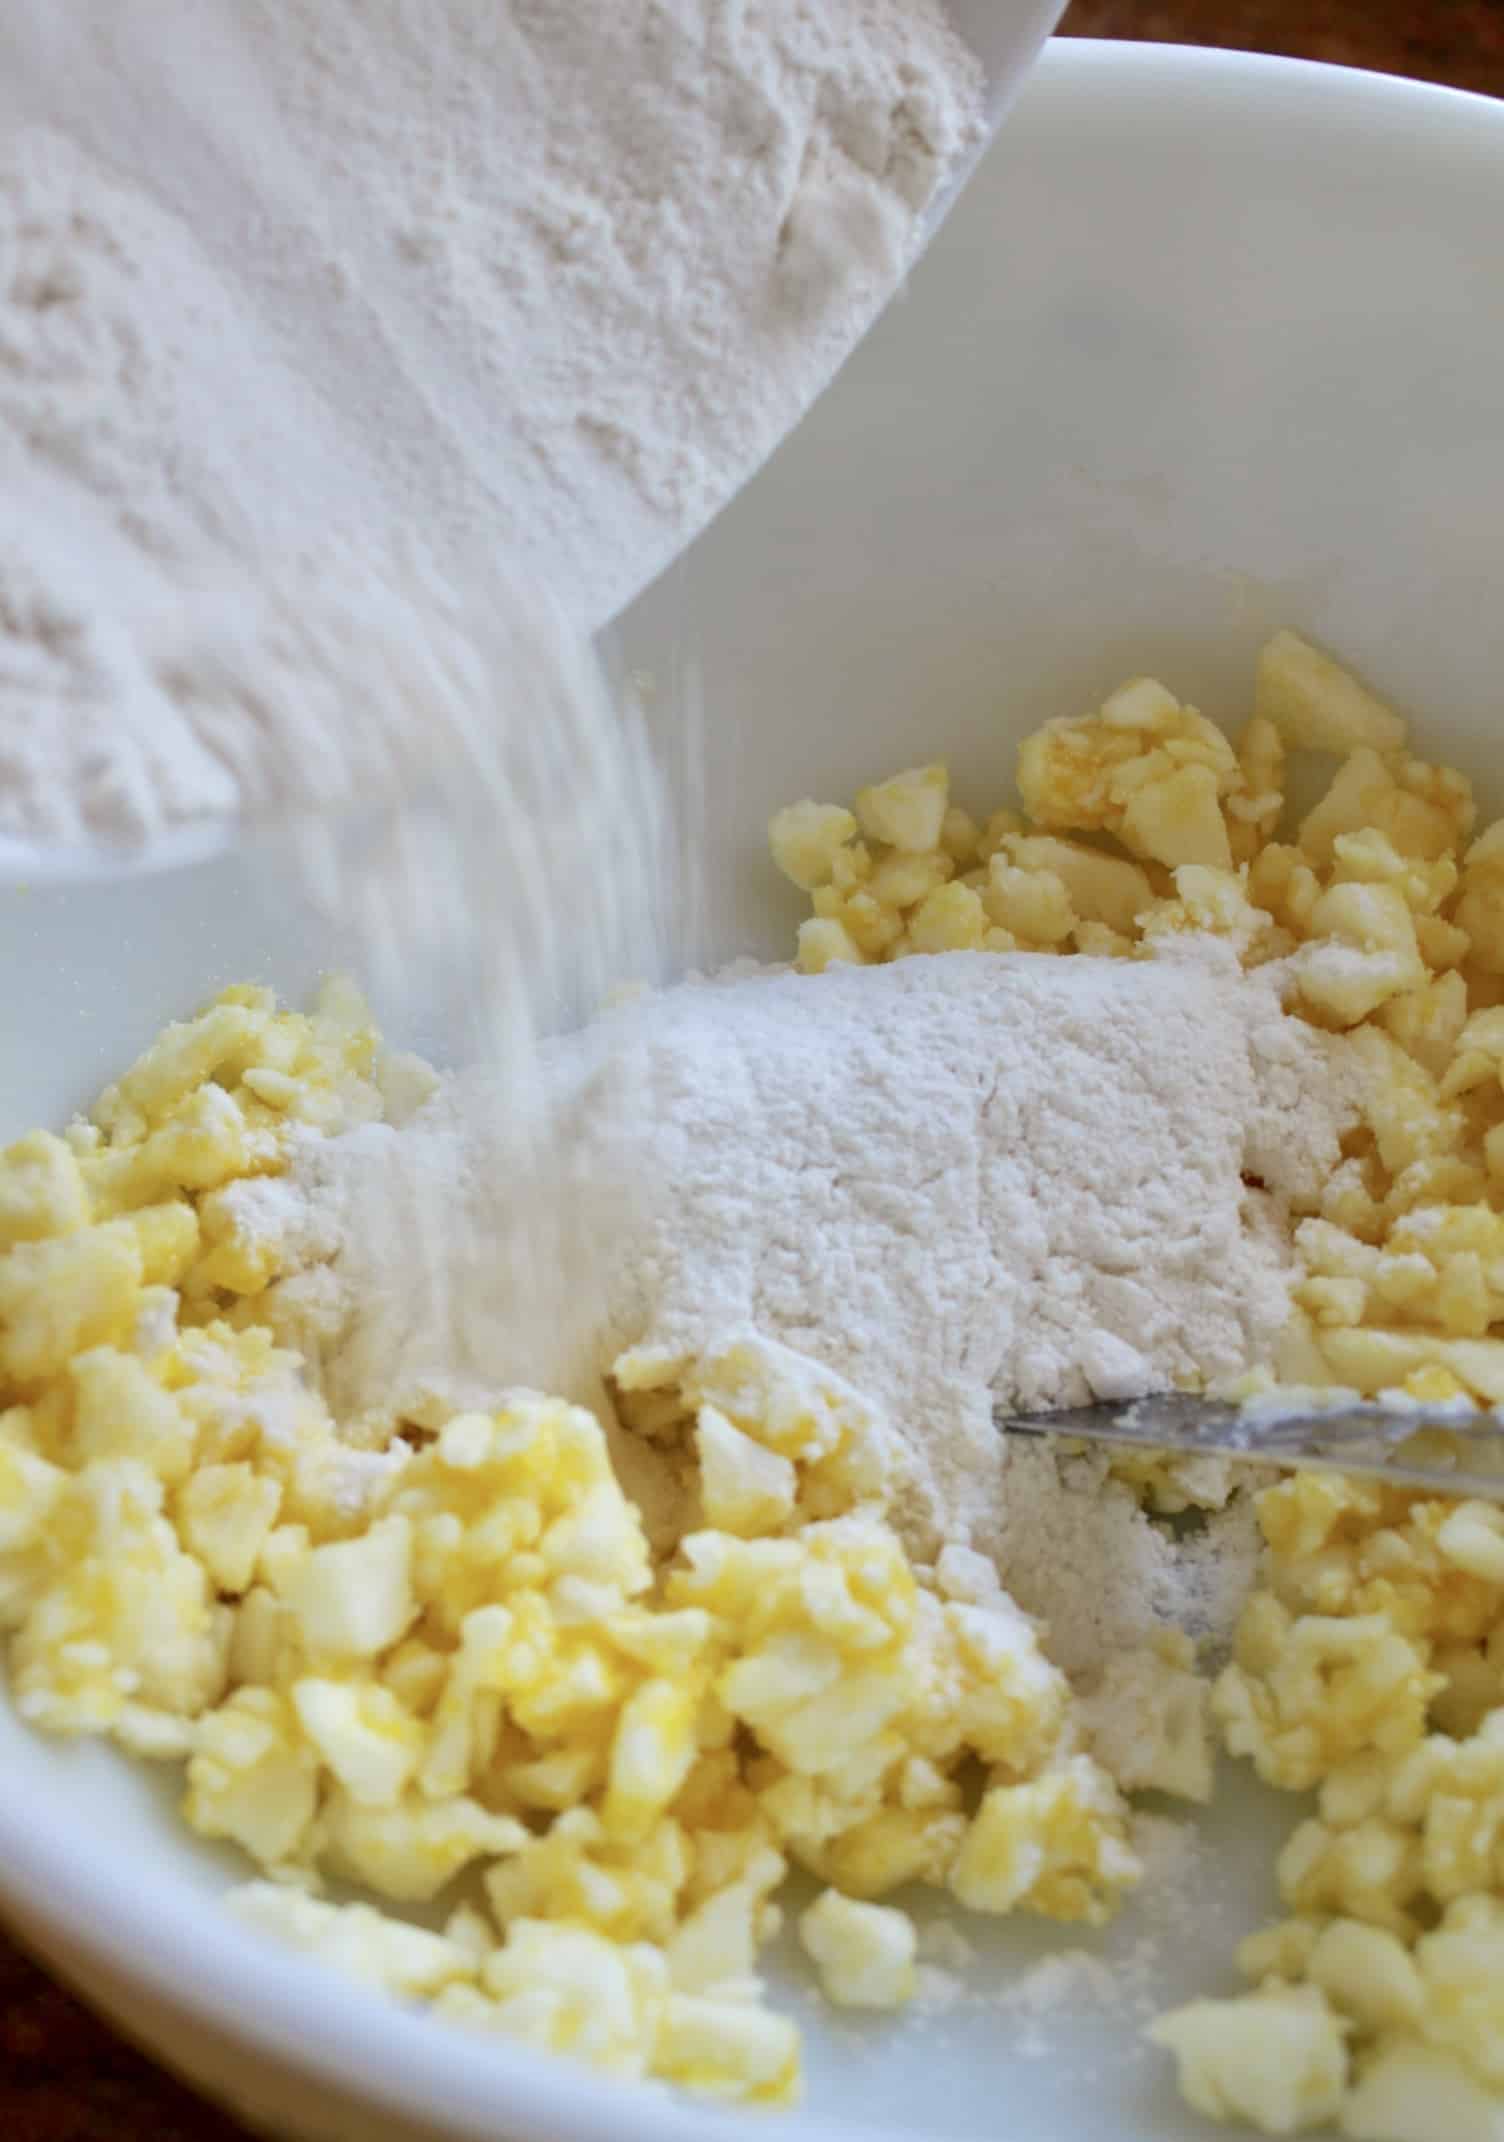
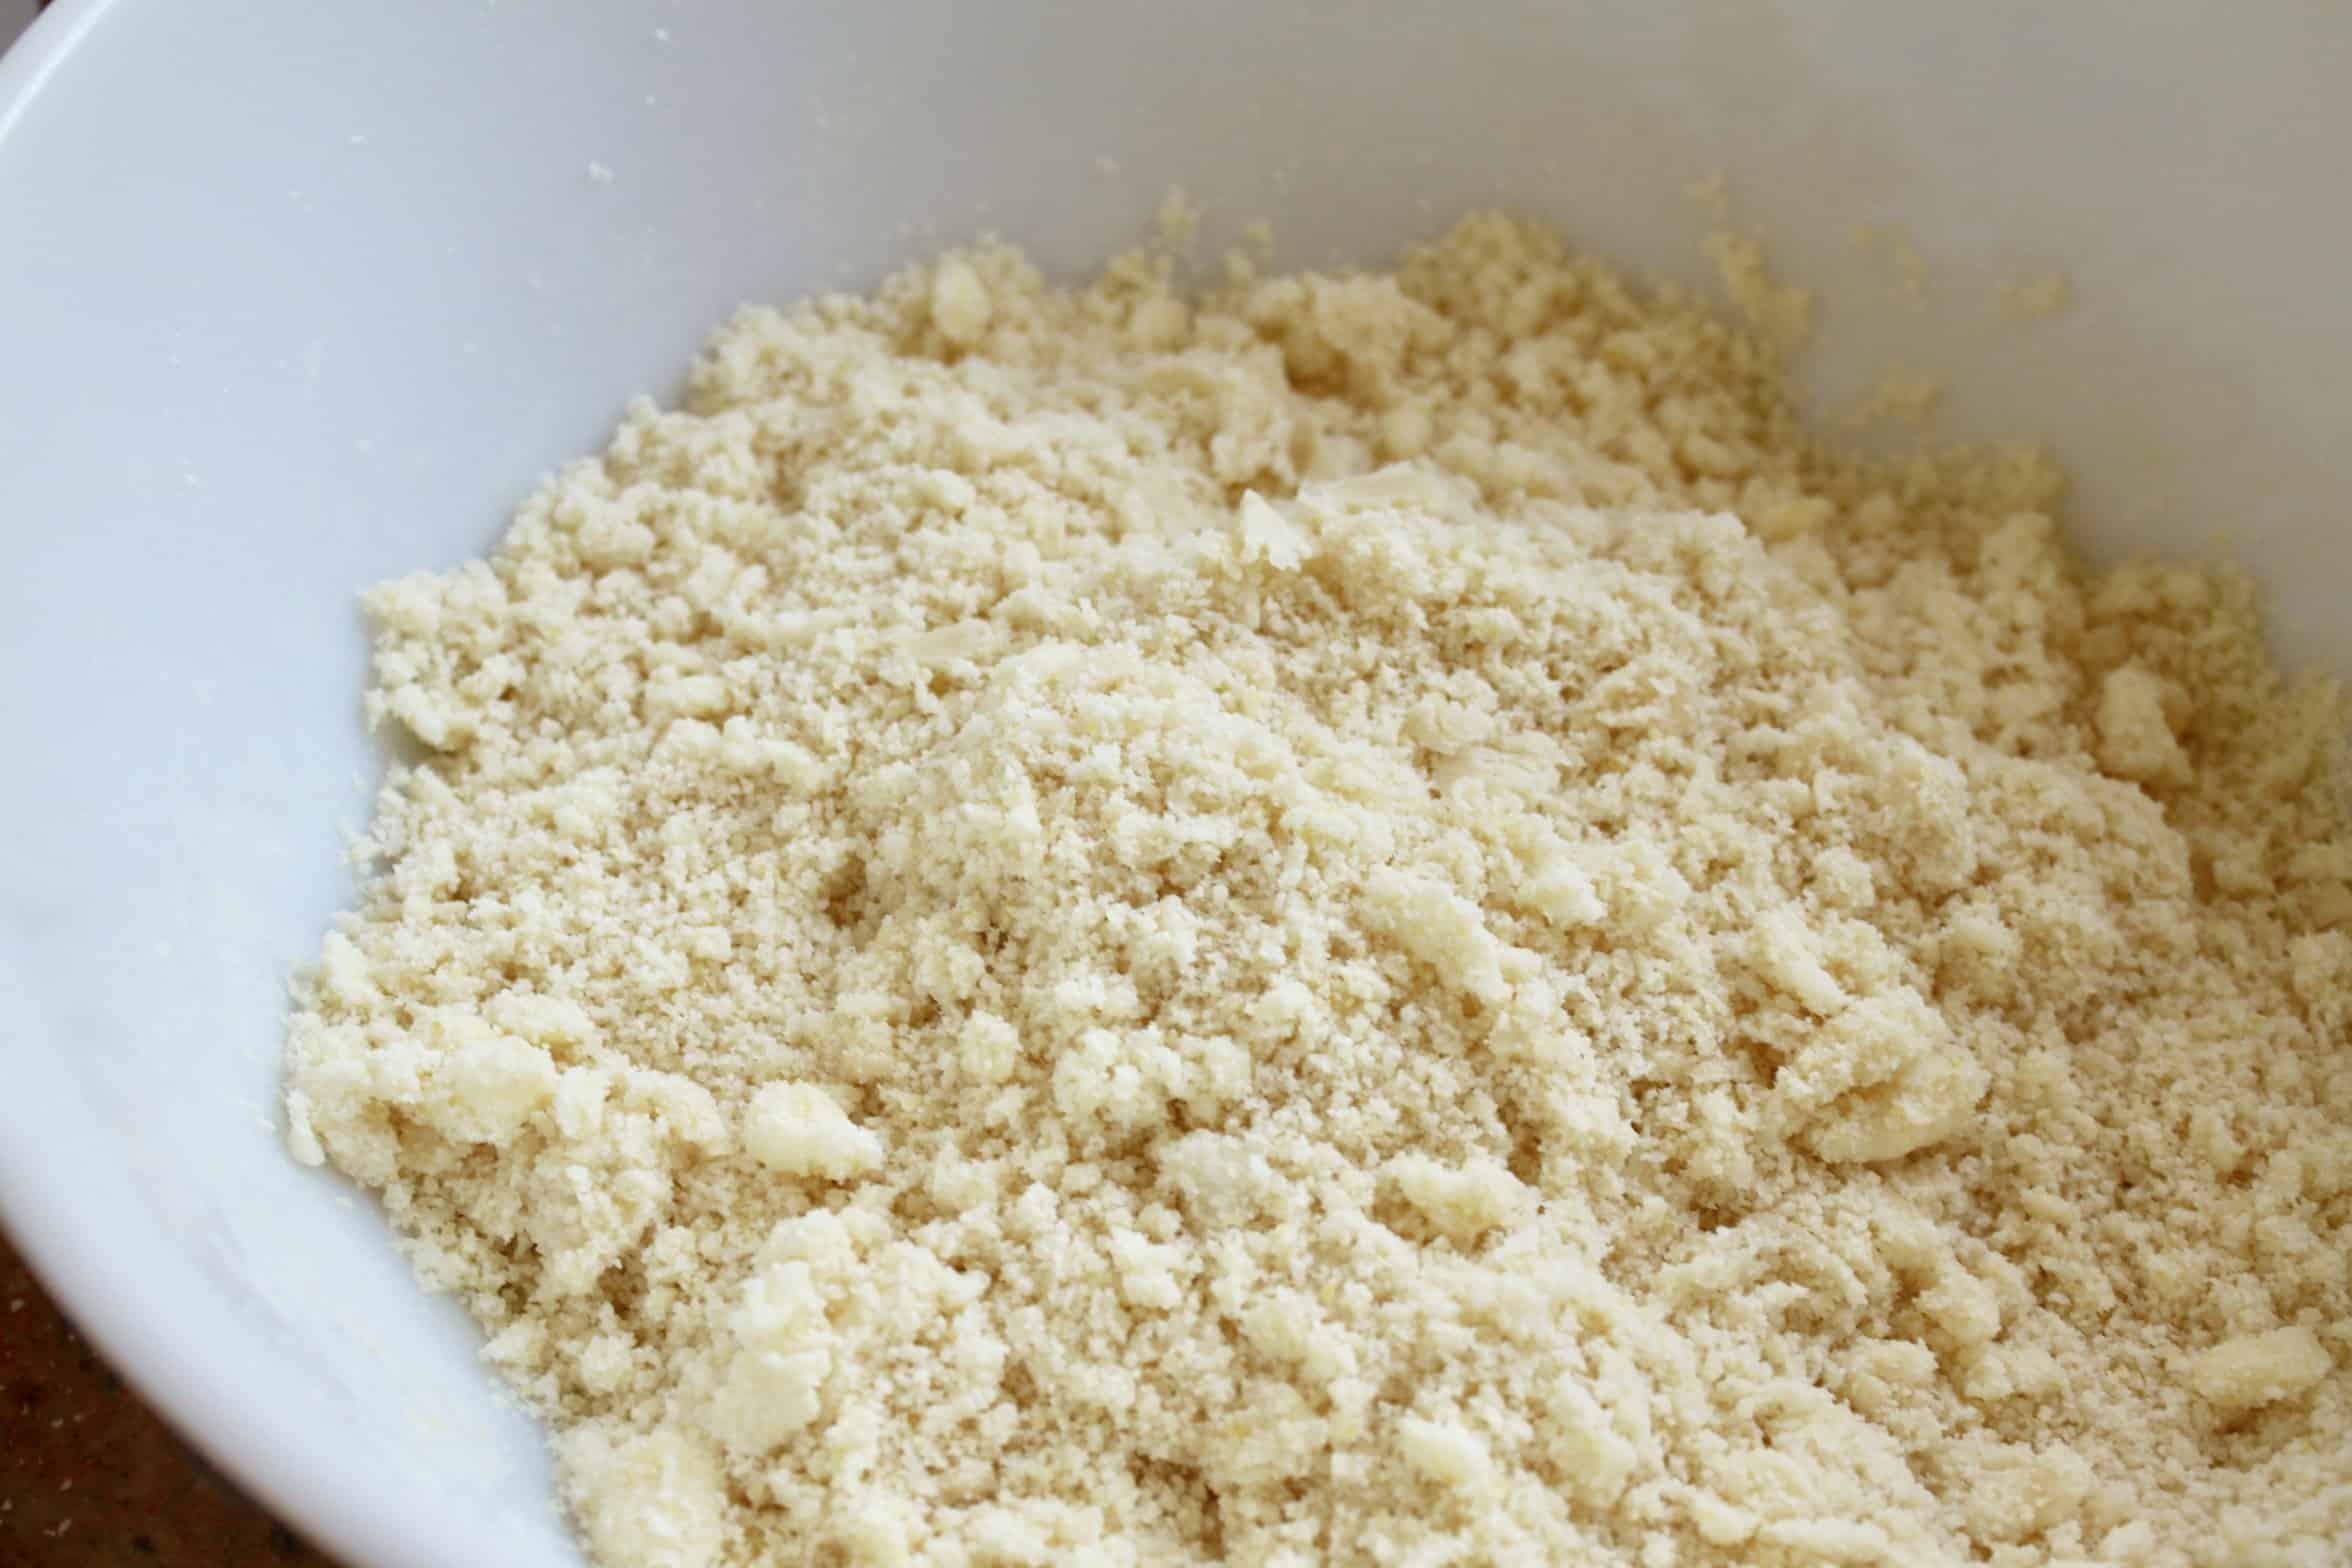
Using your fingertips, rub the butter into the flour until it has a breadcrumb texture.
Press the mixture into the bottom of a 9″x 13″ cake pan, pressing firmly.
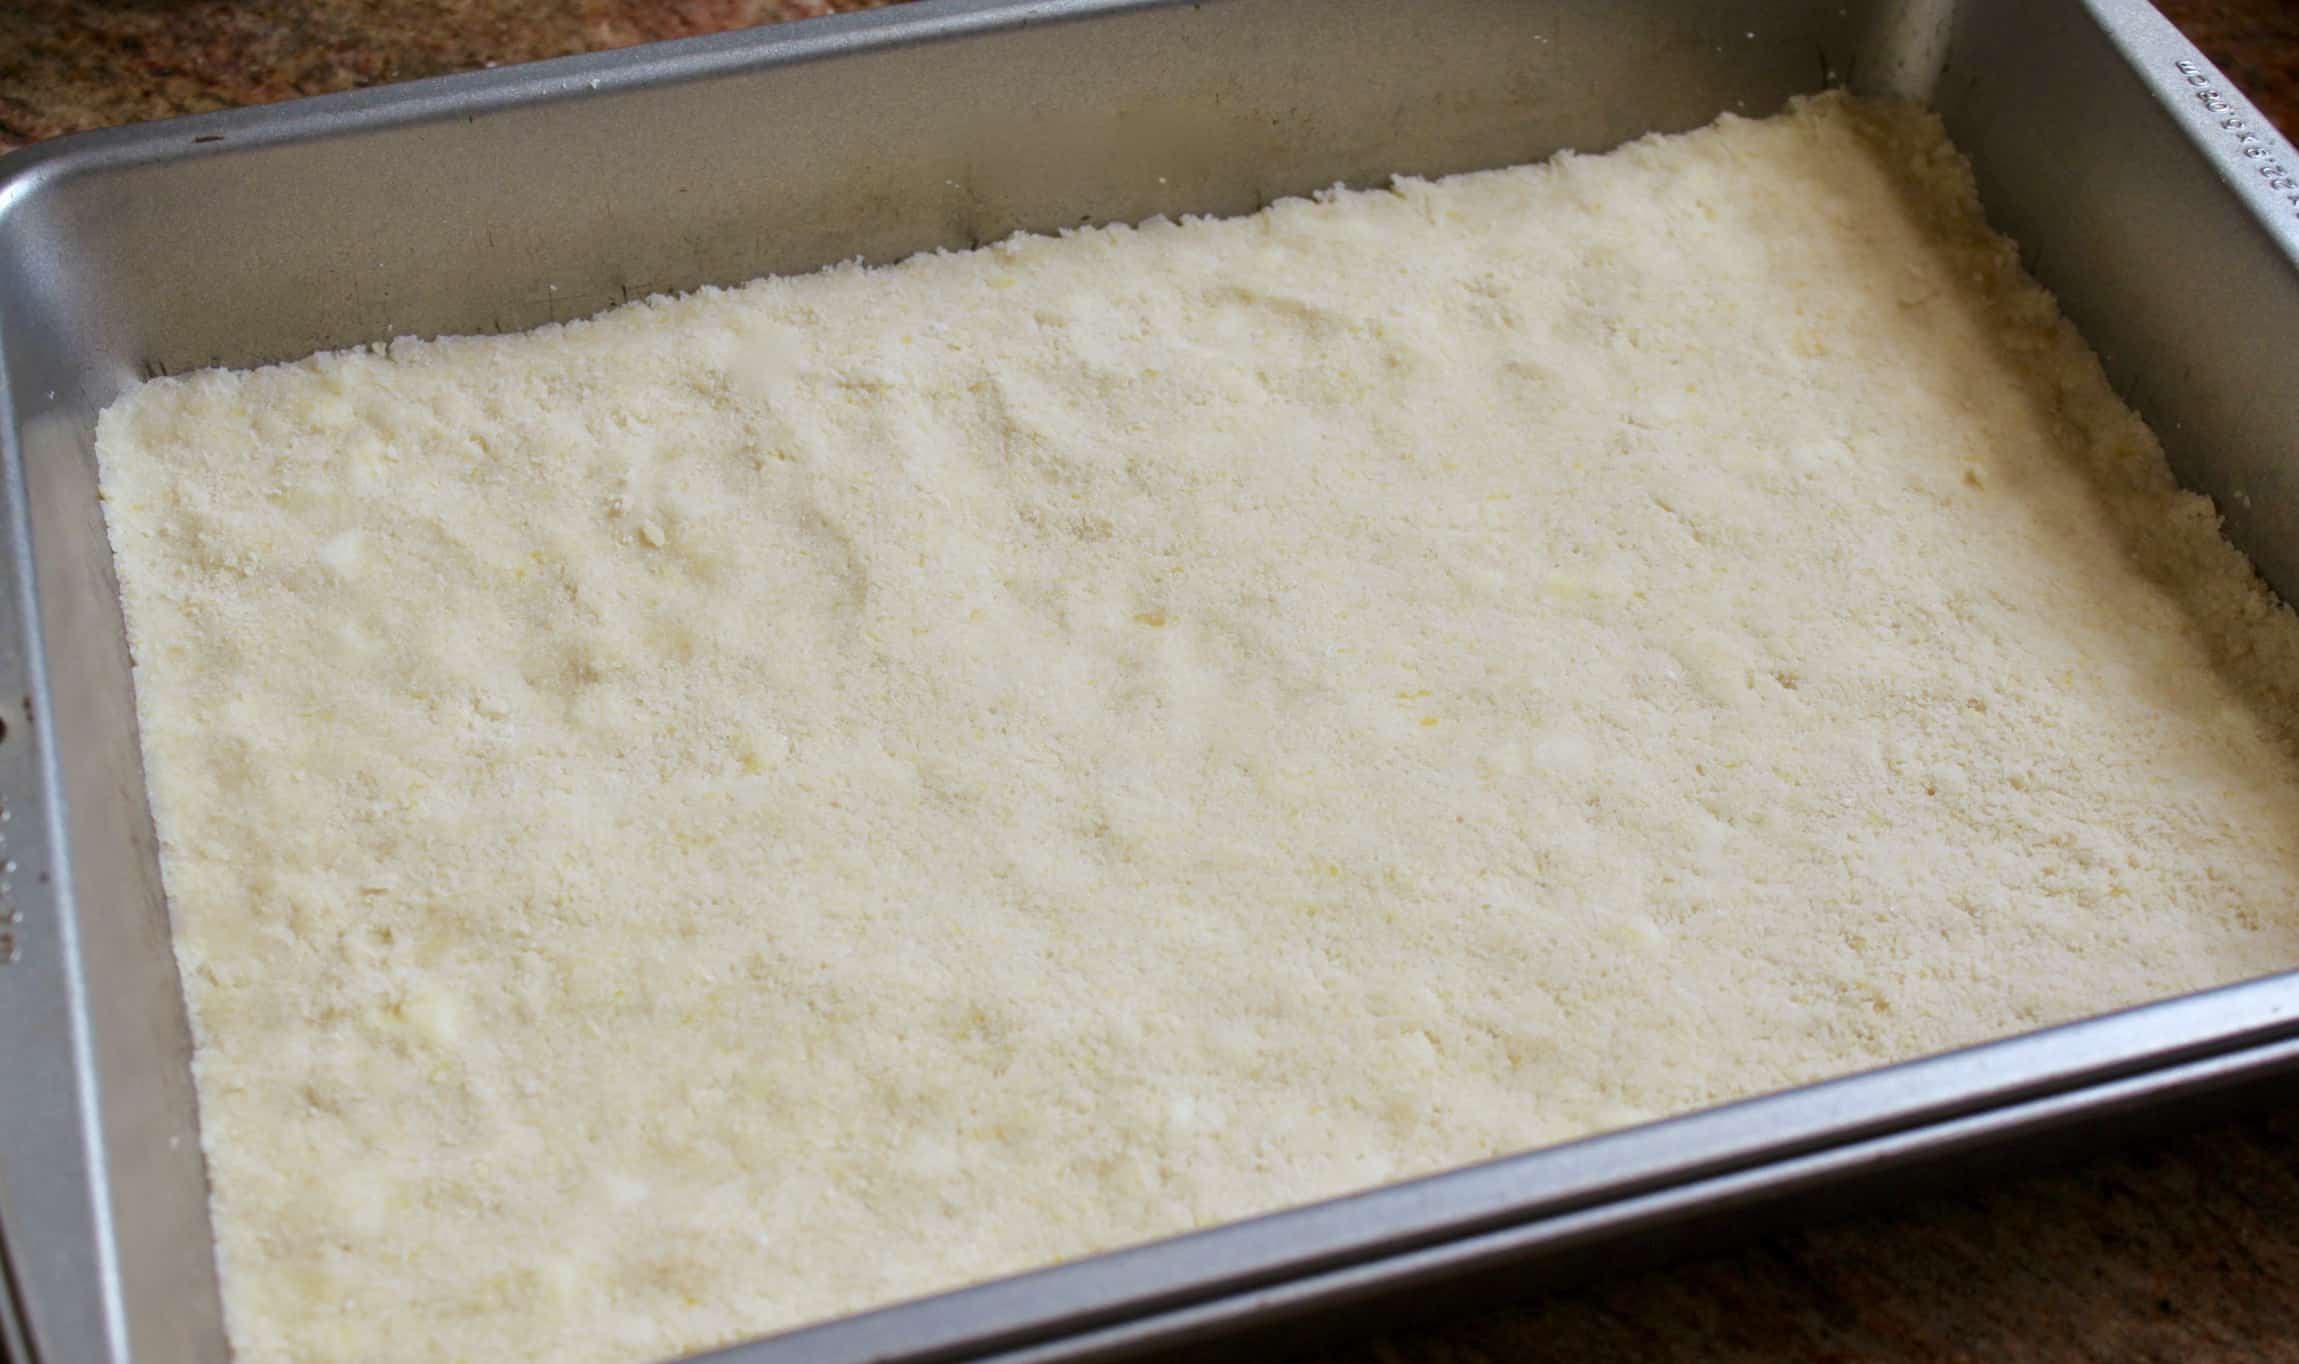
Bake for about 10 minutes. Don’t let it start to brown. Remove from the oven and allow to cool, while making the cake batter.
Lower the oven temperature to 350° F (180°C)
Make the Cake
In a stand mixer or using a handheld mixer, cream the butter and sugar until very light and fluffy. It will begin to pale in color, too.
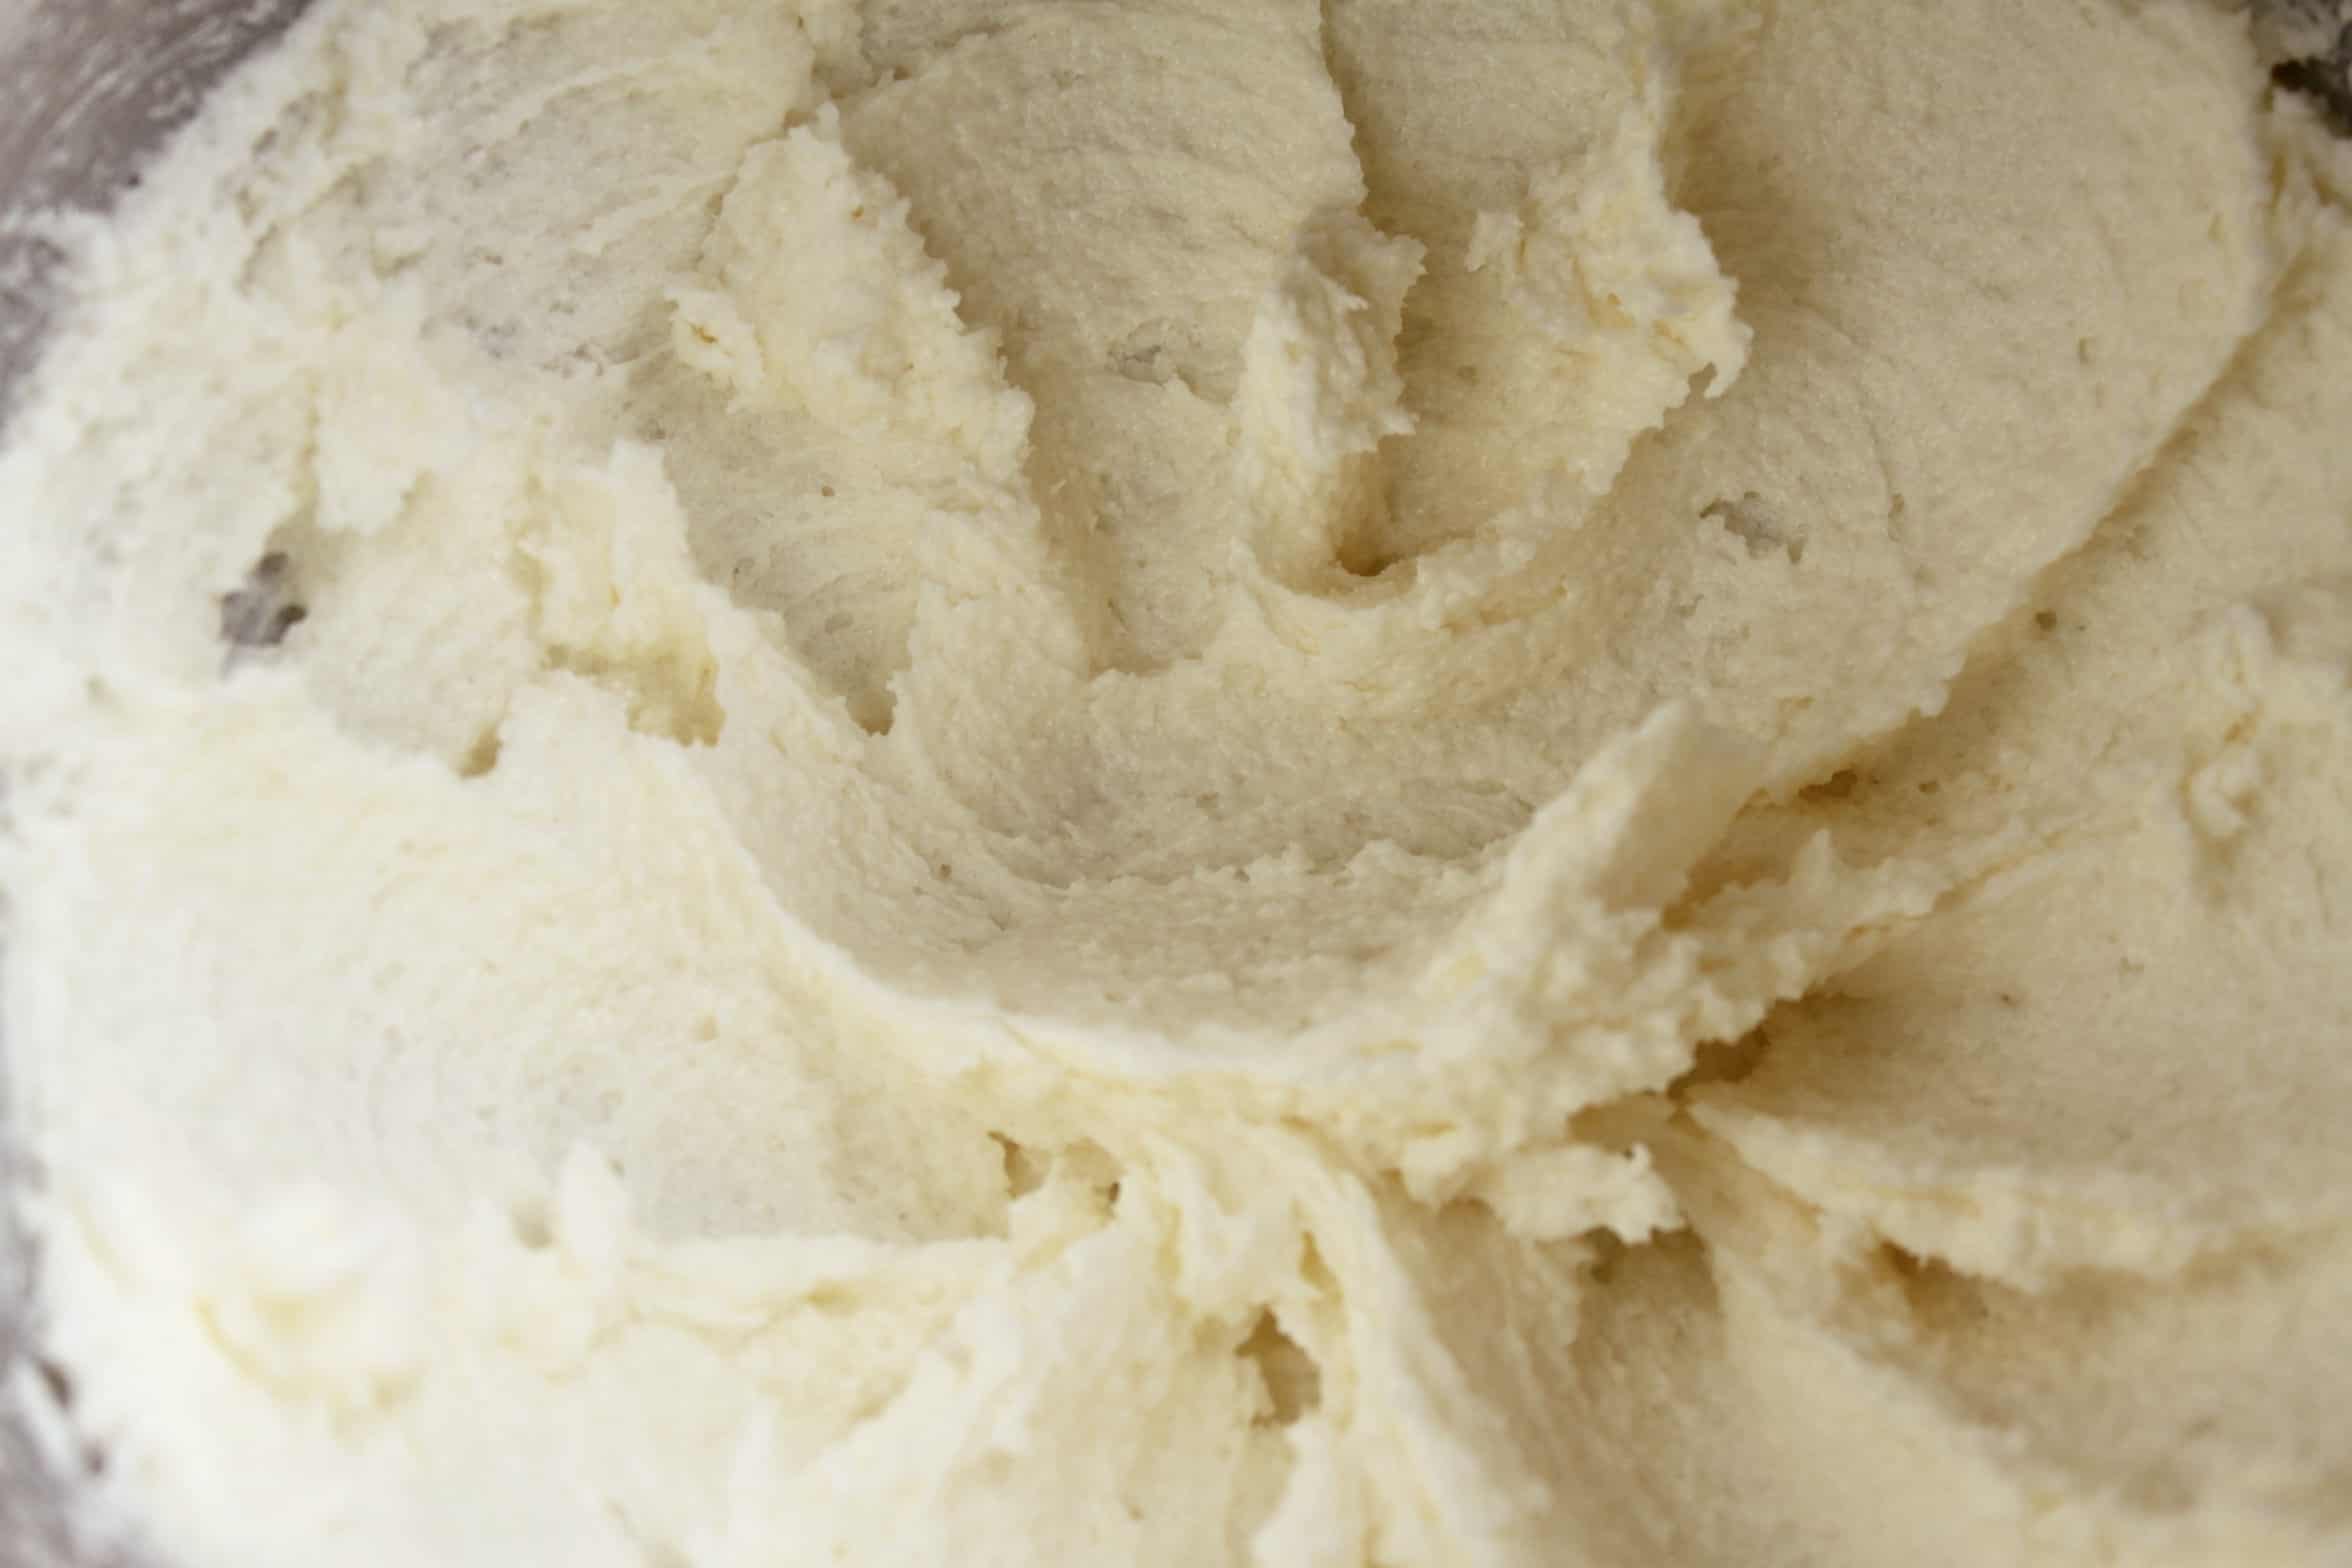
Add about one third of the beaten eggs, and mix well at medium speed.
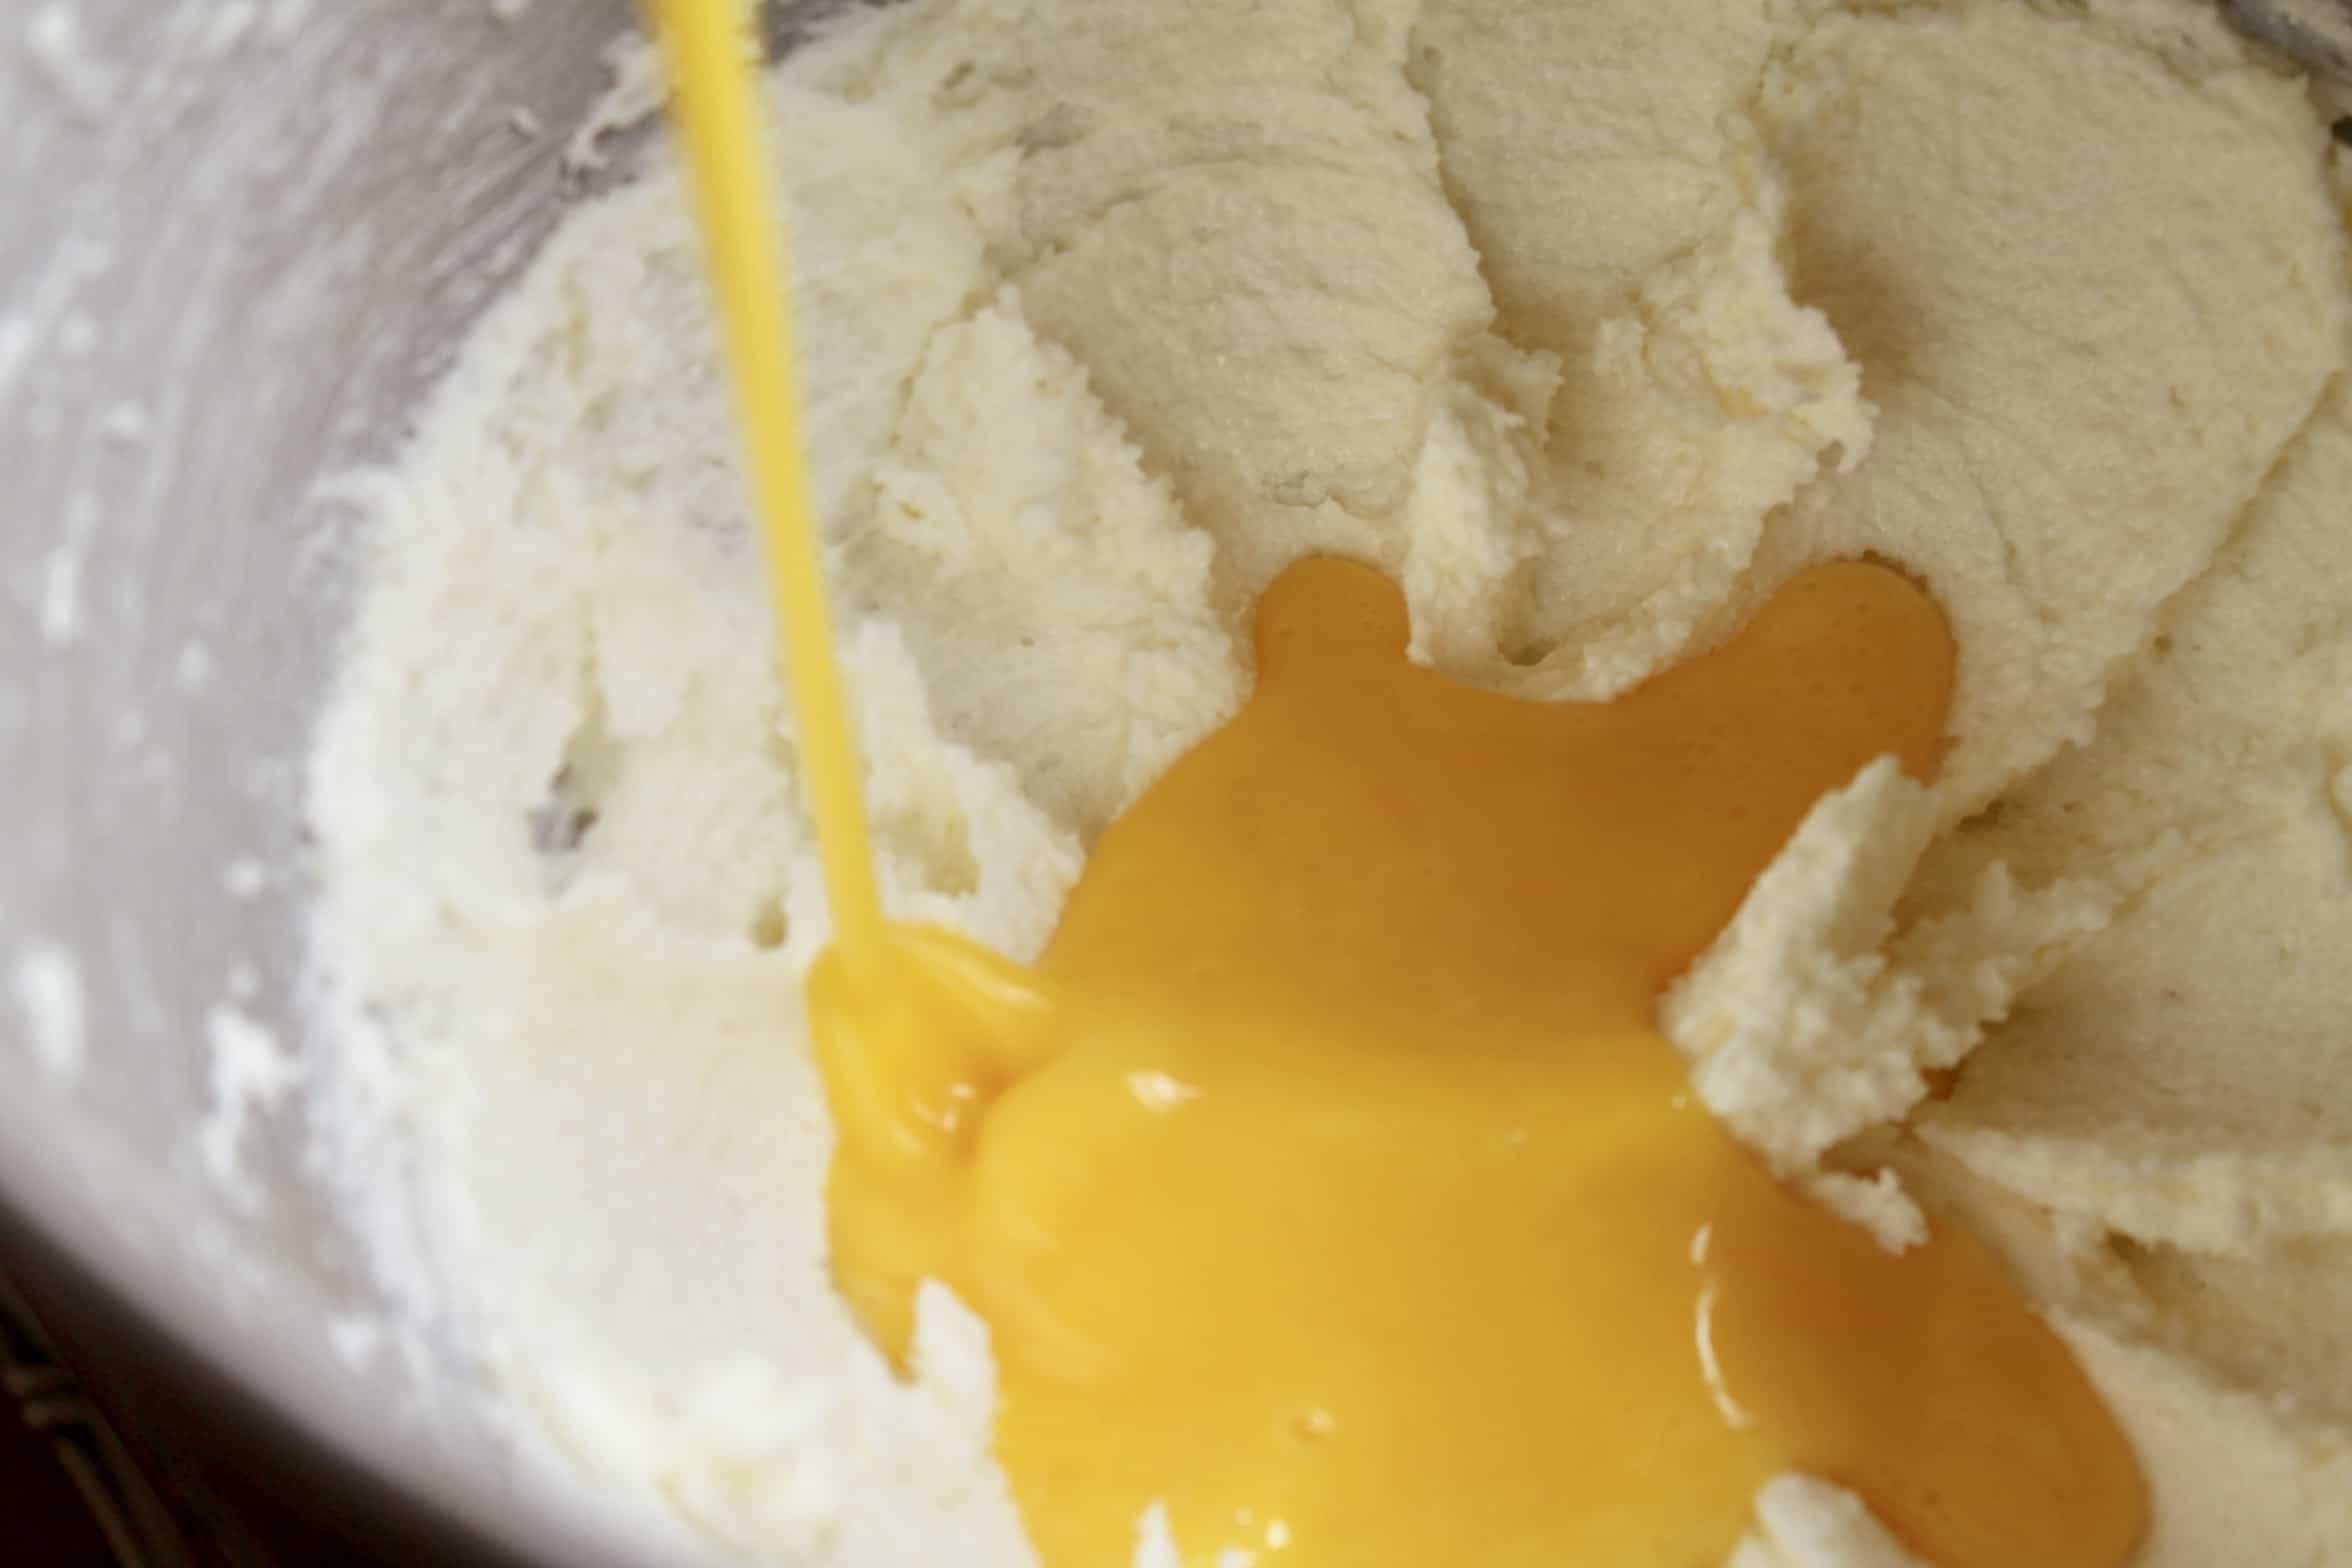
Then add about a third of the sifted flour. Repeat this step. Add the rest of the eggs and mix well, then turn the mixer to low and add the final flour and just mix until well combined.
Prepare the Cake for Baking
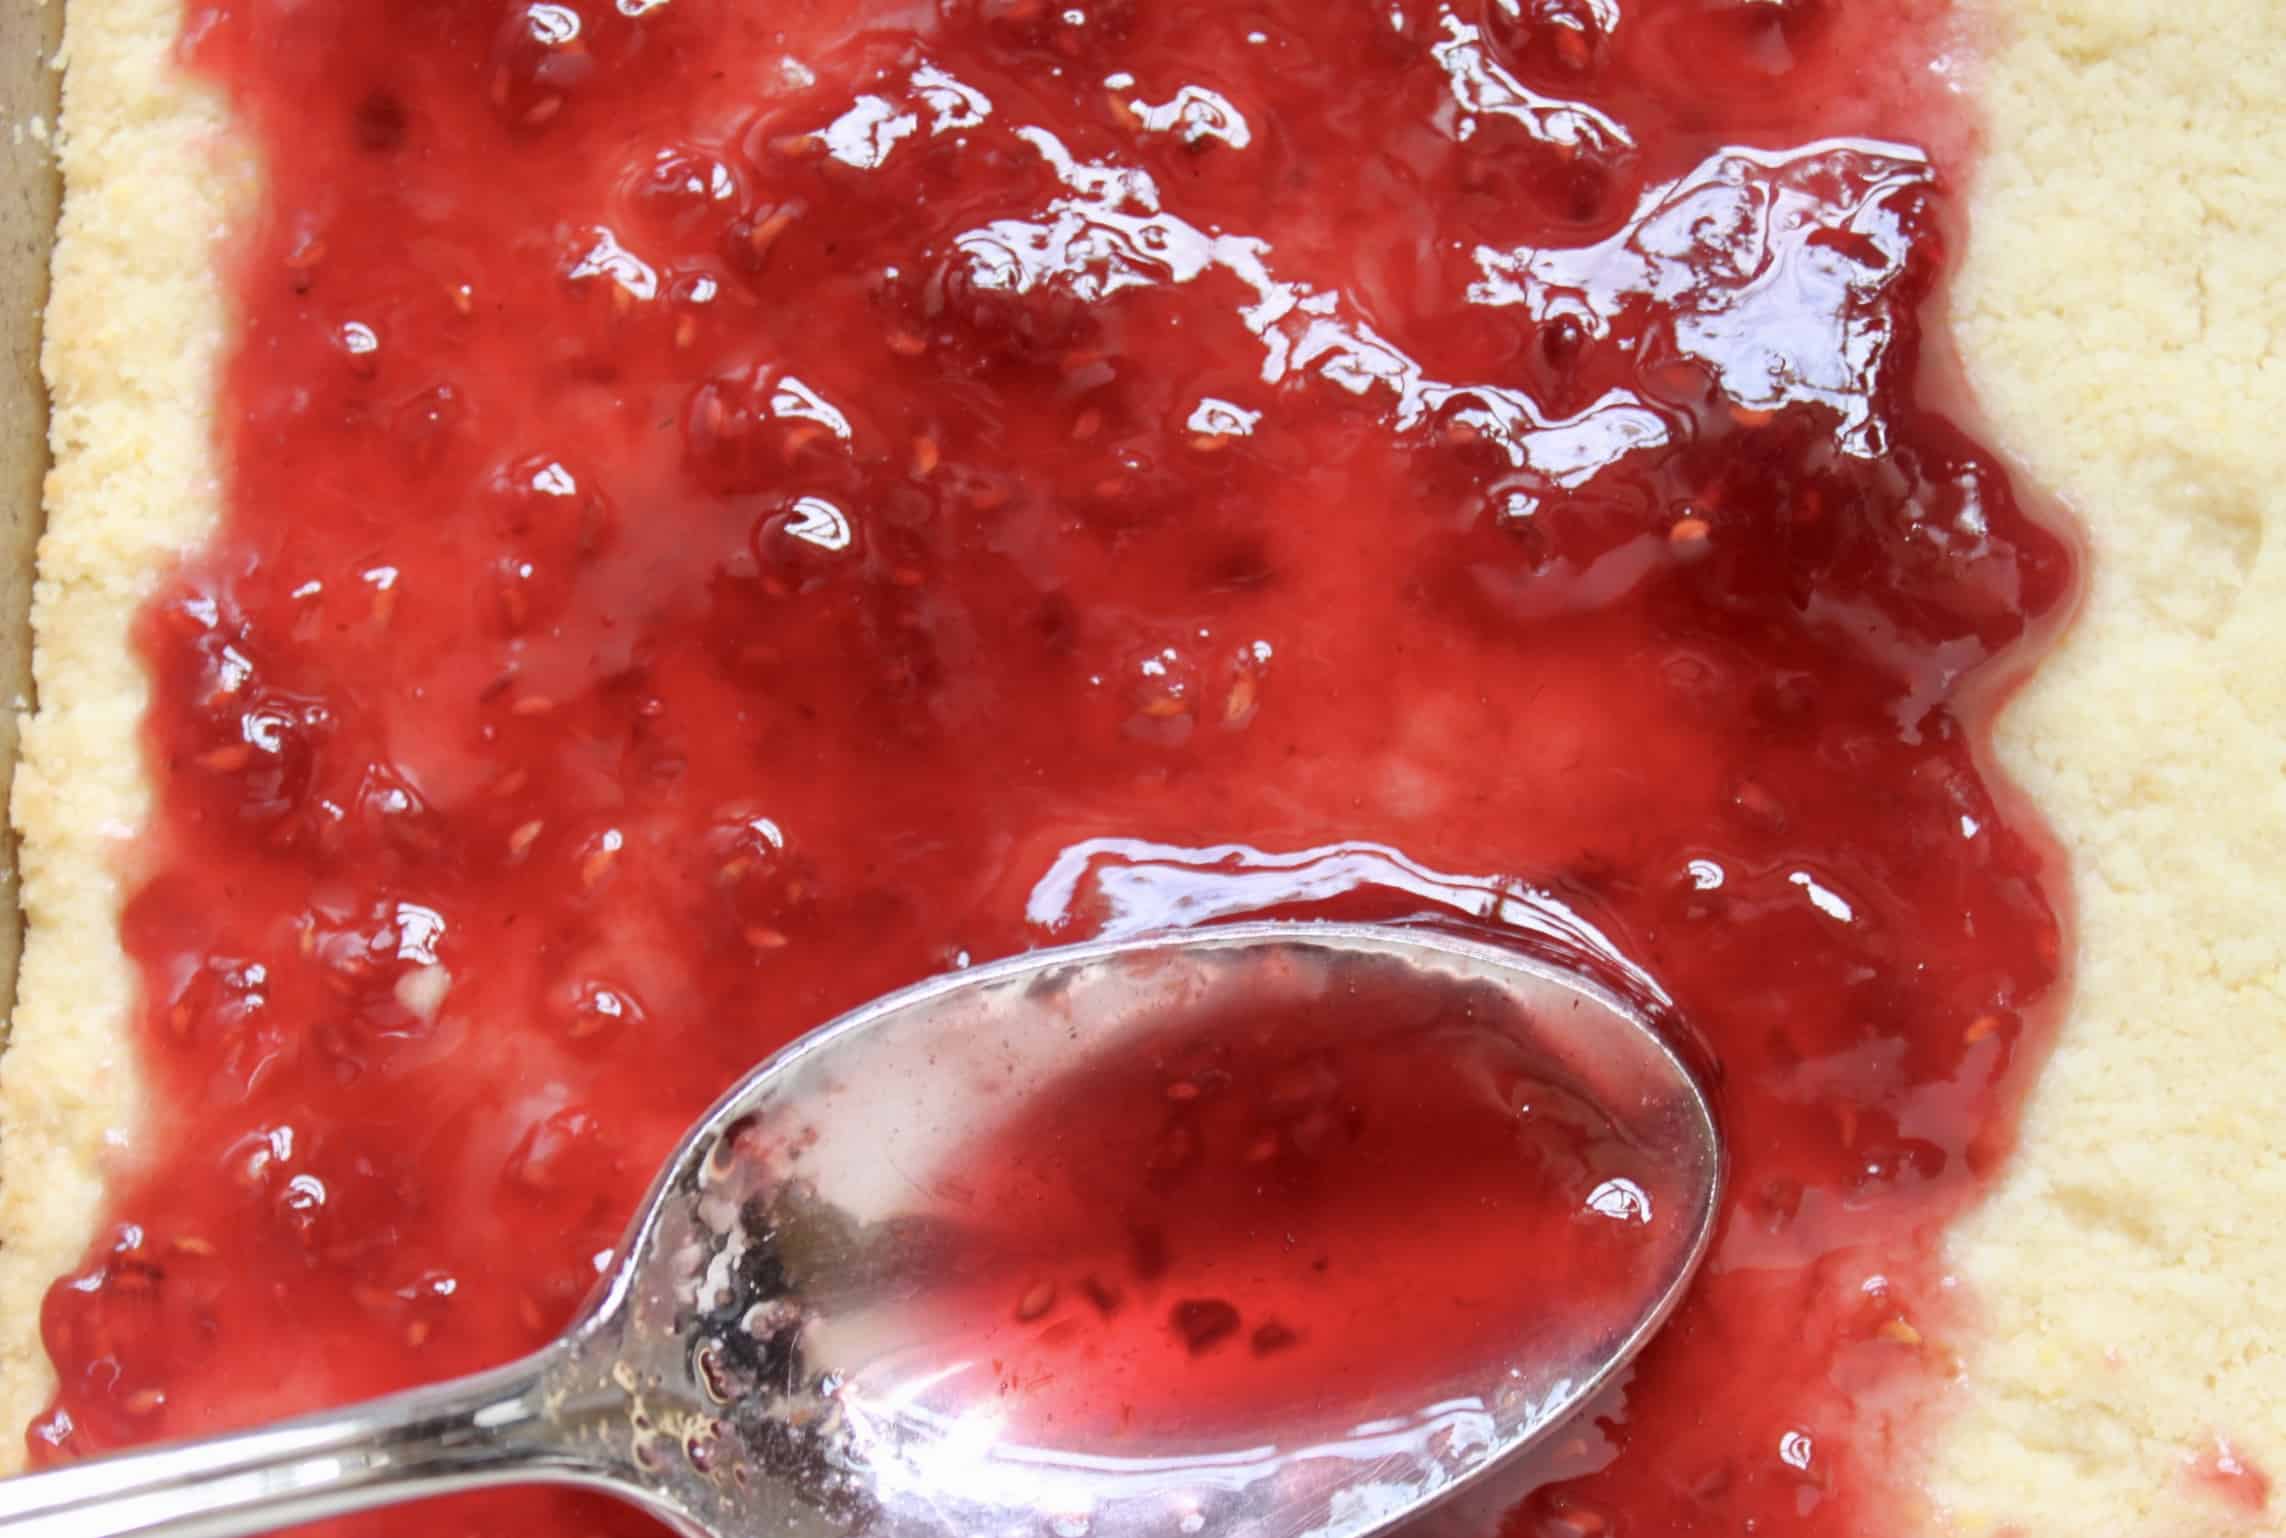
Spoon the jam evenly onto the pastry base taking care not to let it reach the side of the pan.
Place dollops of cake batter all over the jam to make it easier to spread. (Try not to let the jam get mixed into the batter.)
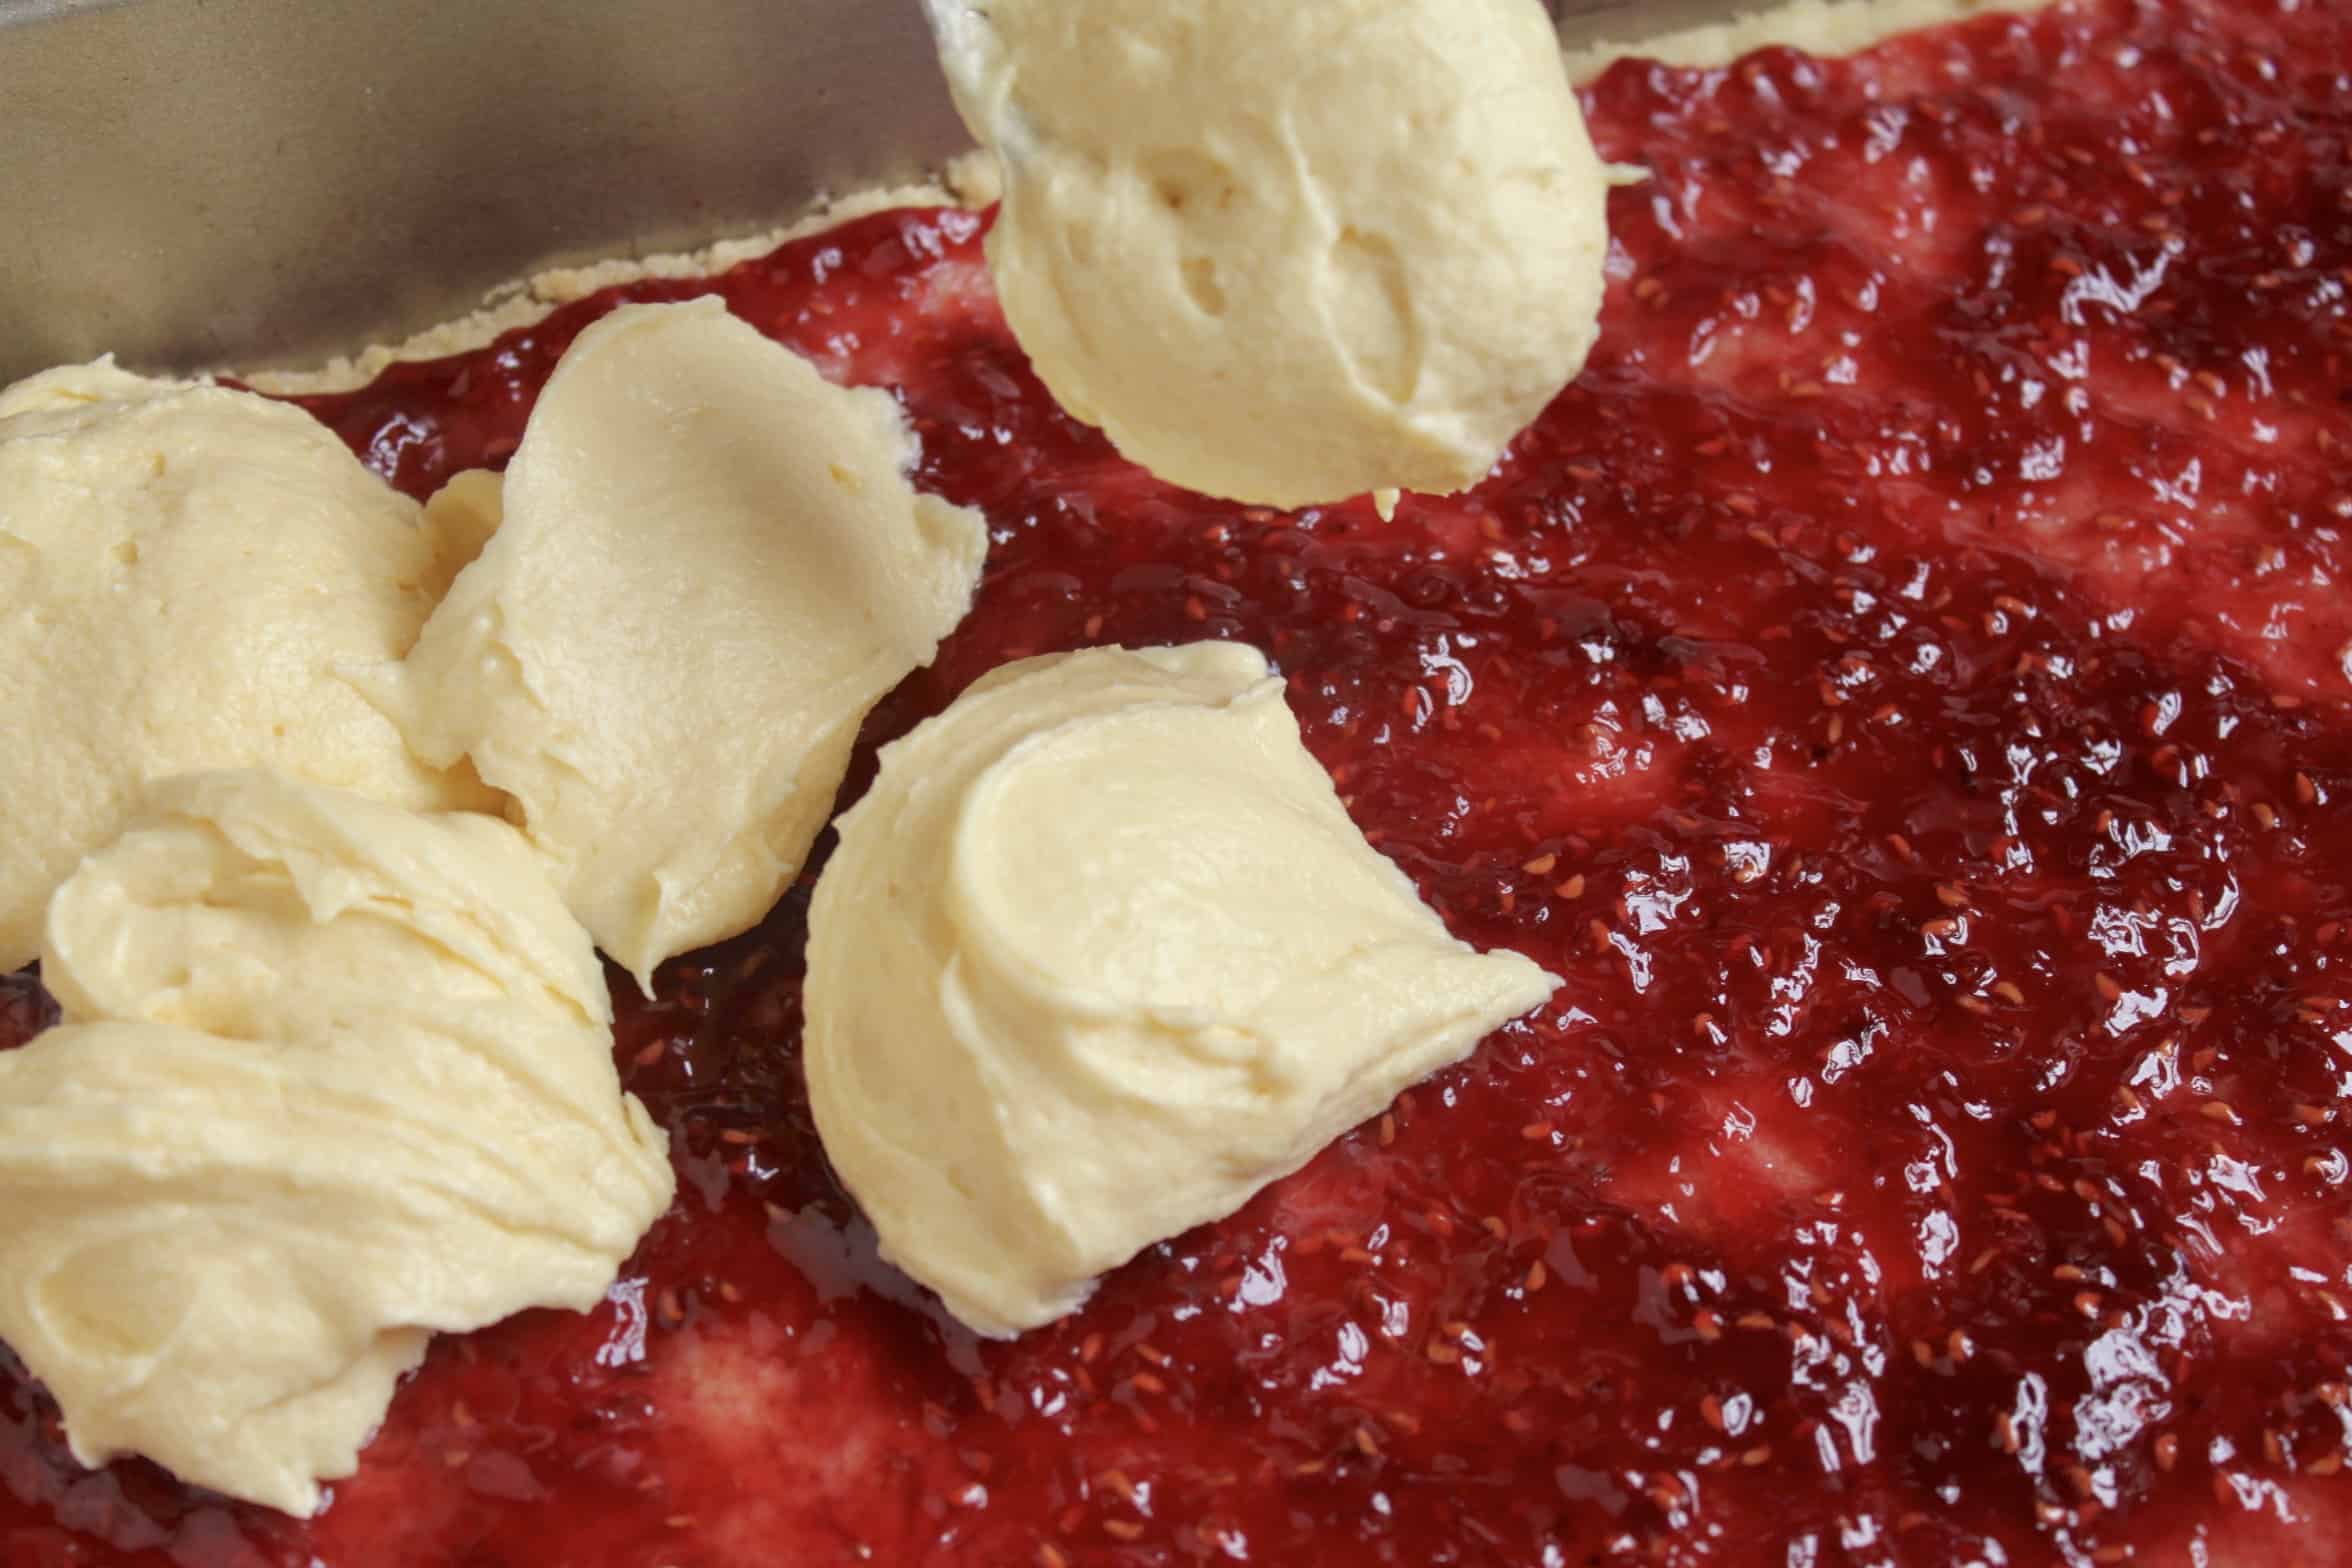
Spread the batter evenly all over the jam and pastry.
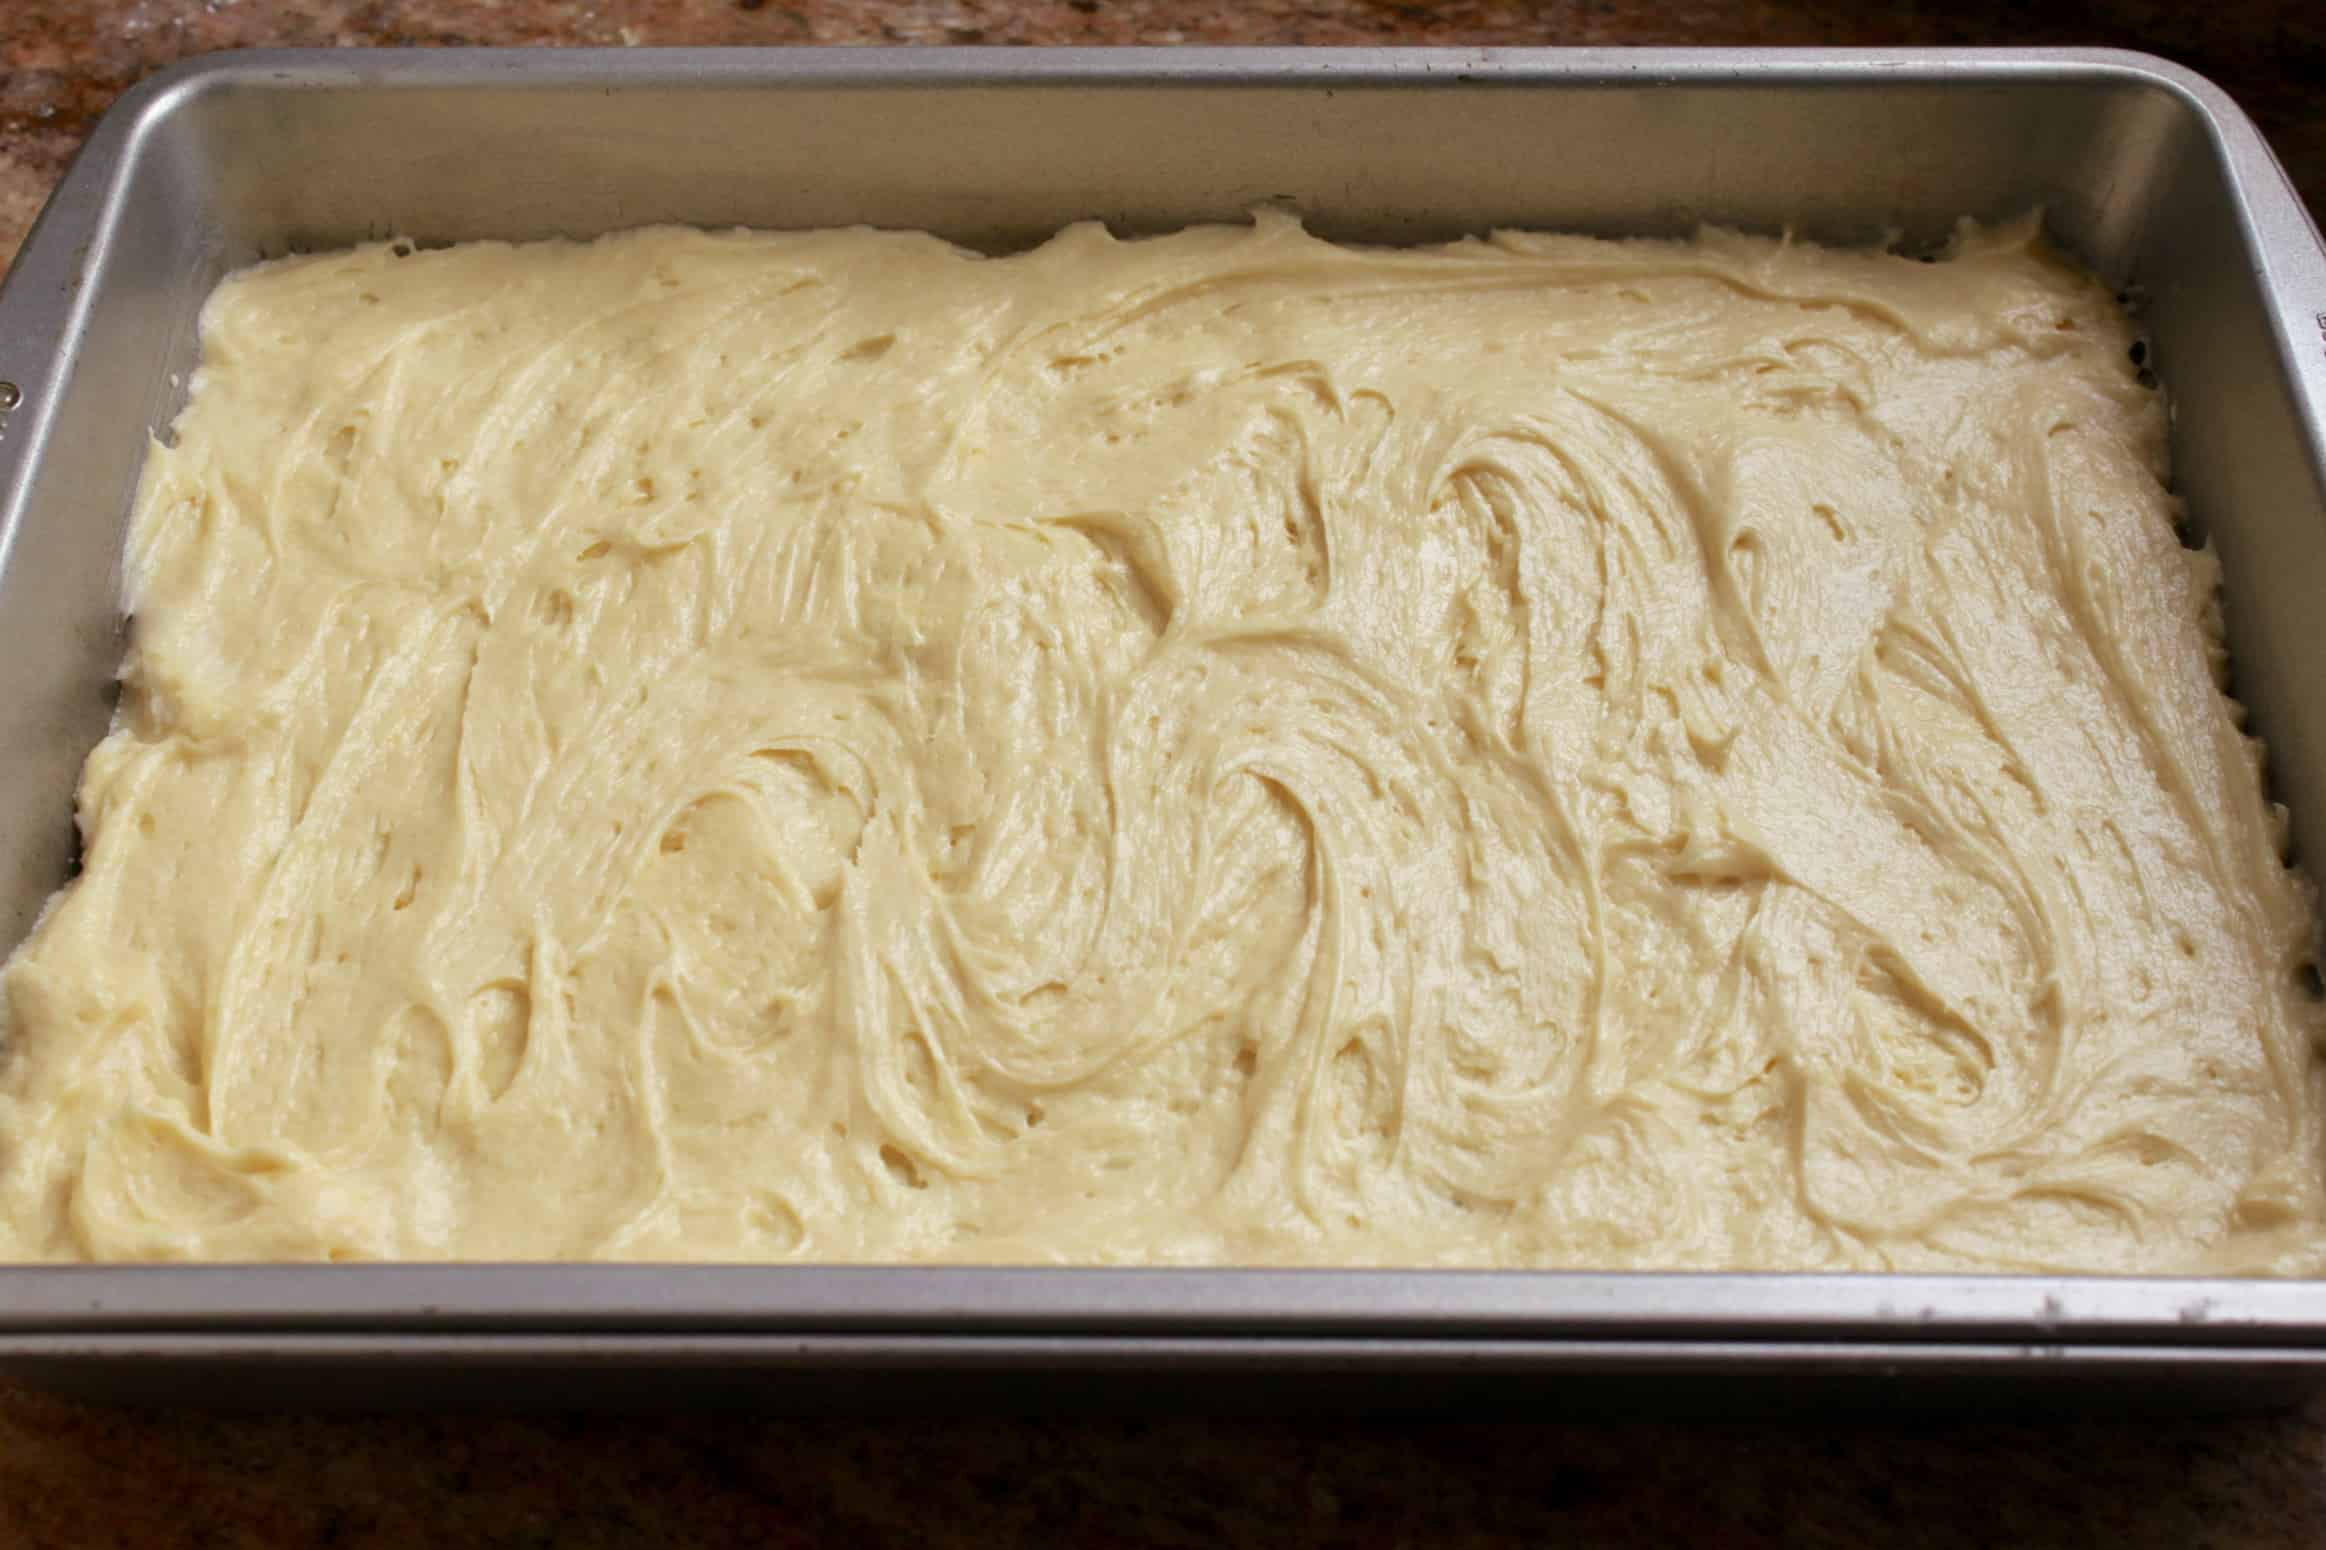
Pop the cake into the oven for approximately 30 minutes. Do not open the oven until you start to smell the cake and it looks well risen (through the glass). Gently insert a cake tester or skewer into the center of the cake to check that it’s completely cooked before removing from the oven. Allow to cool completely in the pan.
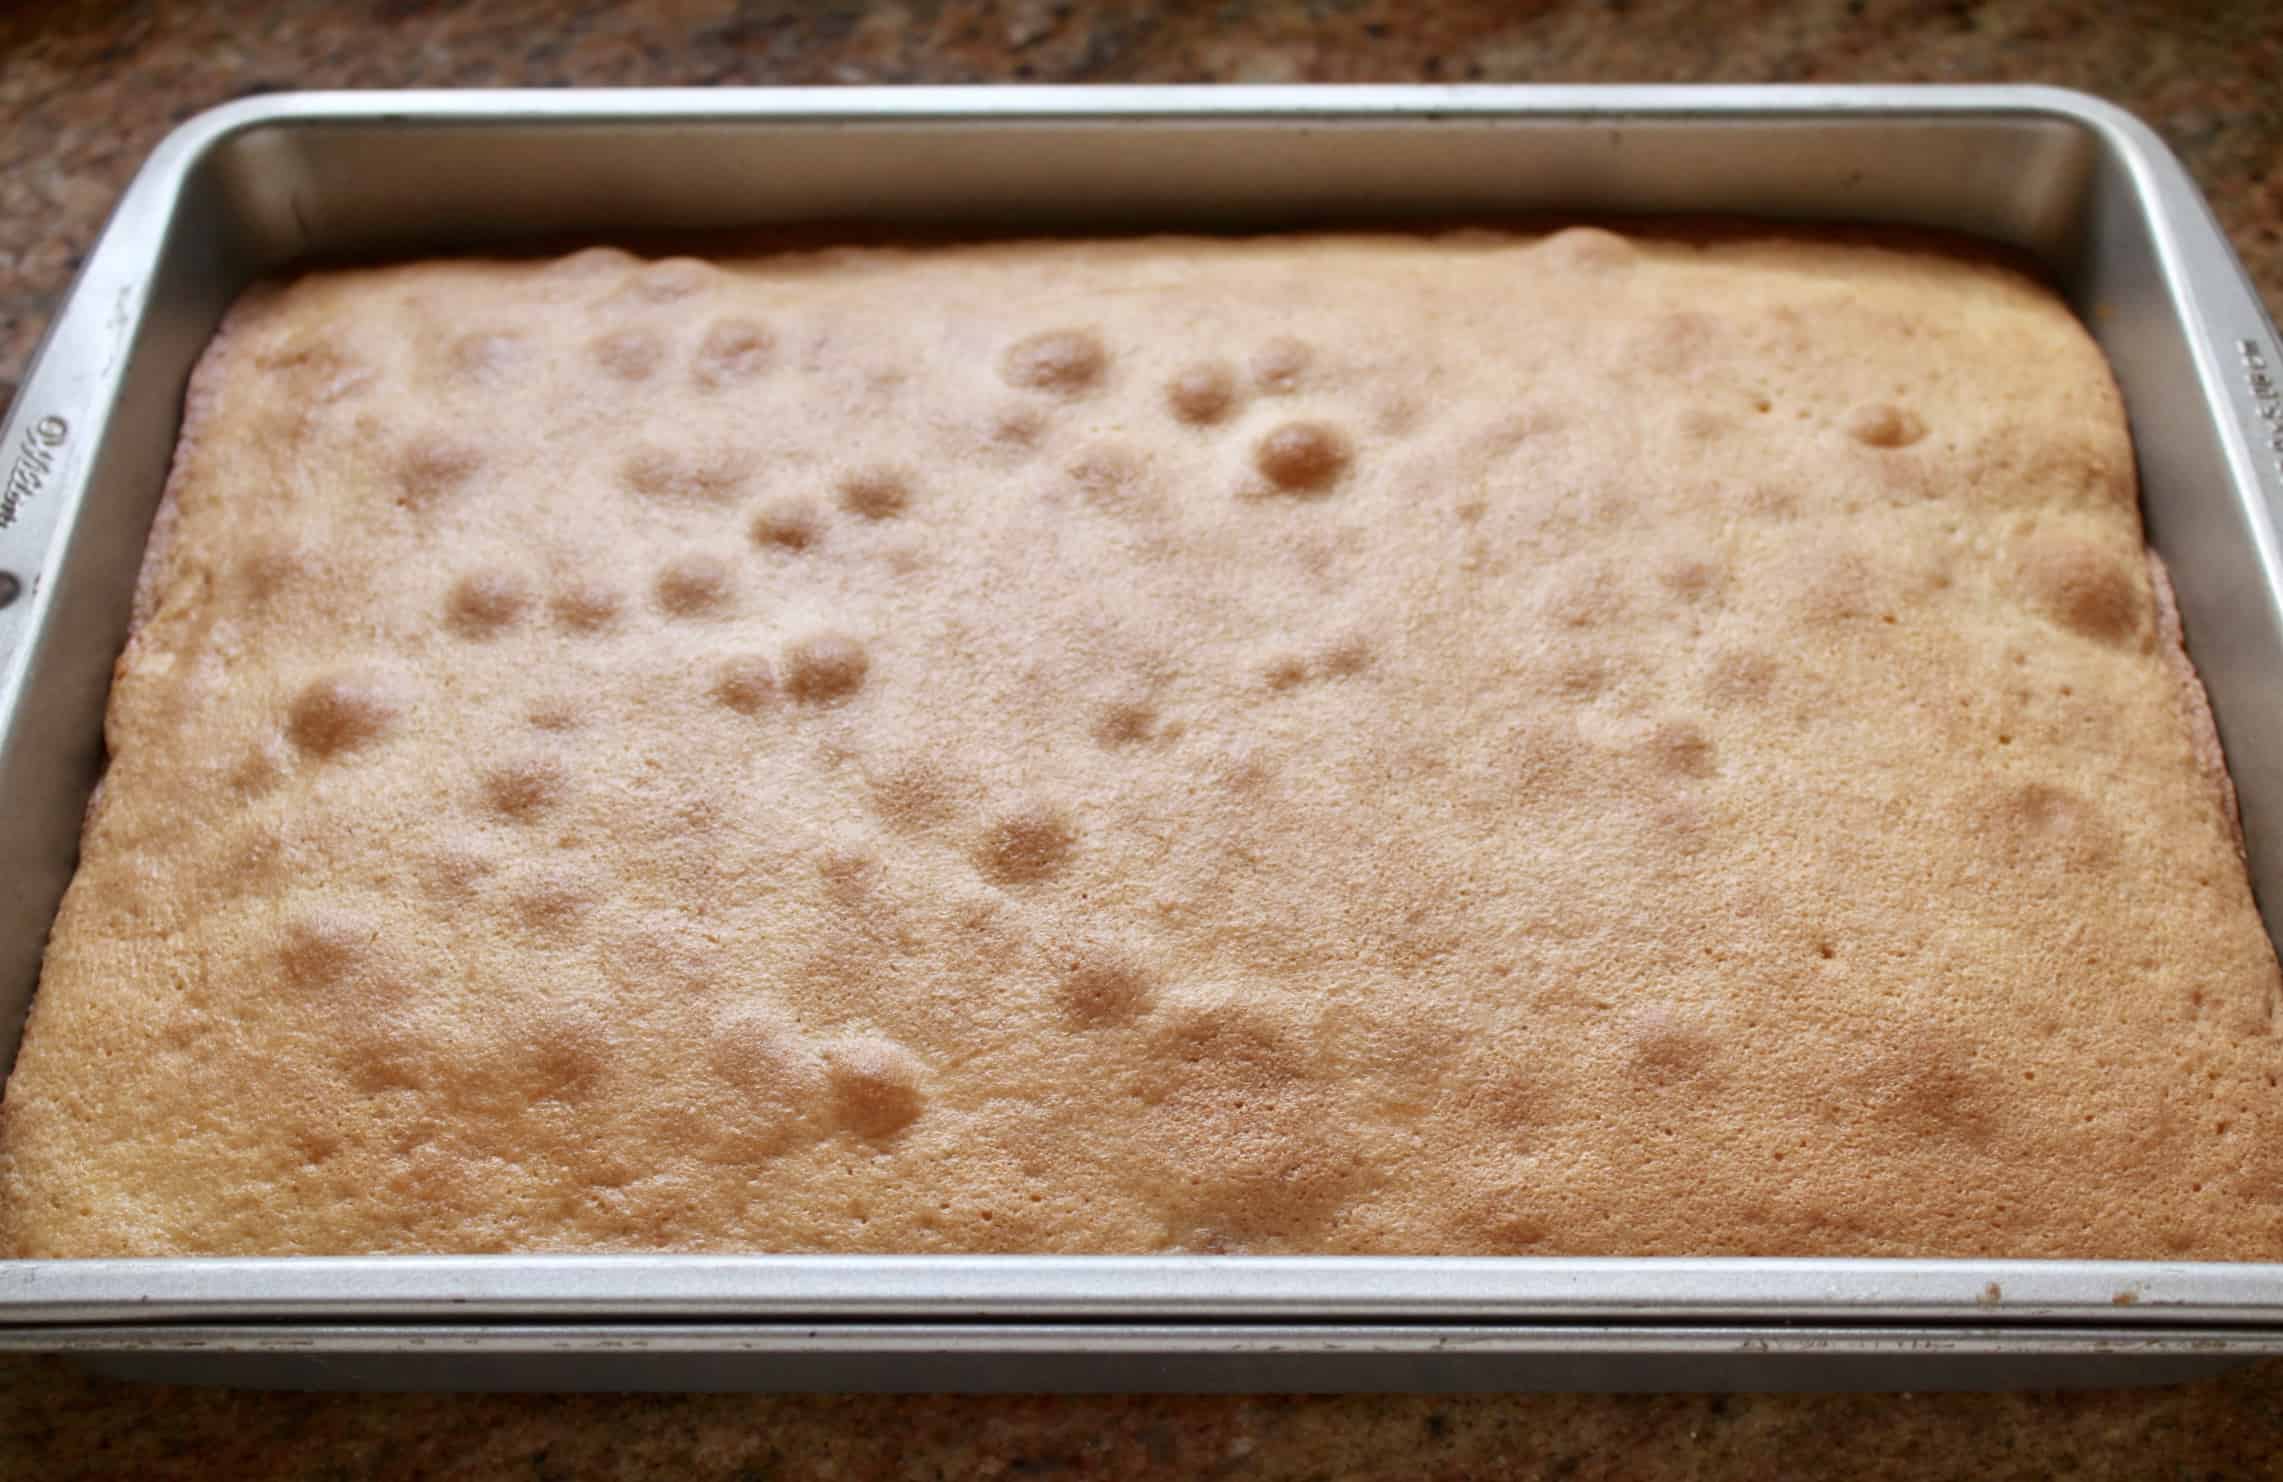
Decorate the Snow Cake.
Run a knife around the cake, down to the pastry, then shake the pan. You should feel that the cake is loose in the pan before decorating it. Don’t worry about any imperfections as the icing and coconut will hide everything!
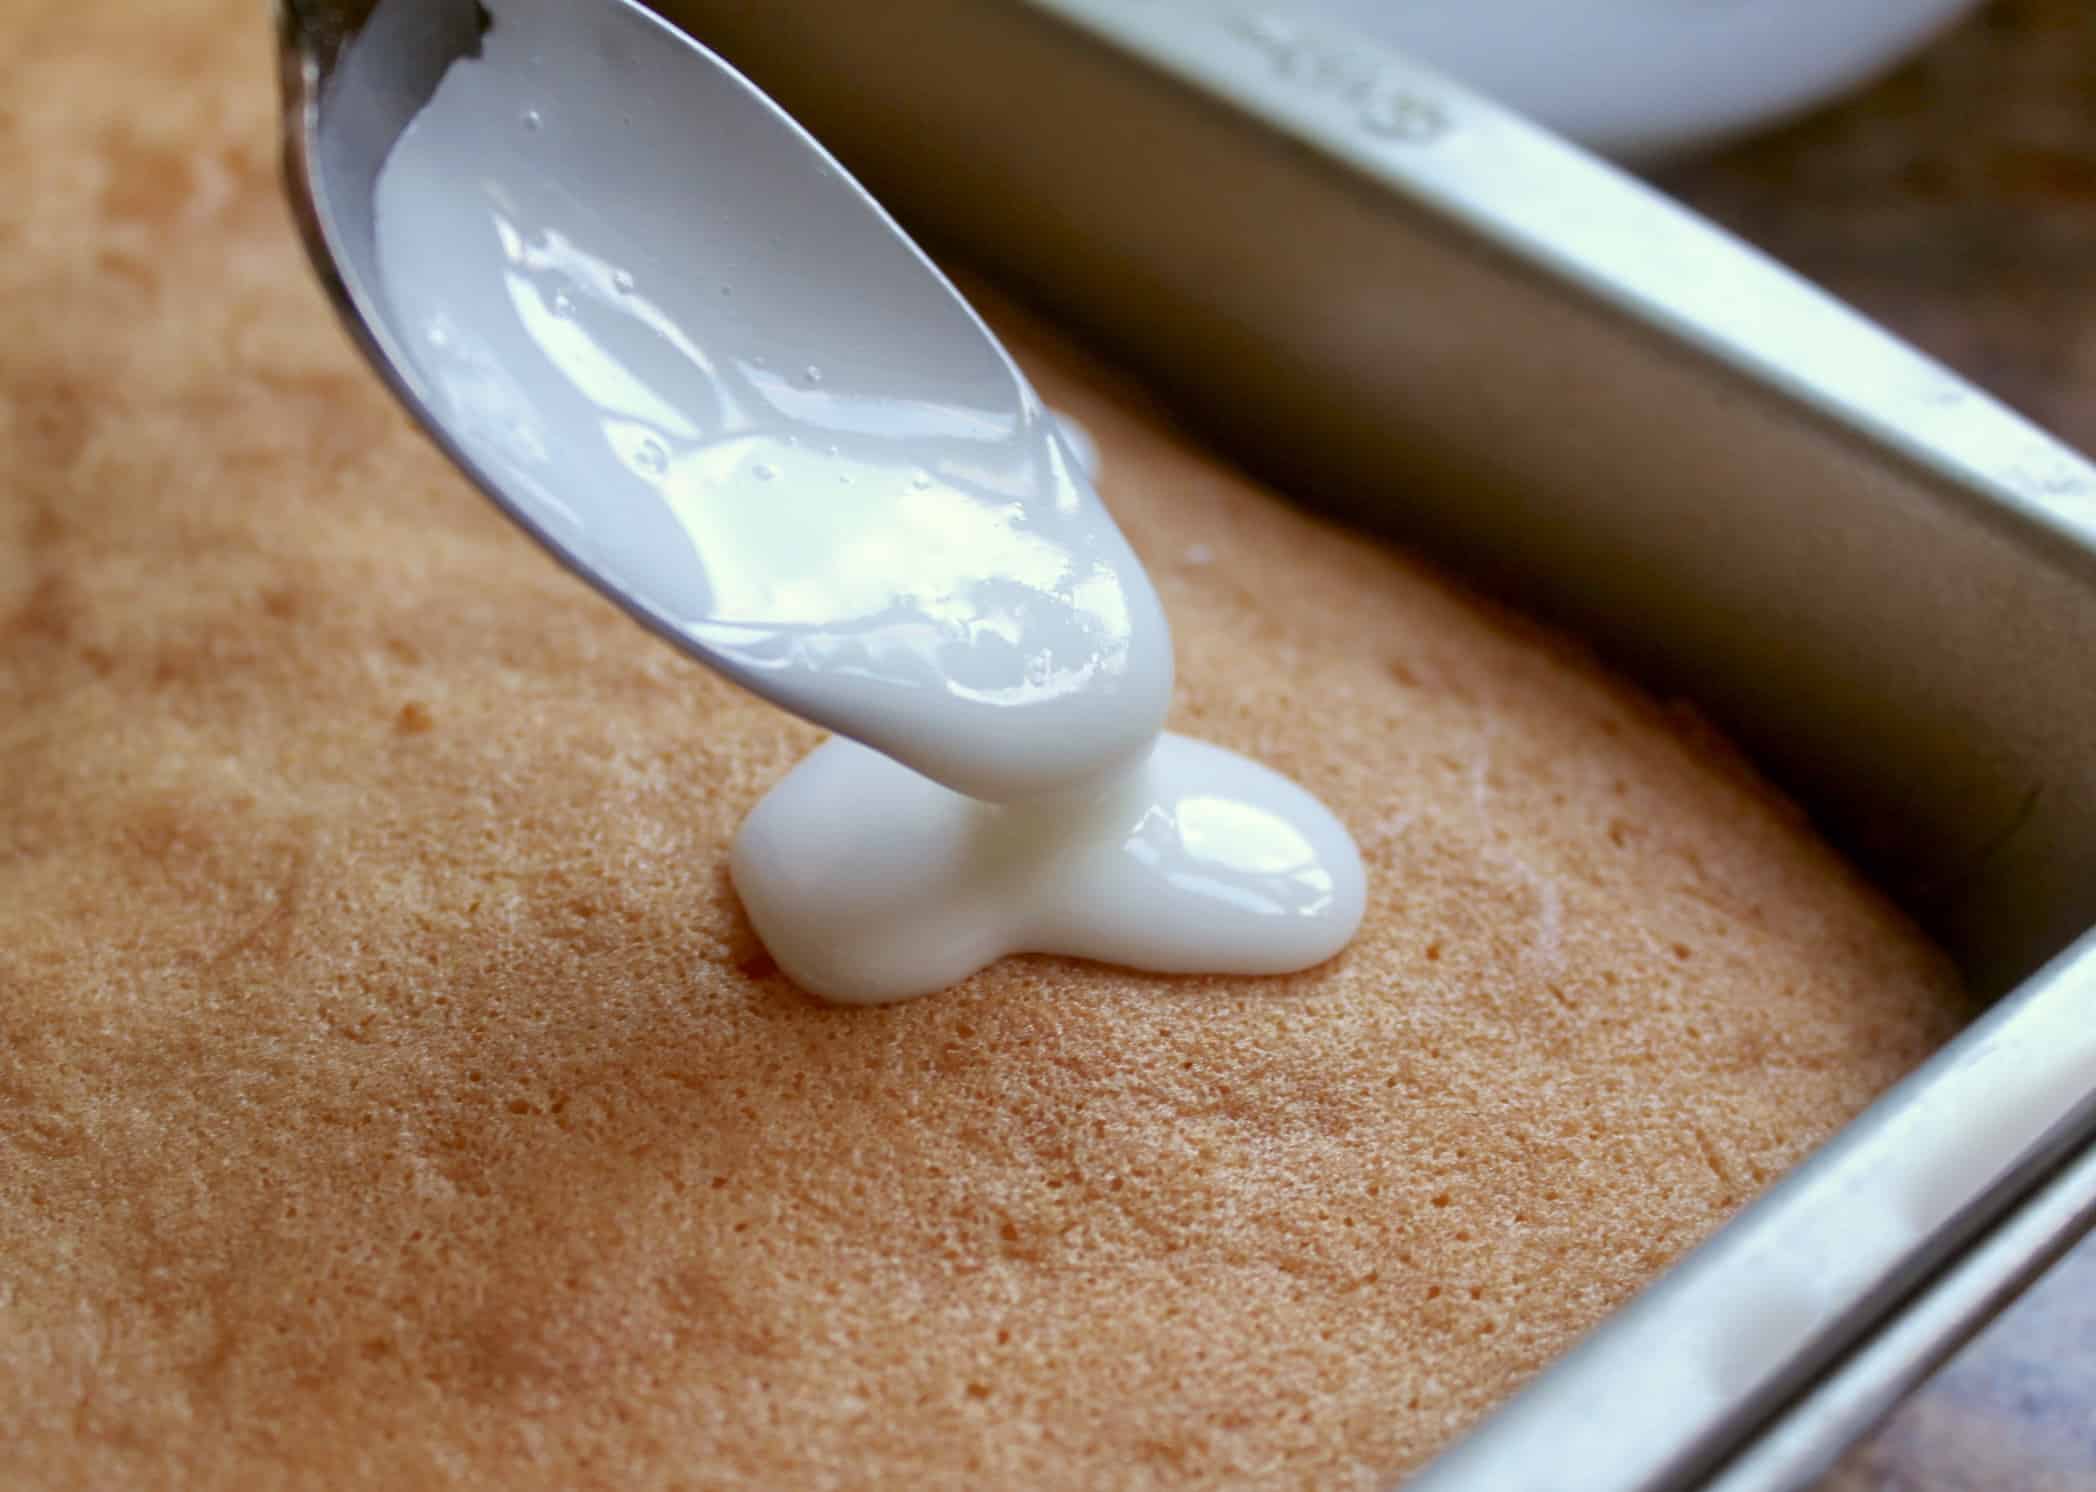
Put the confectioner’s sugar in a bowl and slowly add the milk or water a little at a time (1/2 tsp) until a thick, but runny consistency is reached. Adjust with more sugar or liquid if you see the icing isn’t spreading nicely. Cover the cake with this icing.
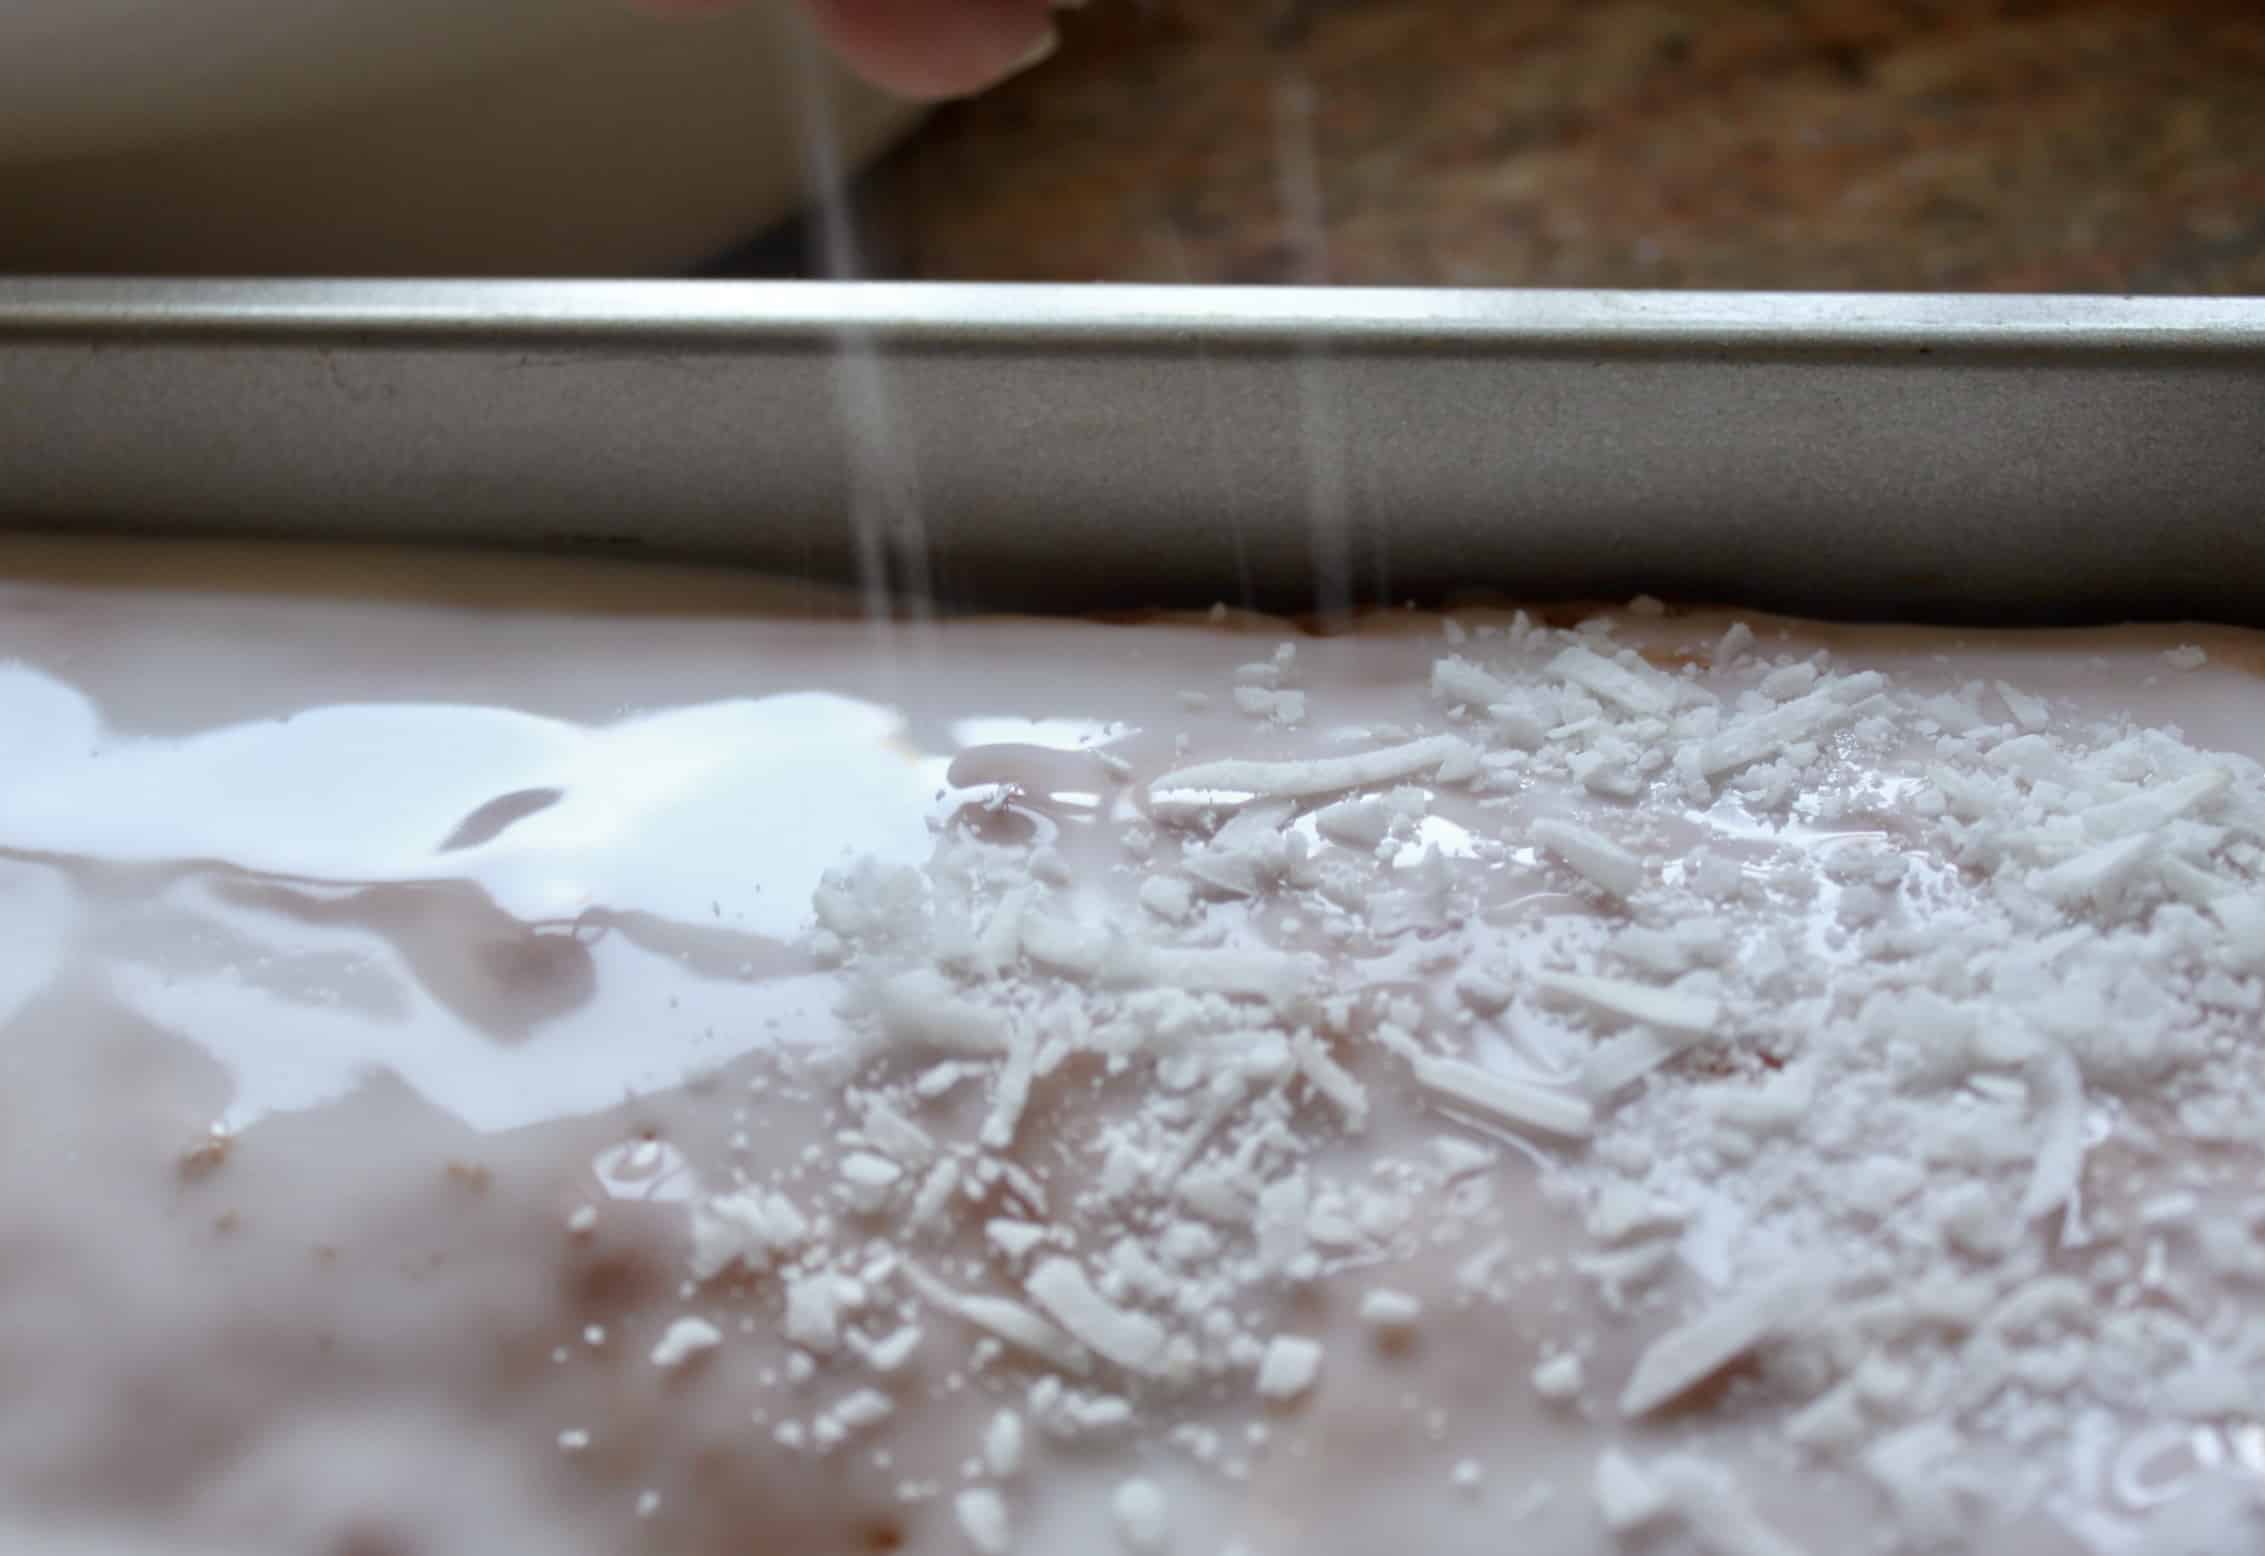
Before the icing begins to dry, sprinkle generously with finely shredded, unsweetened coconut.
Allow the icing to dry and set completely which will take a few hours. Once it’s set, use a serrated knife to cut the cake into squares (cutting into 18 pieces is a good size). Alternatively, you can cut the Scottish snow cake into fingers or even diamond shapes. Keep covered at room temperature.
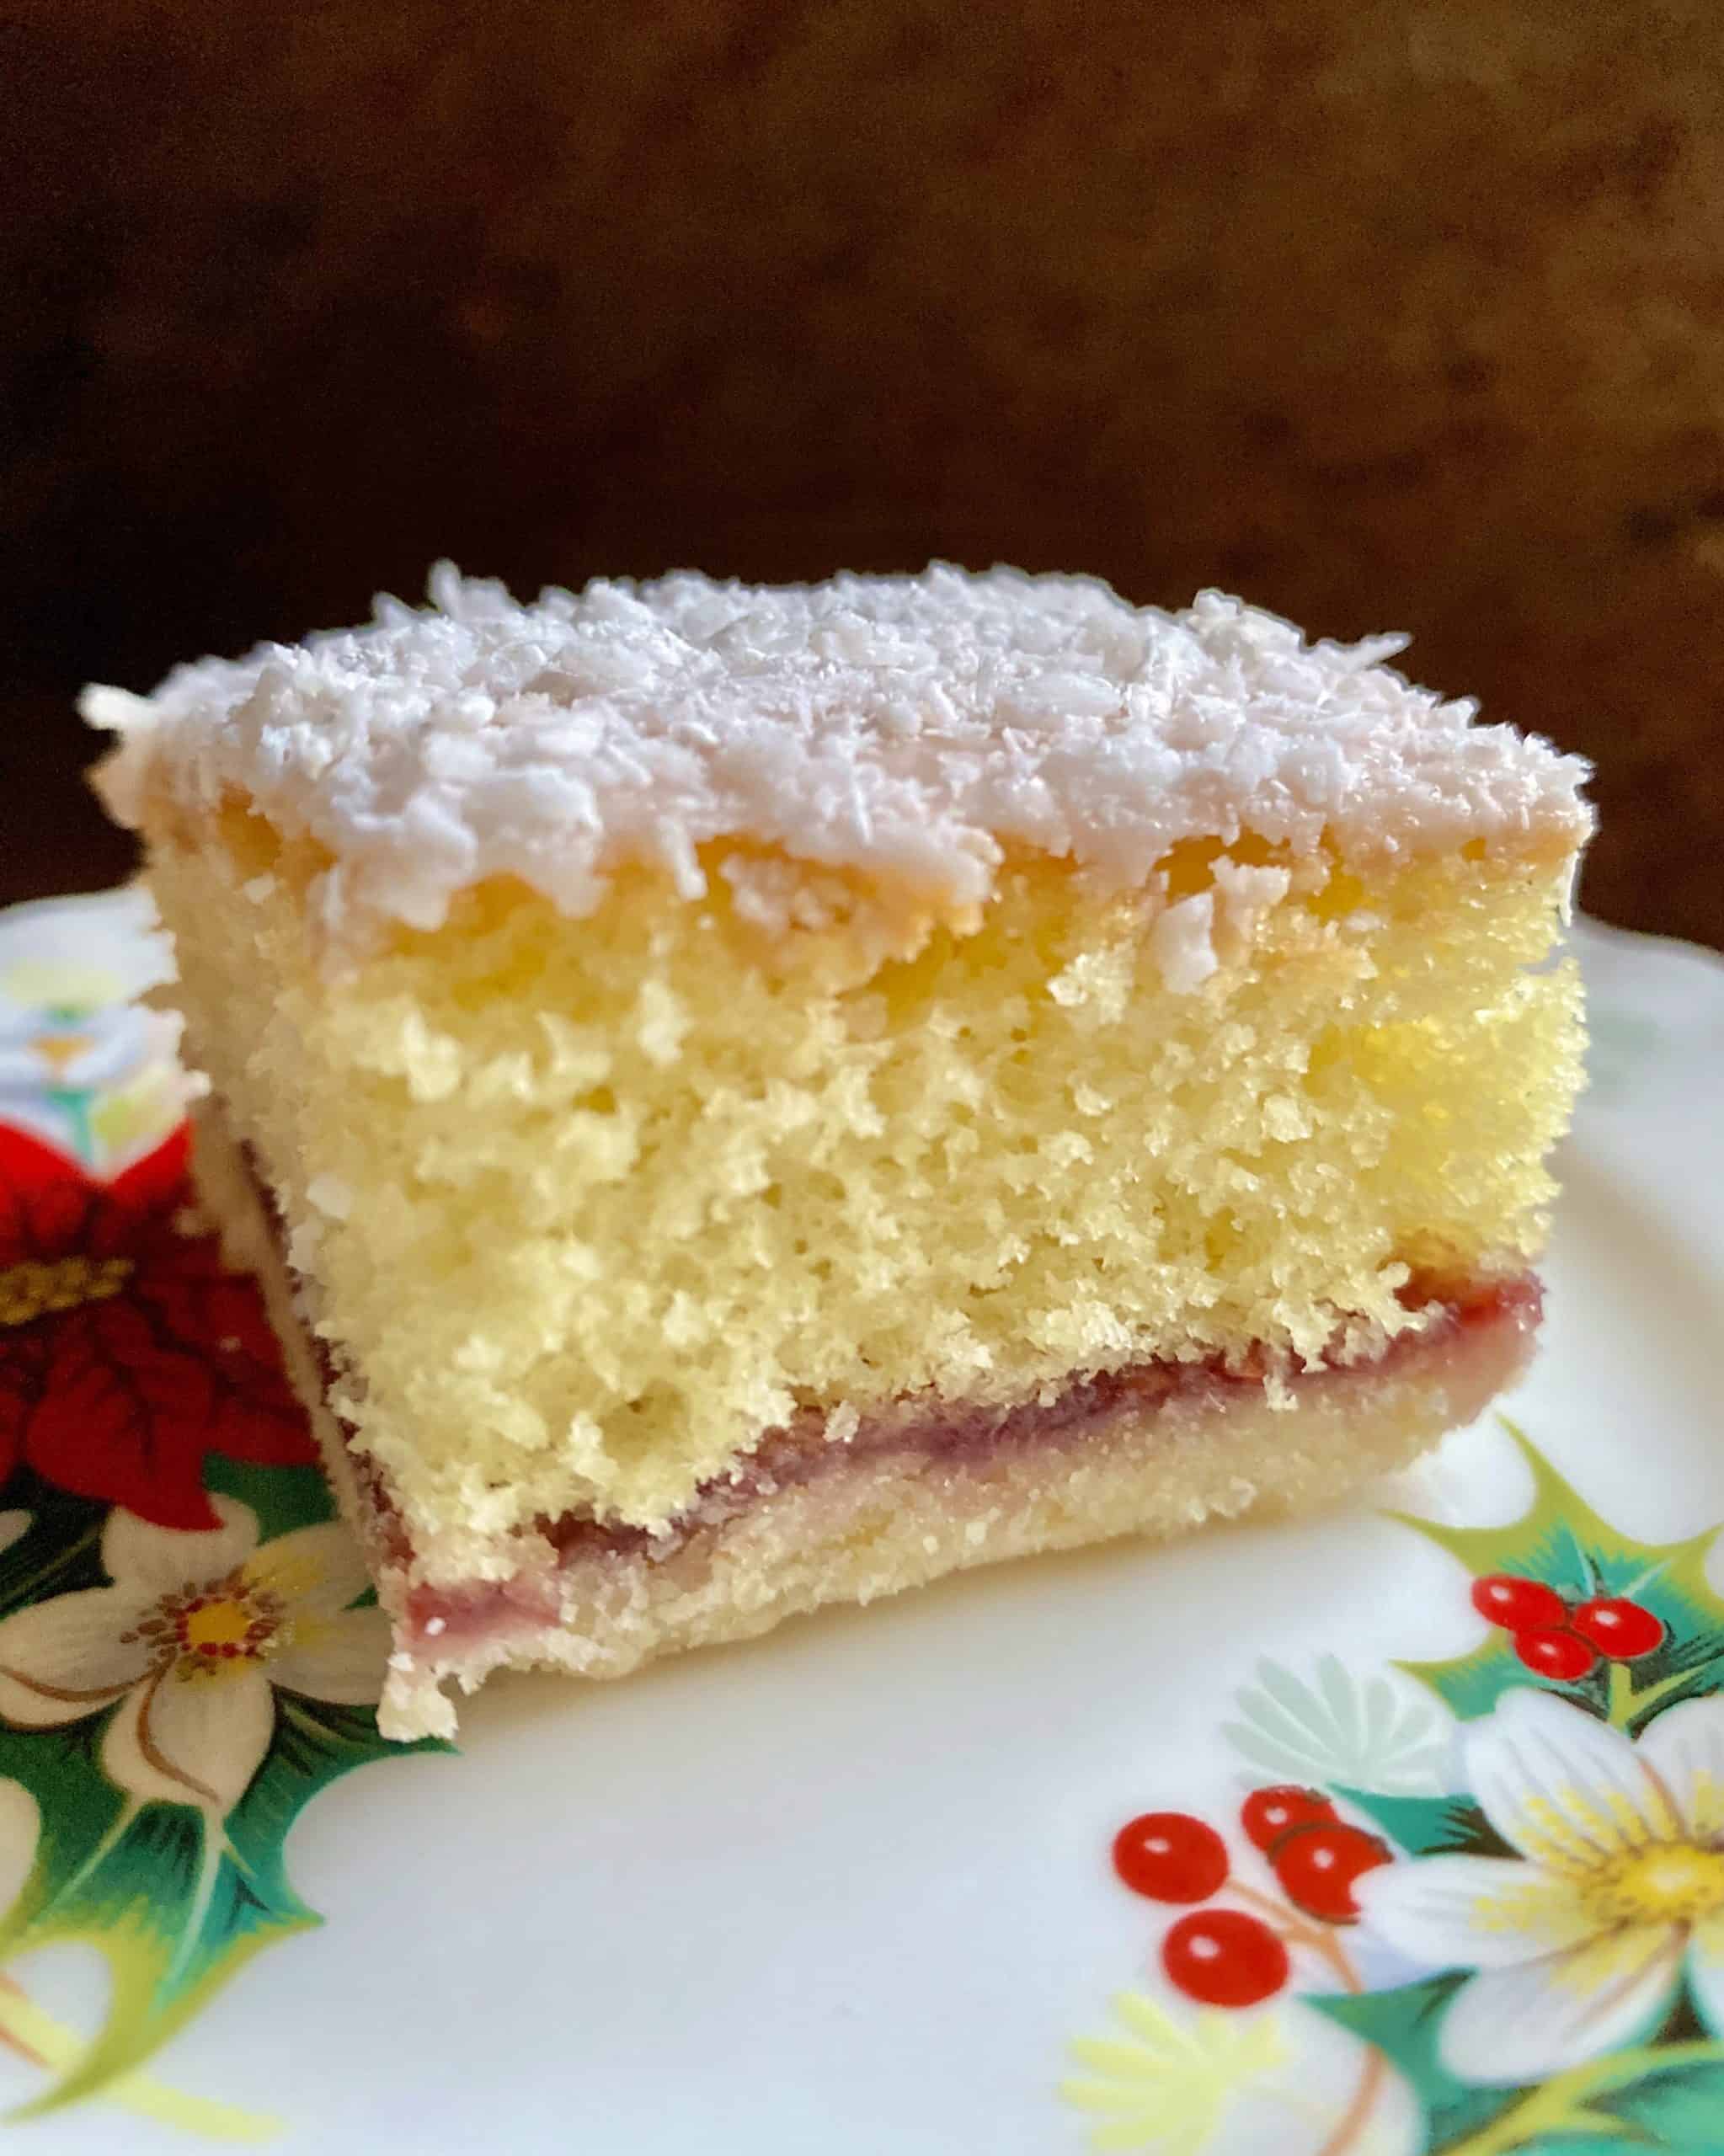
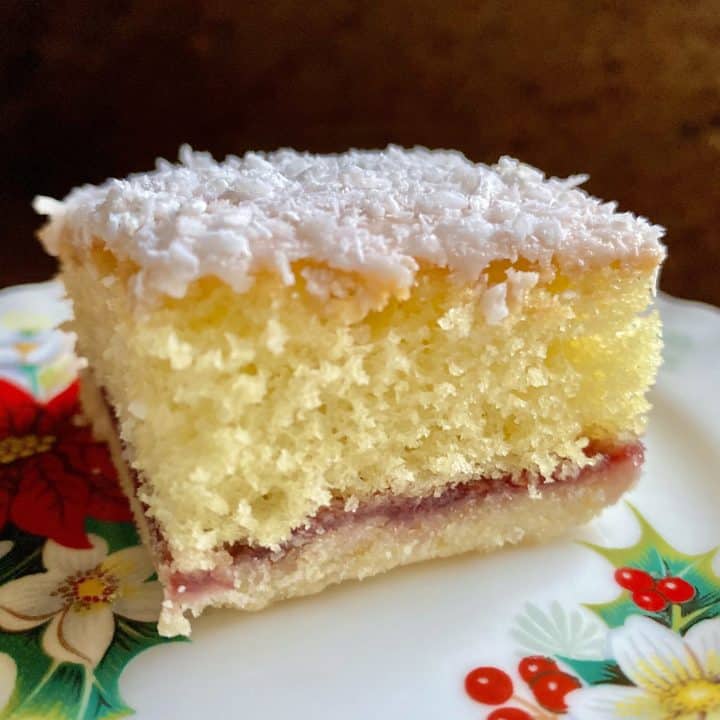
Scottish Snow Cake Recipe
A sponge cake baked onto a raspberry jam covered pastry and topped with icing and coconut! Dreamy!
Ingredients
Short Crust Pastry
- 255g (2 cups) flour
- 170g (1 ½ sticks) butter, cold
- 57g (¼ c) sugar
- 1 egg yolk
- (about 6 to 8 oz raspberry jam to cover the pastry)
Cake
- 150g (1 ¼ sticks) good quality butter, unsalted and at room temperature (if you only have salted butter, omit the salt)
- 150g (⅔ c) superfine or Baker’s sugar (caster sugar in the UK)
- 3 eggs, beaten
- 150g (1 ¼ c) self-rising flour, or all purpose flour with 1 tsp baking powder, SIFTED
- a pinch of salt
Topping
- about 110g (1 cup) confectioner's/powdered sugar
- a little milk or water
- finely shredded, unsweetened coconut to sprinkle on top
Instructions
Oven temp 375˚F (190˚C) for pastry.
Make the Pastry Base
- Using two knives of a pastry cutter, cut the butter finely into the sugar, but do not cream.
- Add the egg yolk and stir to combine.
- Add the flour. Using your fingertips, rub the butter into the flour until it has a breadcrumb texture.
- Press the mixture into the bottom of a 9"x13" cake pan, pressing firmly.
- Bake for about 10 minutes. Don't let it start to brown. Remove from the oven and allow to cool, while making the cake batter.
Lower the oven temperature to 350° F (180°C)
Make the Cake
- In a stand mixer or using a handheld mixer, cream the butter and sugar until very light and fluffy. It will begin to pale in color, too.
- Add about one third of the beaten eggs, and mix well at medium speed.
- Then add about a third of the sifted flour. Repeat this step. Add the rest of the eggs and mix well, then turn the mixer to low and add the final flour and just mix until well combined.
Prepare to Cake for Baking
- Spoon the jam evenly onto the pastry base taking care not to let it reach the side of the pan.
- Place dollops of cake batter all over the jam to make it easier to spread. (Try not to let the jam get mixed into the batter.)
- Spread the batter evenly all over the jam and pastry.
- Pop the cake into the oven for approximately 30 minutes. Do not open the oven until you start to smell the cake and it looks well risen (through the glass). Gently insert a cake tester or skewer into the center of the cake to check that it's completely cooked before removing from the oven. Allow to cool completely in the pan.
Decorate the Snow Cake.
- Run a knife around the cake, down to the pastry, then shake the pan. You should feel that the cake is loose in the pan before decorating it.
- Put the confectioner's sugar in a bowl and slowly add the milk or water a little at a time (1/2 tsp) until a thick, but runny consistency is reached. Adjust with more sugar or liquid if you see the icing isn't spreading nicely. Cover the cake with this icing.
- Before the icing begins to dry, sprinkle generously with finely shredded, unsweetened coconut.
- Allow the icing to dry and set completely which will take a few hours. Once it's set, use a serrated knife to cut the cake into squares (cutting into 18 pieces is a good size). Alternatively, you can cut the Scottish Snow Cake into fingers or even diamond shapes. Keep covered at room temperature.
Nutrition Information:
Yield: 18 Serving Size: 1Amount Per Serving: Calories: 243Total Fat: 11gSaturated Fat: 6gTrans Fat: 0gUnsaturated Fat: 3gCholesterol: 64mgSodium: 116mgCarbohydrates: 32gFiber: 1gSugar: 10gProtein: 5g
All nutrition information is not guaranteed.
Don’t miss another post, sign up for my free subscription.
Christina’s Cucina is a participant in the Amazon Services LLC Associates Program, an affiliate advertising program designed to provide a means for sites to earn advertising fees by advertising and linking to Amazon.com.

Hi Christina. I’m a Scottish granny and also had the Lofty Peak recipe book handed down to me by my husbands granny who made this weekly. I don’t remember her using coconut but it sounds a great addition. I no longer have the recipe so was delighted to come across it again. I don’t know if you remember but Lofty Peak was a brand of flour here in Scotland. It disappeared off the shelves many moons ago. It was great to hear the name again.
I only remember the cookbook, but I knew it was from a brand of flour. Yes, you can see the coconut in the photo of the book, but maybe your husband’s granny “didnae like coccaynut” haha! Had to throw that in! :) I have the custard creams and Bourbon biscuit recipes from Lofty Peak, too! Such a great wee cookery book!
I would really like to make this cake. I have looked at it almost weekly for a couple months. I’m having trouble figuring out how to convert the measurements into American proportions correctly. I don’t want to mess up and waste the ingredients. I have some special homemade jam I want to use. Are the pastry measurements by weight or volume?
I’m sure that sounds like a silly question. Thanks for your help.
Hi Tami, wow, you must really be wanting to try this cake by now! I did’t realize I didn’t have the US measurements on this recipe, so I’ve converted them for you, BUT, and this is a big BUT: I would strongly encourage you to purchase a scale. They are so inexpensive now, and the results are much better when you weigh ingredients. I cannot guarantee the results with cups because they are so imprecise.
So not a silly question at all, but weight is always the best option when baking or doing anything scientific (vs. volume). People get upset with me because they say my conversions are wrong, but I have to explain to them that one cup of feathers does not weigh the same as one cup of marbles. This is why cups don’t give good results. We don’t measure ourselves (weight) in cups, so why do we use them for baking?
Anyway, if you choose to do so the cup measurements they are now in the recipe. Let me know what you think if you try it! :)
My grandmother made a similar cake but she topped it with icing coloured and sweetened with some of the jam.
lovely!
Can this be made a day ahead and if so, do I leave at room temperature.
Hi Teresa, yes it can, and yes you should! Enjoy! :)
Thank-you so much for your amazing looking recipes, can’t wait to make this one. My husband did a DNA test and found out he is 39% Scottish and 12% Irish, so I thought it would be fun to make this for his birthday!
That’s a great idea, Teresa! Lucky him!! :)
Hi Christina,
The cake is just baking will be ready in 10 minutes.
It looks and smells wonderful.
Hope the grandkids like it!
Be well and stay safe!
Thanks for the lovely recipe!
Cheers! Italo/Canadese from Woodbridge Ontario Canada
Fabulous! I’m sure they will! Thanks, Luisa! Same to you, be safe!
Christina, I can’t tell you what a hit the snow cake was.!!
My sons said it was the best cake I’ve ever made and I have made many through the years. Ha. Ha. Ha.
The grandsons loved it too because instead of coconuts on top, I substitute it with sprinkles! It was gone by night’s end!
The boys rated and still love your Belgium waffles as #one, then sugar cookies as #2 and the snow cake as number 3. They are too funny! James always asks me, “How did you make that?” He is too funny for a 7 year old. I will definitely make it again for Christmas dessert and of course the waffles for Christmas breakfast!!
Thanks so much! I love all the recipes that I have made! I may try the snow cookies if time permits!
Be well and have a safe and healthy holiday! 👍🤗
Thank you so much, Luisa! That’s so wonderful to hear! Are you on Facebook? If so you could enter my baking challenge with all those goodness you’re baking! Here’s the link if you are!
Sorry not on Facebook or any other.
Thanks as always!!
[…] jam sandwiched biscuits, have the same icing and just a bit of coconut, based on a classic Scottish snow cake. I just received a comment on the recipe yesterday from a reader named Amber who told me she […]
[…] I was a little girl in Scotland, my mother often made a snow cake, which had a biscuit (cookie) base, a slathering of raspberry jam, topped with a layer of cake, and […]
This looks very similar to a cake my Grandma made. The recipe was baked in patty tins and call Oswega cakes. Have you heard of them before.? I have tried to find out where they came from , but can’t find a recipe anywhere.
Hi Lynne, no, have never heard of those. Sounds Canadian.
How does that sound Canadian?
As in an Indigenous peoples/Native American name.