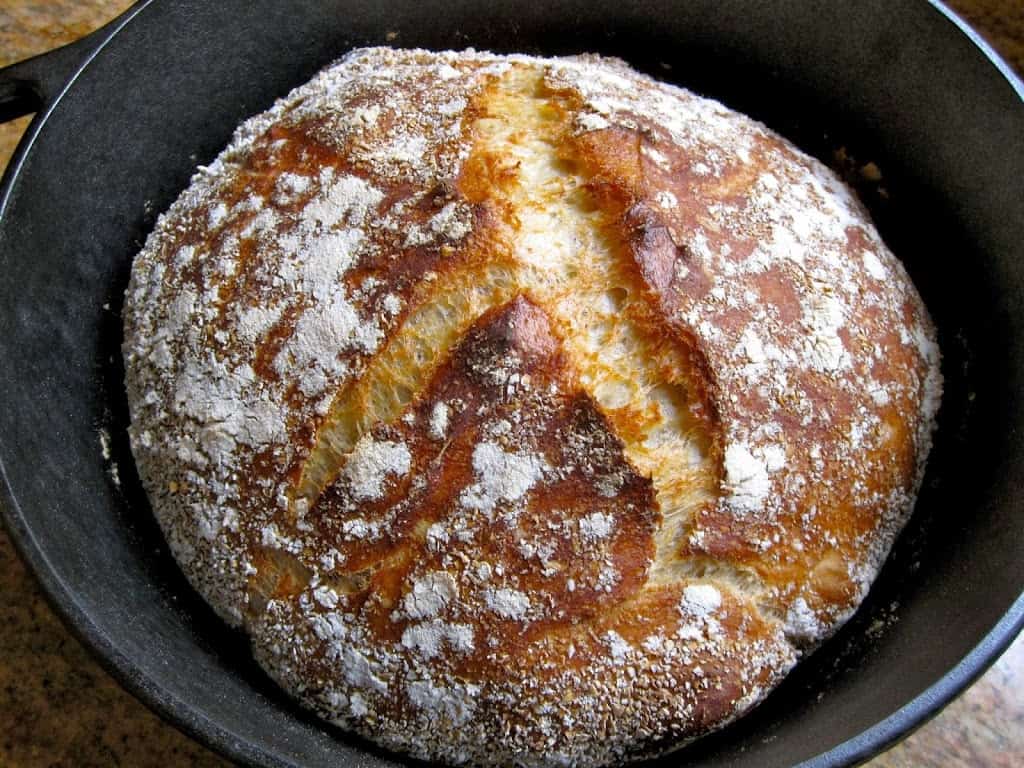
This No Knead Bread recipe by Jim Lahey will change your life, as it has mine. I never buy bread anymore. This recipe is nothing short of phenomenal.
Originally published November 30, 2011.
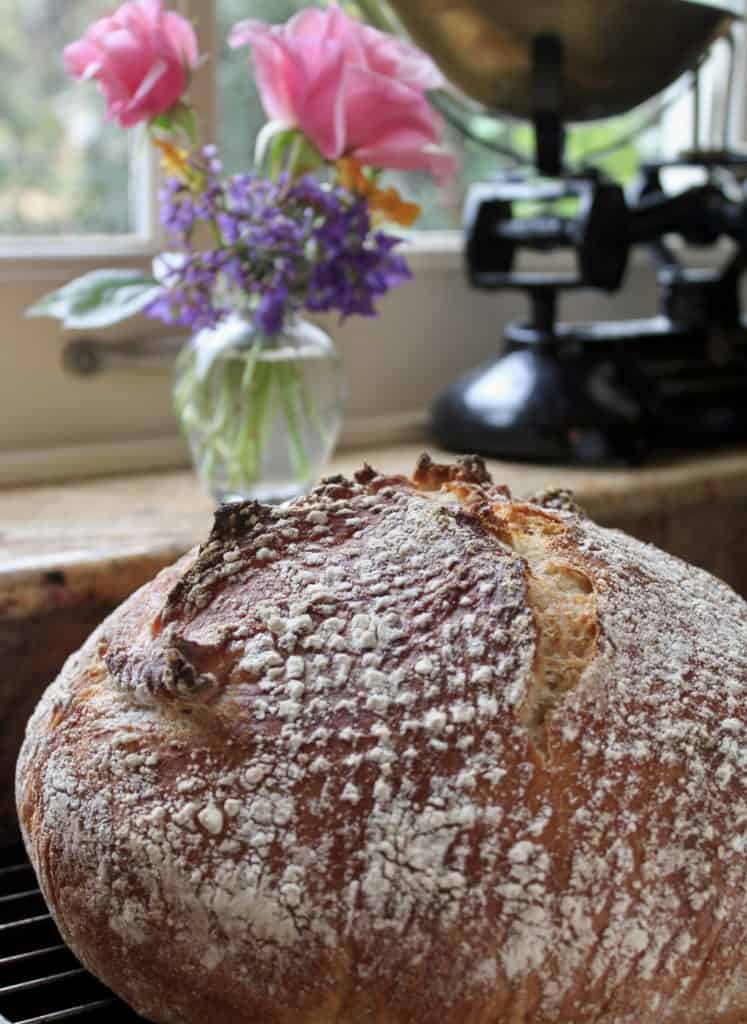
Whenever I would see loaves like this one, I never dreamt I’d ever be able to make anything so fabulous myself, nevermind that it could be so incredibly simple!
This post may contain Amazon affiliate links for your convenience, at no extra cost to you.
Well, I have made this no knead bread countless times now, and have never had a bad loaf yet! I’ve shared the recipe and those friends and family have shared it too; it’s just an amazing discovery. You won’t believe how easy this bread is to make.
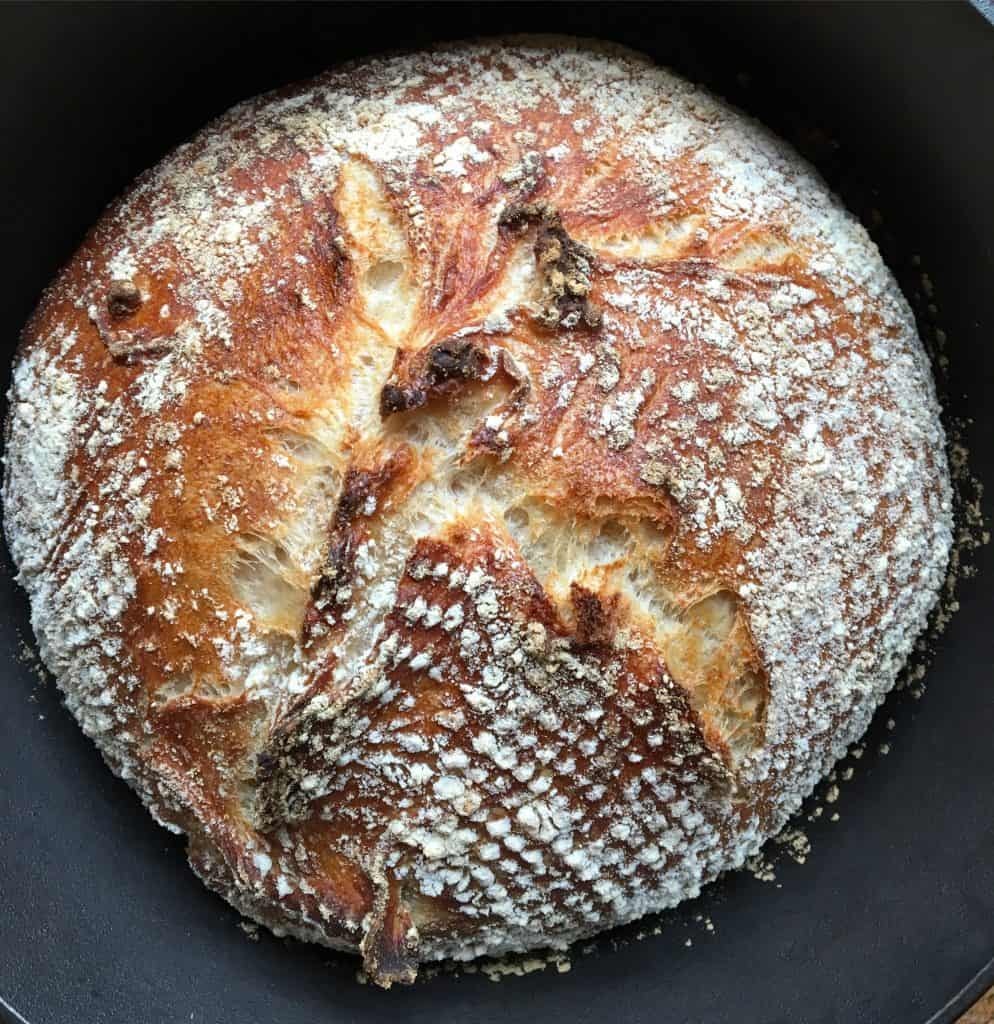
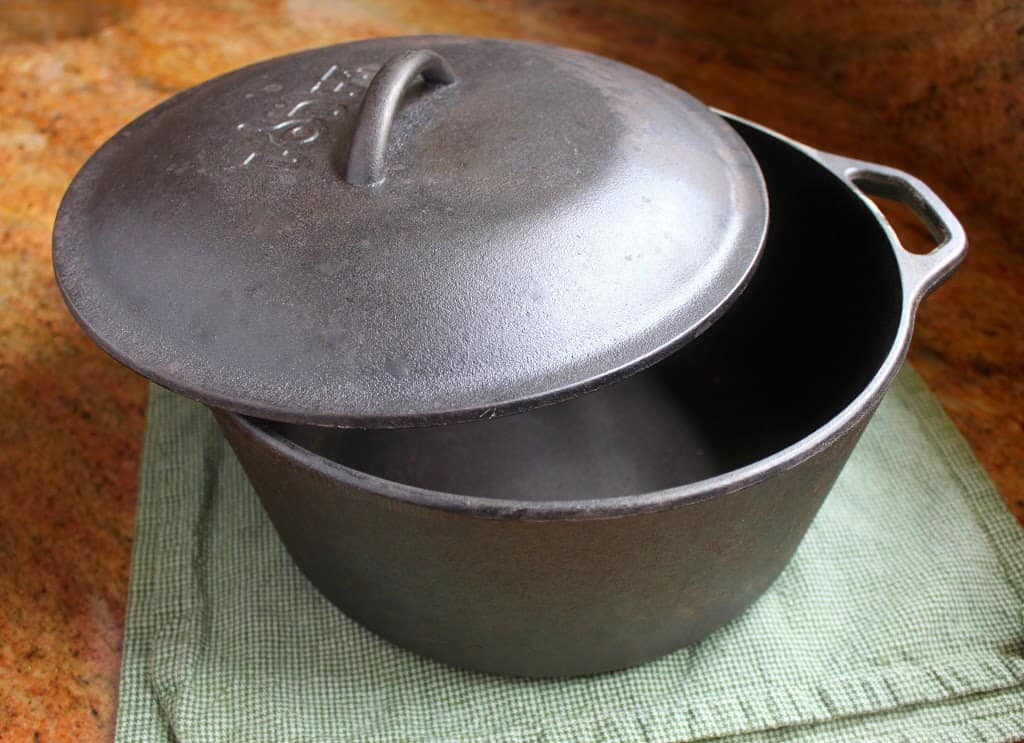
First of all, you’ll need a 5 quart cast iron pot, which you can order on Amazon, delivered to your doorstep. I only use my pot for baking bread–it’s a like mini, inexpensive gourmet oven!
Want another great recipe using yeast? It’s the most popular recipe on my site,
PERFECT YEAST DOUGHNUTS!
Jim Lahey’s video for his no knead bread recipe is great, but I’ve added some things he’s left out such as letting the bread rise before baking (a must.) I’ve also listed the ingredients at 50% more than his, so you get a larger loaf.
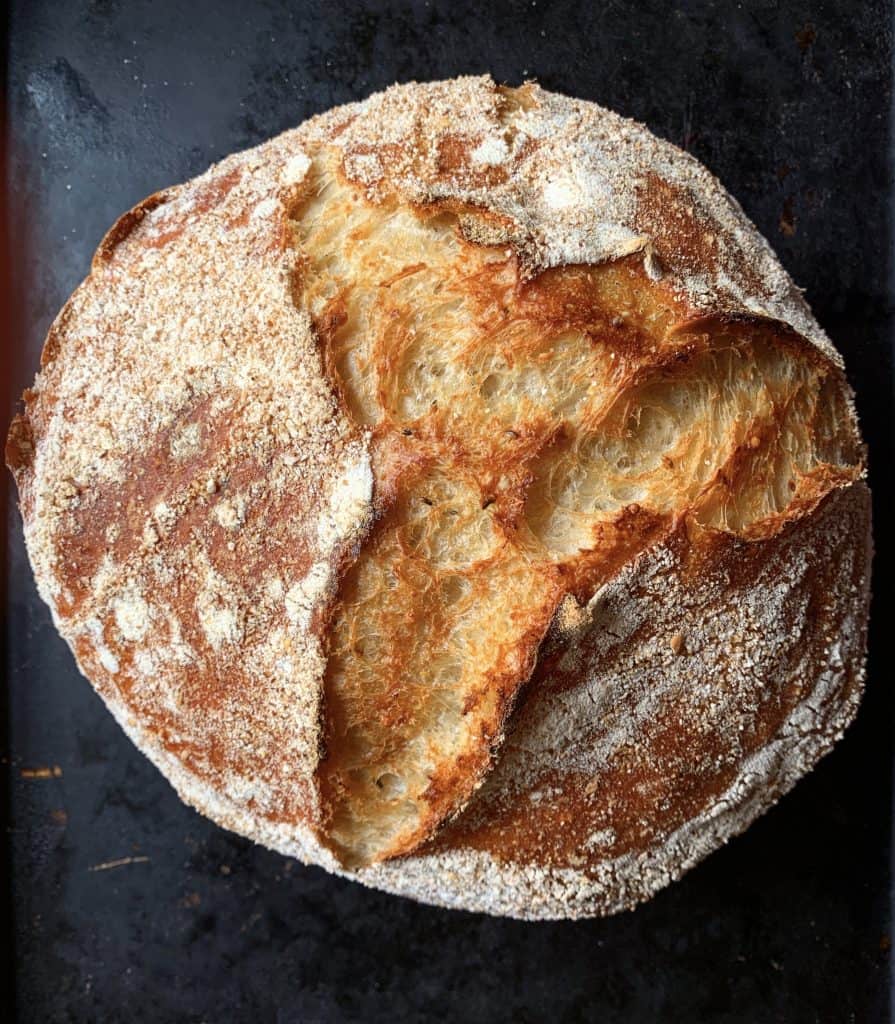
Note: I have attempted to make this recipe during hot summer days and it simply does not work. I have not yet tried to have it rise in the fridge because, to be honest, if it’s that hot, I just don’t want to turn my oven on.
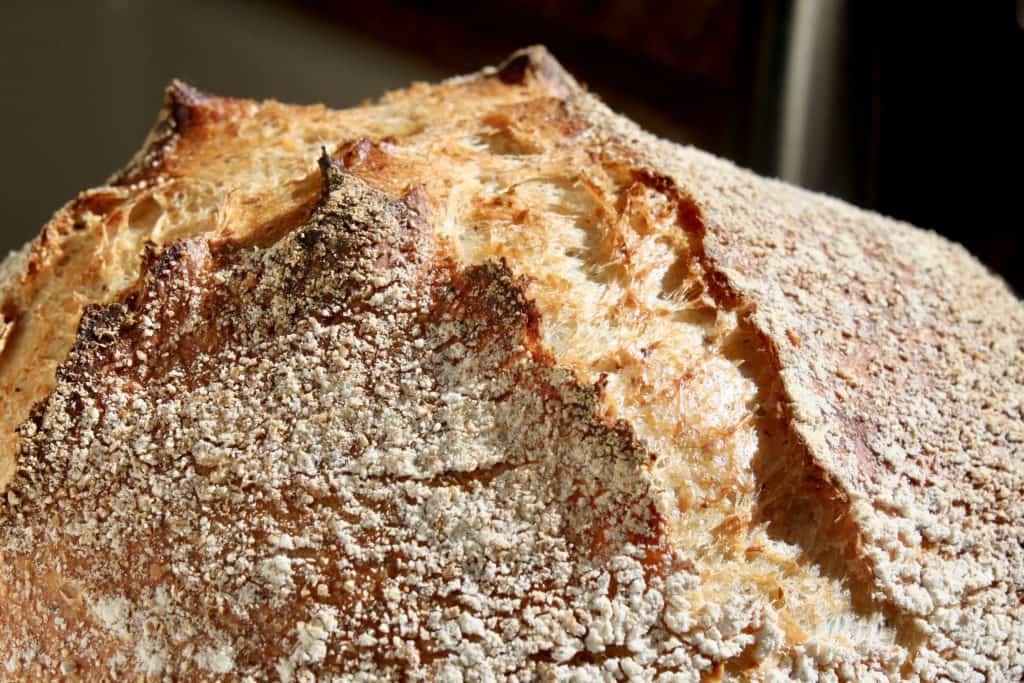
No Knead Bread Recipe
adapted from Mark Bittman’s original recipe
complete printable recipe below
Ingredients
- 4 cups (20 oz) all purpose flour (good quality, like King Arthur)
- 1/2 cup (2.5 oz) whole wheat (or omit the wheat and replace it with 1/2 cup more all purpose flour)
- 18 ounces water
- 2 1/2 teaspoons Kosher salt
- 1/4 teaspoon dried yeast (not quick-rise) or 3/8 tsp fresh yeast
special equipment: 5 quart cast iron dutch oven
Before you watch the video, I’ll give you my tips:
The ingredients above make a loaf 50% larger than Jim Lahey’s recipe. This is what the dough will look like after 12-18 hours: a cross between batter & dough.
Use a spatula instead of your hand–much easier, and less messy.
After the 12-18 hrs. just work the dough into a loaf shape right in the bowl. Here’s a video of how I shape the dough.
Click Here
Drop the dough onto the cloth–again, less mess; then sprinkle with more flour and oat/wheat bran.
The video doesn’t show this, but let it rise for about two hours in the towel or until doubled in size, or your bread will not turn out properly; do not skip this step. See complete, printable recipe below.
Preheat the oven for 20 minutes (longer than when it just comes to temperature). I bake my no knead bread on convection, 495 °F (260°C) for 30 mins., then lower to 465°F (240°C), REMOVE THE LID, and bake for 8-11 minutes longer, depending on your preference of crustiness.
If you don’t have a convection oven, 500°F (260°C) or as hot as your oven will go, then lower to about 475°F (245°C); adjust according to your own oven.
Carefully, remove from the pot immediately and place on a cooling rack.
MAKE SURE TO LET THE LOAF COOL AT LEAST 3 HOURS BEFORE SLICING!
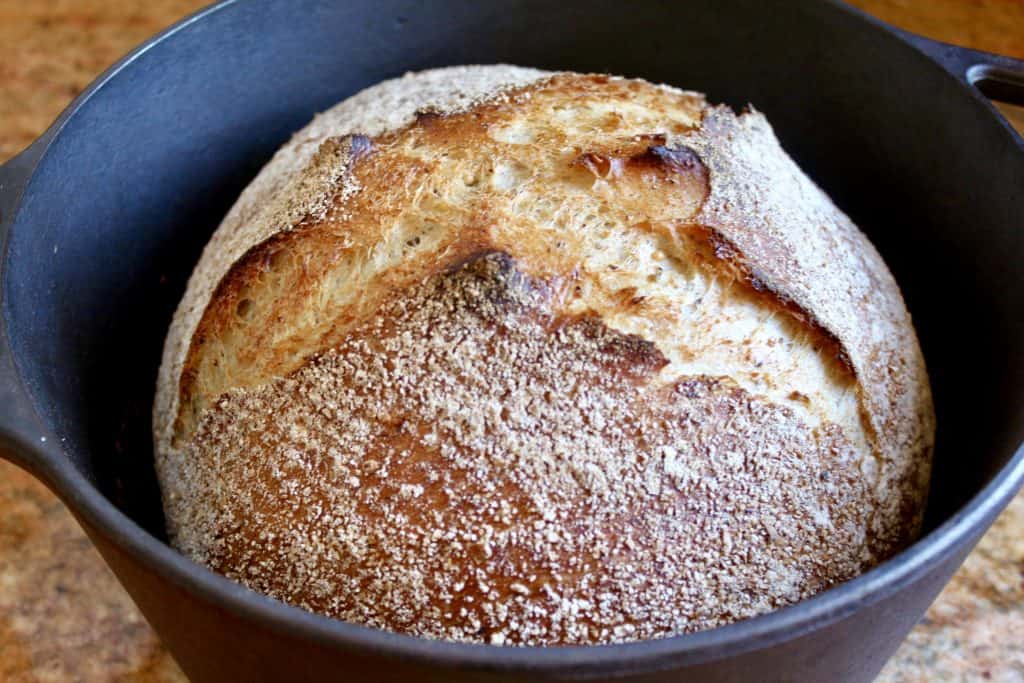
Big brothers have also been known to finish their little sister’s entire loaf before anyone else
could get a slice! Proceed at your own risk.
Click here to watch Jim Lahey’s No Knead Bread Video
No Knead Bread: Unbelievably Easy, Incredibly Delicious!
PLEASE NOTE: THIS RECIPE REQUIRES THAT YOU PLAN AHEAD! I usually mix my dough in the evening (9 pm or later) then when it is ready in the morning or afternoon, I put it on the cloth to rise for 2 hours and bake it. If you cannot be home for 3 hours during the time that the bread is risen, plan to make it at a different time.
Ingredients
- 4 cups (20 oz) all purpose flour (good quality, like King Arthur)
- 1/2 cup (2.5 oz) whole wheat (or omit the wheat and replace it with 1/2 cup more all purpose flour)
- 18 ounces water
- 2 1/2 teaspoons Kosher salt
- 3/8 teaspoon dried yeast (not instant or quick-rise)
- optional (I like to add a tablespoon of wheat germ or crushed flaxseed)
Instructions
Special equipment: 5 quart cast iron dutch oven
Tips:
The ingredients above make a loaf 50% larger than Jim Lahey's recipe. It will be a cross between batter & dough.
Use a spatula instead of your hand--much easier, and less messy.
After the 12-18 hrs. just work the dough into a loaf shape right in the bowl. Here's a video of how I shape the dough.
CLICK HERE
Drop the dough onto the cloth--again, less mess; then sprinkle with more flour and oat/wheat bran.
The video doesn't show this, but let it rise for about two hours in the towel or until doubled in size, or your bread will not turn out properly; do not skip this step. See complete, printable recipe below.
Preheat the oven for 20 minutes (longer than when it just comes to temperature). I bake my no knead bread on convection, 495 °F (260°C) for 30 mins., then lower to 465°F (240°C), REMOVE THE LID, and bake for 8-11 minutes longer, depending on your preference of crustiness.
If you don't have a convection oven, 500°F (260°C) or as hot as your oven will go, then lower to about 475°F (245°C); adjust according to your own oven.
Carefully, remove from the pot immediately and place on a cooling rack.
MAKE SURE TO LET THE LOAF COOL AT LEAST 3 HOURS BEFORE SLICING!
Notes
PLEASE NOTE: THIS RECIPE REQUIRES THAT YOU PLAN AHEAD! I usually mix my dough in the evening (9 pm or later) then when it is ready in the morning or afternoon, I put it on the cloth to rise for 2 hours and bake it. If you cannot be home for 3 hours during the time that the bread is risen, plan to make it at a different time.
Nutrition Information:
Yield:
12Serving Size:
2 slicesAmount Per Serving: Calories: 75 Total Fat: 0g Carbohydrates: 13g Protein: 2g
Let me know how yours turns out!
Don’t miss another post! Click to sign up for my free recipe & travel subscription below.
(I promise not to sell or share your info, ever!)
♦
Christina’s Cucina is a participant in the Amazon Services LLC Associates Program, an affiliate advertising program designed to provide a means for sites to earn advertising fees by advertising and linking to Amazon.com.
[…] simply can’t miss the Lodge cast iron pot for making no knead bread. I’ve been pushing this pot since I started blogging 8 years ago. Just look at that bread, […]
Hi Christina! Thank you for this recipe!
Wanted to ask if you could share which yeast you like to use. There are so many options out there and it can get confusing!
Thanks in advance!
Hi Farah, I usually have fresh yeast in my freezer, but also sometimes use Red Star active dry yeast in my fridge in case I run out of fresh. As long as your yeast is fresh, that is the main issue. Hope this helps and let me know how the bread turns out! :)
[…] used my homemade no-knead bread but you can use any bread, or roll you […]
It seems your gorgeous bread has a huge fan club. I can’t wait to give it a try.
You’ll be a fan, too! :)
Looks like the perfect loaf! What do you think about me trying it with a GF 1:1 flour? I haen’t had great success with GF flours in a yeast bread, but maybe this one will work . . .
Love the look of this bread and recipe, Christina. I really should make more homemade bread but I’m too tempted to go out for a baguette to the boulangerie! I’ll quit being lazy and make this – really fab.
Having never made bread before, this actually looks manageable. One question, though. Could it be made in a cast iron loaf pan? Mine has a lid.
As always, thank you so much for your incredible recipes, (my friends and family are still talking about your Sticky Toffee Pudding!), and also your travel adventures.
The only problem might be that the amount of dough may be too much for the loaf tin. But yes, should work great if it has a lid. Thanks, Suzi!!!
I love no- knead bread, and your proportions for a larger loaf are wonderful!
Ok I’ve made this bread so many times and my family actually asks for this bread all the time and believe it or not I’ve got my girls 14 & 16 and hubby making it ! I love the step by step it’s fool proof . Love this 👌🏻
Ketie C ❤️
I’ll be using an enameled cast iron dutch oven, is there a need to prepare the pan and do I let it cool 3 hours in the pan? Thank you for all the delicious recipes!
Is the cast iron pot heated in the oven before adding the bread dough? Is the lid left on during baking?
Yes, heat the pot for about 20 minutes before adding the dough to it. I leave it longer than when the oven beeps that it’s up to temperature. The lid is on for the first half hour, then removed to brown it for the last few minutes. I’ll add these to the instructions, Catherine!
Thank you Christina! Will make this bread soon :)
Thank YOU! As you found out, I have so old recipes from when I REALLY didn’t know what I was doing that are in need of updating. Comments like yours help me see where I need to fix things. You’ll love the bread! Let me know what you think!
Delish! I baked the bread today in my Aunt Mamies ceramic cast ‘Descoware’ beautiful orange dutch oven. She married in 1938, I’m thinking the pot is circa 1950’s, pre La Cruset. The loaf turned out beautifully! I’m no stranger to baking breads, this recipe is a keeper. I’ve been a fan of your website for some time now, never made comments. I can see now that you appreciate them and I thank you for your timely responses. And updates!!
Awww thank you, Catherine! I do truly appreciate hearing comments about the recipes I share. So glad you were able to use your aunt’s vintage pot for the bread – that’s awesome! Enjoy the bread, too!
HOW DOES ONE GET THE DOUGH INTO THE POT? IS FURTHER SHAPING REQUIRED OR IS IT JUST DROPPED IN AND HOPEFULLY IT WON’T STICK TO THE CLOTH?
Yep, you just pick up each side of the cloth and dump it in the pot. If you put enough oat bran/flour, it won’t stick. It’s not a delicately risen dough like normal bread. :)
Hi! I make this bread all the time. I love the smell of fresh bread in the house, especially when dinner guests arrive.
I made two changes which work for me: for the second rise, i place the dough on parchment paper, which goes also into the baking pot. Second, i use semolina flour for the additional 1/2 cup. I just love that texture.
Sounds great! Thanks for the tips!
[…] basic flour, water, yeast and salt (sometimes oil). However, it’s so incredibly easy to make no knead bread dough, or no knead pizza dough there’s really no excuse to buy it […]
[…] Of course you can make any size or shape pizza with this recipe, and add some mozzarella and toppings too, but I hope you give plain a chance. ? I think you’ll be pleasantly surprised–and you can thank my mother. I hope you enjoy this no knead pizza dough recipe as much as I do. You can also check out this No Knead Bread recipe. […]
[…] toast a piece of bread (preferably homemade) then place a couple of slices of fresh mozzarella on the toast, and top with some sautéed […]
[…] it! Serve with Homemade No Knead Bread, of course! You can’t get a more delicious, healthier, and easier appetizer/salad than […]
[…] with crusty Italian bread, of course, homemade is the […]
[…] all there is to do is reap the rewards of the easiest rhubarb jam recipe, ever! Try making no knead bread to put the jam on. You’ll be in […]
I saw your post on this bread on Facebook a while ago and finally made it today for the first time. SO delicious and easy!! Thanks, Christina!
Fantastic, Lynette! So glad whenever anyone tries this bread and is able to enjoy the delicious results! Thank you for letting me know! Happy new year!
Stop reading comments and make this.
NOW.
This is an amazing recipe and one that you make over and over and over.
Having a cast iron dutch oven is essential.
I got my first one at, of all places, WalMart for less than $60.
Picked up one by Cuisinart at Marshalls recently. Regularly $110 for $45.
If you don’t have one, get one. You’ll use it for so much.
Haha! I can tell you have made this recipe, but everyone who has is DYING to tell those who haven’t! Thanks, Ken! I agree wholeheartedly and the pot is definitely worth buying (even if you just think of how much $ you save, not buying crappy bread)!
My husband’s favourite bread. It even yummy when toasted with the melted butter settled in the big crumbs of the bread and it is crunchy.
I try to prepare this bread if I’m making soup the next day to go with.
I’m not surprised as it’s a favorite bread for my entire family! Yes, I LOVE it toasted after a couple of days old! Thanks so much, Mi Mi!
Christina: How would you adapt this to use a sourdough starter? Thanks.
Hi Dr. Mike, since I’ve never made it with a sourdough starter, I’d hate to misinform you by guessing. I’d think that using a small amount of the starter and allowing it to rise for 12 to 18 hours might work, but it’s total speculation. Jim Lahey would probably know!
Thanks. I’ve got a homemade starter in my refrigerator that’s been “asleep” for some time. I thought this might be a good time to awaken it. I might try it with 1/2 cup of starter and reduce some of the liquid a bit, but after I make it according to recipe the first time.
I finally gave this a try and I was not disappointed. Delicious and fabulously simple!! My family cannot wait for the next loaf! I had to allow for extra rising time due to the cold weather, otherwise no adjustments were needed. I wish I tried this sooner…
That’s exactly how I felt, Teresa! Where has this recipe been all our lives? :) I can definitely tell a difference in rising times between winter and summer (even in LA)- usually more like 18 in winter, and less than 12 in summer. Winter loaves are probably better as a long rise is best. So glad you tried it! Happy baking!
It’s a brilliant recipe—I was amazed, too, that a non-baker like myself could turn out a delicious loaf of bread. The addition of flaxseed sounds like a nice touch.
Thanks, Frank!
I have made this recipe lots of times and it’s always good. This weekend I added dark rye flour and caraway seeds and it was really fantastic, it tasted just like an old fashioned Jewish Rye bread. Thanks again for this recipe.
Fantastic, Dani! Thank you so much for taking the time to let me know. I make a loaf every other day and often throw in 1/2 cup of whole wheat for a 1/2 cup of the white and add some ground flax seeds. Glad it worked with the changes you made, too. Enjoy!
This bread looks amazing! I want a large slice with whipped butter…yum!
I hope I never have to give up eating bread and butter because I think I’d cry every day!
Dear Christina, your bread looks absolutely beautiful! I love homemade bread….I still haven’t gotten to make a loaf yet this winter, but this weekend I am determined to. I wish I had a warm slice of this with butter this morning…one of my favorites! xo, Catherine
Oh you simply must bake bread in the winter! I hope you made a loaf, Catherine! :)
I have been meaning to start experimenting with no knead bread! This looks beautiful! You’ve inspired me!
Wonderful to hear, Karen!
Could I put this in loaf pans? Contrary to public opinion, I am not a fan of crusty bread – probably because my Mother told me to eat my crusts or I would not get curly hair. I did not want curly hair! But I dutifully ate my crusts, and now I have hair that is not straight and not curly, just with an annoying bend! I am desperate to try this, and I have exactly the right dutch oven.
Haha! That’s a funny reason why you don’t like crusty bread, Lee! If you don’t want crusty bread, then cook it in the dutch oven, but keep the lid on the entire time. You can’t do it in the loaf pans as it’s just not what the recipe is created for. I don’t think it’d turn out properly. Good luck!
Amazing looking loaf and such a straightforward recipe. Very impressed! I’ll be trying this one Christina. I’m so bloody excited about my lodge dutch oven coming tomorrow. Just in time for the sourdough that’s proving in the fridge right now!
I have made this bread several times and it’s really great. Such an easy recipe and very little to go wrong.
Thank you for commenting to let me know–I appreciate it and so do other readers. :)
I have made a variation on this recipe but don’t put it in a dutch oven. I divide it in half and make two baguette-style loaves. This is a great recipe!
I bought the fabric for making proper baguettes, but have yet to try it! I’m a little intimidated! :)
Hi Christina, your bread loooks amazing! Please could you give me the Centigrade temperatures, and also can one use instant yeast, and if so what quantity is neeeded? Many thanks. Ingrid.
Hi Ingrid! Yes, I will add the C temperatures, no problem at all, however, I would not recommend using instant yeast. Instant yeast is a fast-rise version which this bread is not suited for, due to the extremely slow rise. If you want to give it a go, you could always try, but I wouldn’t recommend it as it may not turn out. Let me know what you decide and good luck! CC
[…] 4 pieces of thick crusty bread, toasted (I used my own No Knead Bread) […]
This looks really easy; I’m looking for new pots and pans so when I place my order, I’ll have to include this – do you have an affiliate link for it?
It’s SOOO easy, Lauren! Yes, I’ve added an affiliate link now, thanks!
Christina, I know this recipe is absolutely amazing!
People, if you don’t have a cast iron pot, go buy one(we got our inexpensive version on Amazon-I think it was $30-$40). Seriously! You will not regret it!
Easypeasy, and SO delicious! Gotta love me some Christina’s Cucina!
Thank you, Janis! I love seeing the photos of your beautiful loaves! CC
[…] with some of that wonderful, crusty no-knead bread you made! Healthy and […]
[…] flavor, but a sprig in the center or on the side looks fantastic. That’s it! Serve with Homemade No Knead Bread, of course! You can’t get a more delicious, healthier, and easier appetizer/salad than this! […]