

The Creamiest New York-Style Cheesecake Recipe
This is the best and creamiest New York–style cheesecake recipe I’ve found, and everyone who tastes it, agrees! I bet you’ll feel the same way, too!

You may consider a “no-bake” cheesecake a cheesecake, but I do not.
As an Amazon Associate I earn from qualifying purchases.
There’s nothing pleasing to me about the taste or texture of a gelatinous “no-bake cheesecake.” There is also the fact that cakes are baked, so is it truly a cake if it’s not baked? Now, if you have eaten a New York-style cheesecake, you’ll be on board with me, because everything about the taste and texture of this dessert-of-the-gods is simply heavenly!

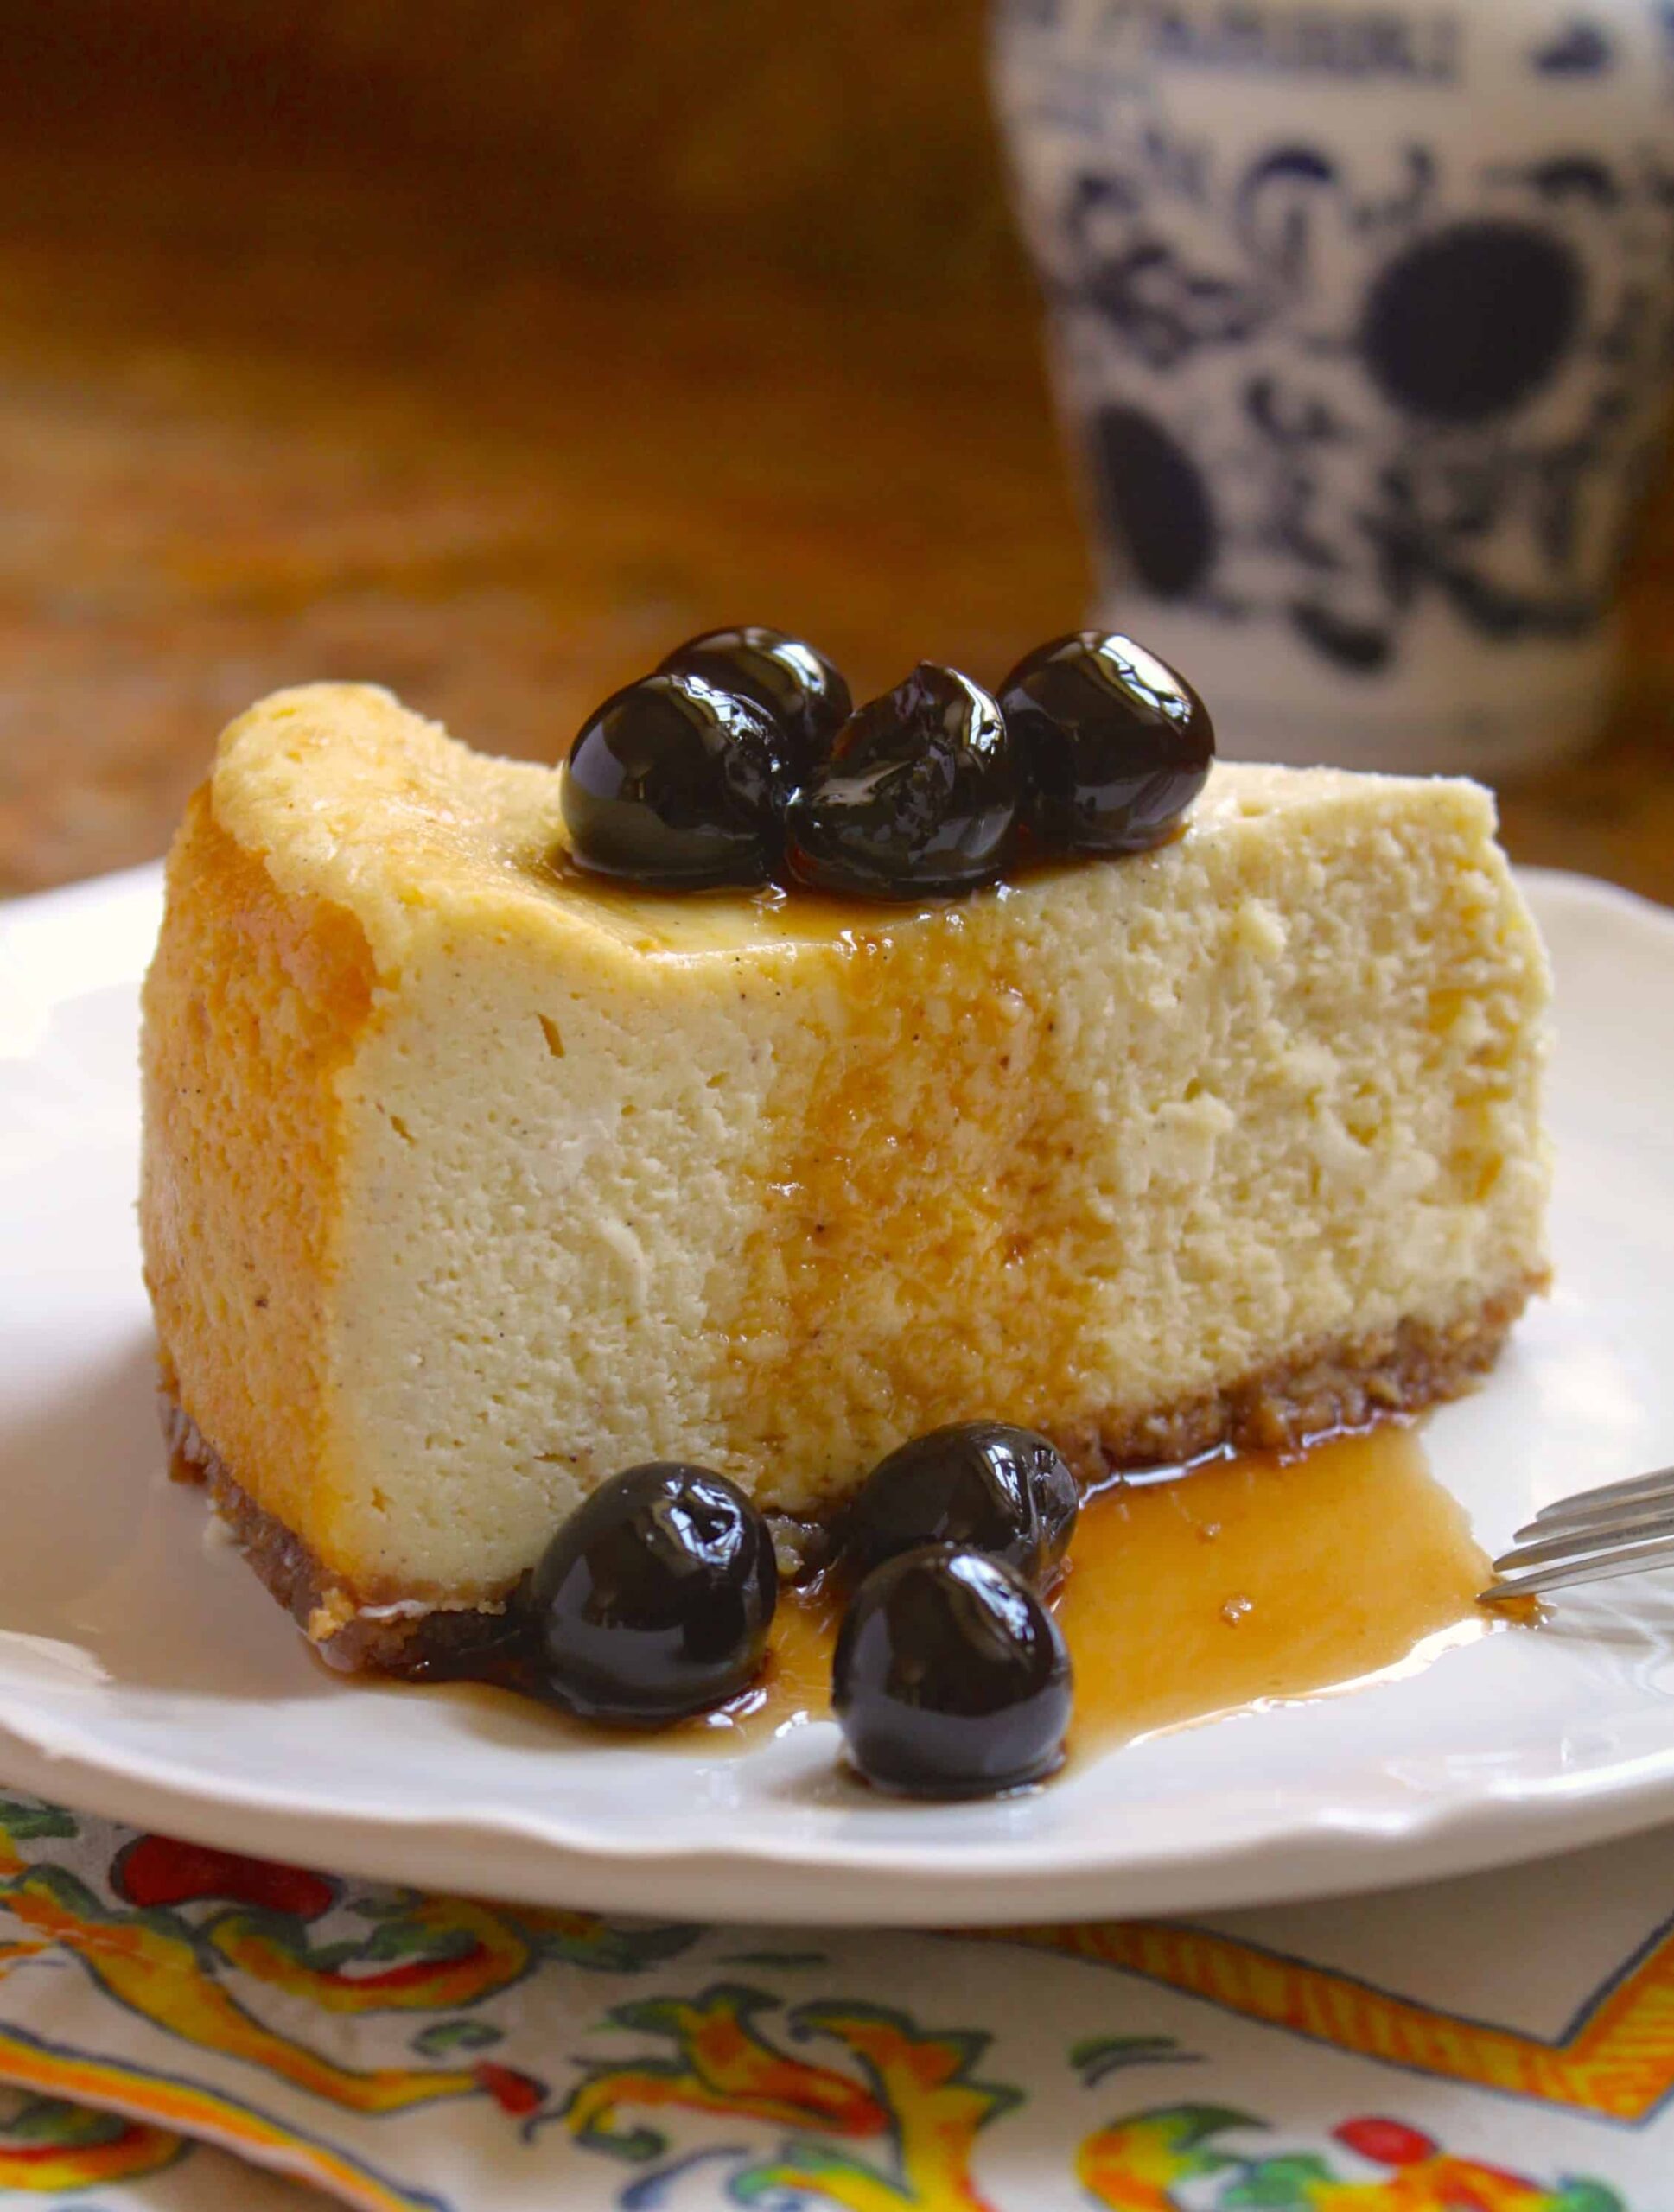
In my experience, after having cheesecake in New York, this recipe hits the mark. It’s rich, thick, creamy and utterly delicious! Edited to add: it was one of my top 10 recipes in 2014!
Travel Tip: If you’re going to New York, and are looking for a place to stay that’s not in Mid-Town which is bustling with tourists, try the voco Franklin Hotel on the Upper East Side.

As you know, I bake a lot, and I have made many different cheesecakes; in fact I have two other cheesecake recipes on my site. One which is perfect for this time of year, pumpkin cheesecake and chocolate mousse topped with chocolate ganache. The other is lovely for a summer treat, limoncello cheesecake. However, when it comes to a plain, New York-Style cheesecake, this is the only recipe I use because it is perfection.
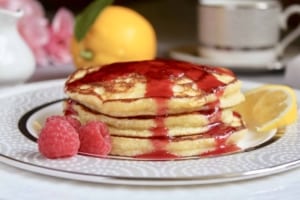
It can stand on it’s own, but I love to serve it with some sort of fruit topping, like Fabbri Italian cherries, a little raspberry sauce or even a spot of my favorite jam.

Note: there are TWO temperature changes with the oven setting, so please be sure not to miss them!
The Richest and Creamiest New York-Style Cheesecake I’ve Ever Made
adapted from Good Housekeeping Illustrated Book of Desserts Serves 16
FULL PRINTABLE RECIPE BELOW
Preheat oven to 350°F ( 180°C)
Crust/Base
- 1 cup (5 oz) crushed cookies, such as Graham crackers, speculoos cookies or Digestives
- 3 Tbsp melted butter
Make the base by mixing the crushed cookies and butter and press into the bottom of an 10″ springform pan.

Place in preheated oven for 5 to 7 minutes until the edges are just beginning to color. Remove from oven and allow to cool.
IMPORTANT: -> -> Change oven temperature to 475°F (245°C) <- <-
New York-Style Cheesecake Batter
- cream cheese
- sugar
- eggs
- cream
- flour
- egg yolks
- vanilla powder or vanilla extract
- organic Meyer lemon rind
For the Topping
Fabbri Italian cherries or any fruit topping, jam, sauce, etc.
In the bowl of a large stand mixer, beat the cream cheese until smooth, then add the sugar. Scrape down the sides of the bowl with a rubber spatula, then add the remaining ingredients: eggs, cream, flour, yolks, vanilla and rind. Beat well for about 5 minutes, stopping occasionally to scrape down the sides of the bowl.

Pour the cheesecake batter into the the springform pan with the cooled base and bake for 12 minutes (see oven temp change above), then lower oven temperature to 300°F (150°C) and continue to bake for another 35 minutes.
At the end of this cooking time, turn off the oven, but allow the New York-style cheesecake to remain in the oven for another 30 minutes. Remove the cheesecake from the oven and cool in the pan on a wire rack. When completely cool, cover and refrigerate overnight or a minimum of 6 hours.
To Serve to the New York-Style Cheesecake ~
Remove the cheesecake from the fridge and run a knife along the side of the tin, then remove the the springform side. Place onto a serving plate and top with your choice of fruit or fruit sauce, chocolate sauce, or whatever you choose.
Alternatively, cut slices of the New York-style cheesecake, and place on individual serving plates then place the topping on each piece (this is what I usually do).

I couldn’t decide if I wanted cherries or raspberry sauce on my creamy slice, so I had both! Mmmm…

Don’t miss another recipe or travel post; sign up for my free subscription.

The Creamiest New York-Style Cheesecake I've Ever Made
Special Equipment
- 1 10" springform pan
Ingredients
Crust:
- 1 cup crushed cookies such as Graham crackers, or Digestives
- 3 Tbsp butter melted
Filling:
- 5 8 oz packages cream cheese softened
- 1 ¼ cups sugar
- 5 large eggs
- 2 large egg yolks
- ½ cup cream
- 3 Tbsp flour
- ½ tsp Heilala vanilla powder or 1 tsp vanilla extract
- 1 rind of a lemon grated (preferably an organic Meyer lemon)
To serve:
- Fabbri Italian cherries or any fruit topping, jam, sauce, etc
Instructions
Preheat oven to 350°F ( 180°C).
- Make the base by mixing the crushed cookies and butter and press into the bottom of a 10" springform pan.
- Place in preheated oven for 5 to 7 minutes until the edges are just beginning to color. Remove from oven and allow to cool.
- IMPORTANT: Change oven temperature to 475°F (245°C).
- In the bowl of a large stand mixer, beat the cream cheese until smooth, then add the sugar. Scrape down the sides of the bowl with a rubber spatula, then add the remaining ingredients: eggs, cream, flour, yolks, vanilla and rind. Beat well for about 5 minutes, stopping occasionally to scrape down the sides of the bowl.
- Pour cheesecake batter into the the springform pan with the cooled base and bake for 12 minutes (see oven temp change above), then lower oven temperature to 300°F (150°C) and continue to bake for another 35 minutes.
- At the end of this cooking time, turn off the oven, but allow the cheesecake to remain in the oven for another 30 minutes. Remove cheesecake from the oven and cool in the pan on a wire rack.
- When completely cool, cover and refrigerate overnight or a minimum of 6 hours.
- Remove the New York-style cheesecake from the fridge and run a knife along the side of the tin, then remove the the springform side. Place onto a serving plate and top with your choice of fruit, jelly or whatever you choose. Alternatively, cut slices and place on individual serving plates then place the topping on each piece (this is what I usually do).
Notes
- Top with your choice of fruit, fruit filling, cream, syrups or chocolate sauce.
Nutrition
Christina’s Cucina is a participant in the Amazon Services LLC Associates Program, an affiliate advertising program designed to provide a means for sites to earn advertising fees by advertising and linking to Amazon.com.
Wow, this New York-style cheesecake is absolutely divine! The rich and creamy texture is just what a cheesecake should be. I love how the recipe highlights the simplicity and quality of ingredients to create such a luxurious dessert.
I’m in the middle of making this and I think it’s gonna be amazing. The batter was so tasty!
Haha! That’s good to hear, Raquel! Let me know how it turns out!
Looking forward to making this for Easter – hope mine looks as good as yours!