

Witches’ Fingers (Scary Halloween Cookies)
Witches’ fingers are truly scary Halloween cookies that look terrible, but taste really good! Give them a try this Halloween and see how many people are brave enough to take a bite!
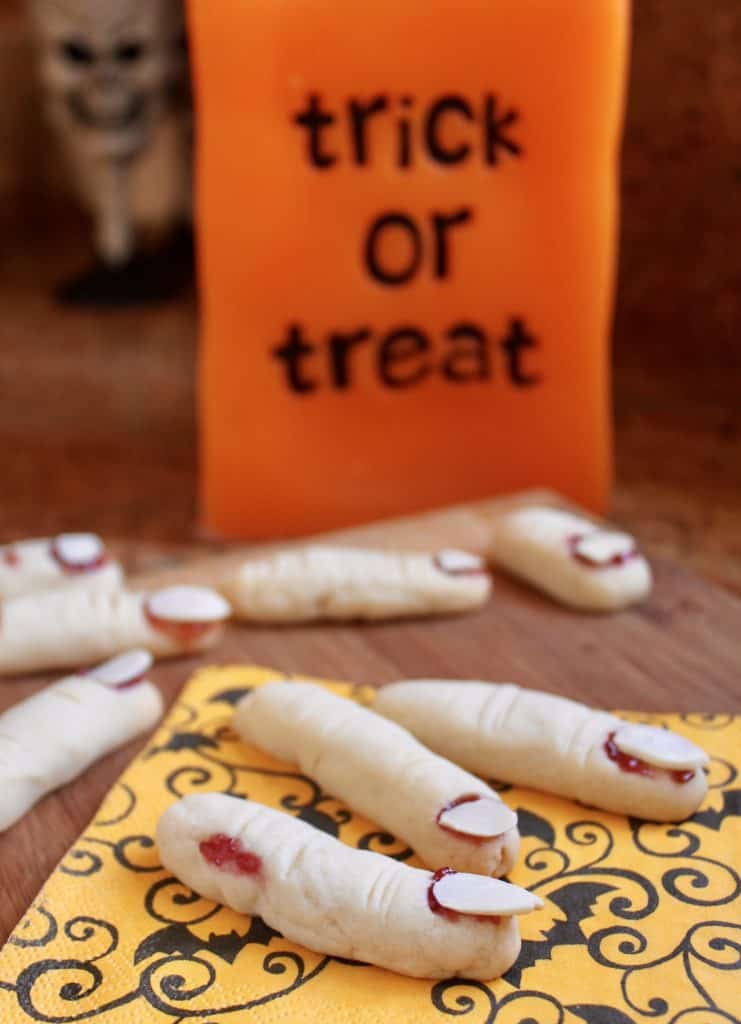
Yes, I know, these witches’ fingers are absolutely horrifying, but isn’t that the point?
As an Amazon Associate I earn from qualifying purchases.
I’ve been told off by neighbors and friends (jokingly of course) for making these, and they definitely cause a lot of double takes!
If you are planning on going to a Halloween party, have a Halloween event to attend, or are taking cookies to your kids’ school, these will be the highlight of the event.
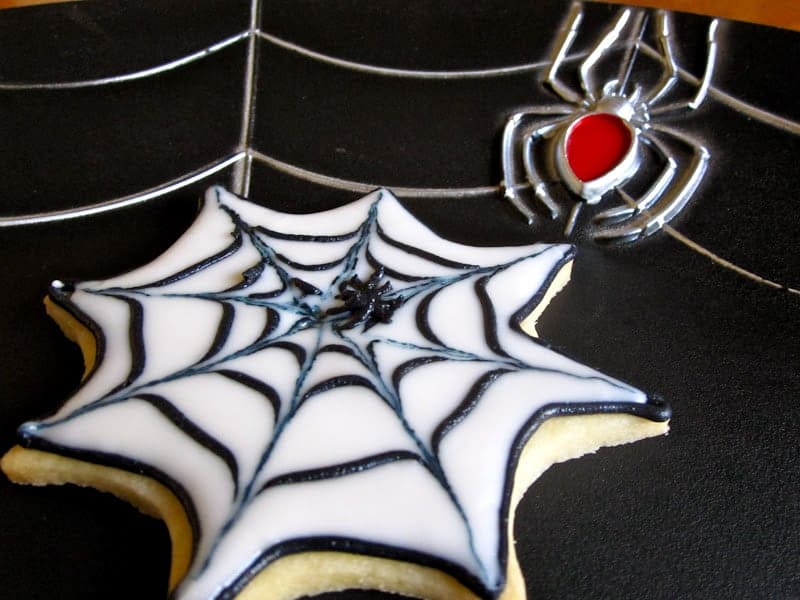
Want more Halloween cookie ideas? I’ve got you covered!
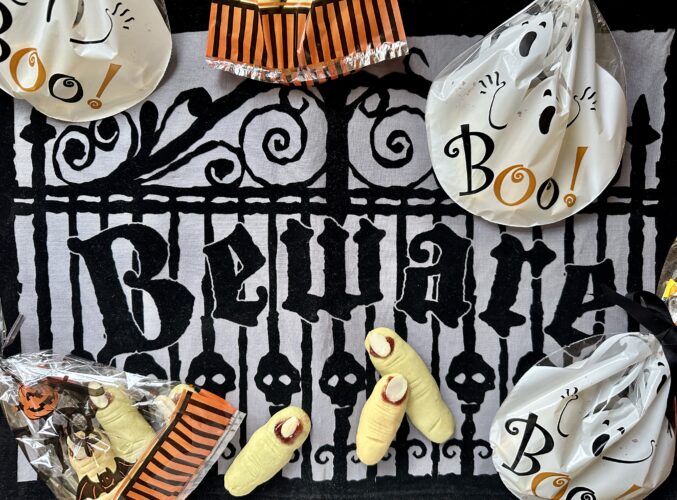
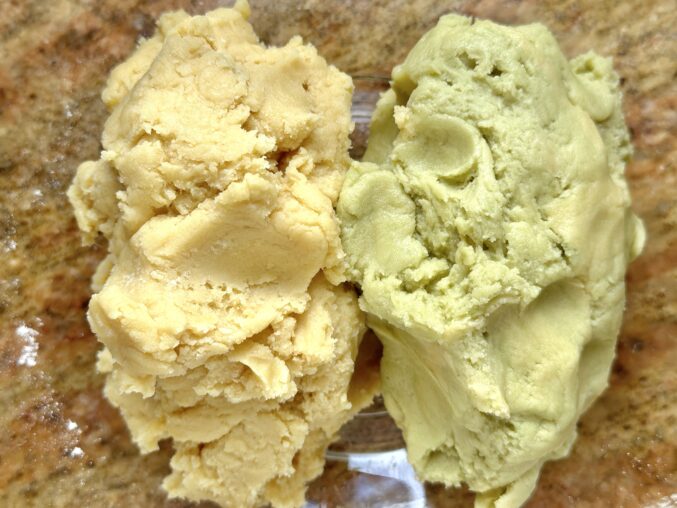
Have your kids help you make these, they’ll have so much fun! I added a little green food coloring for an even creepier cookie!
The best part is that these cookies are delicious (if you can get past how they look!) and are similar to a shortbread cookie!
I’ve also added a recipe for trolls’ toes cookies!

You really can’t mess these up.

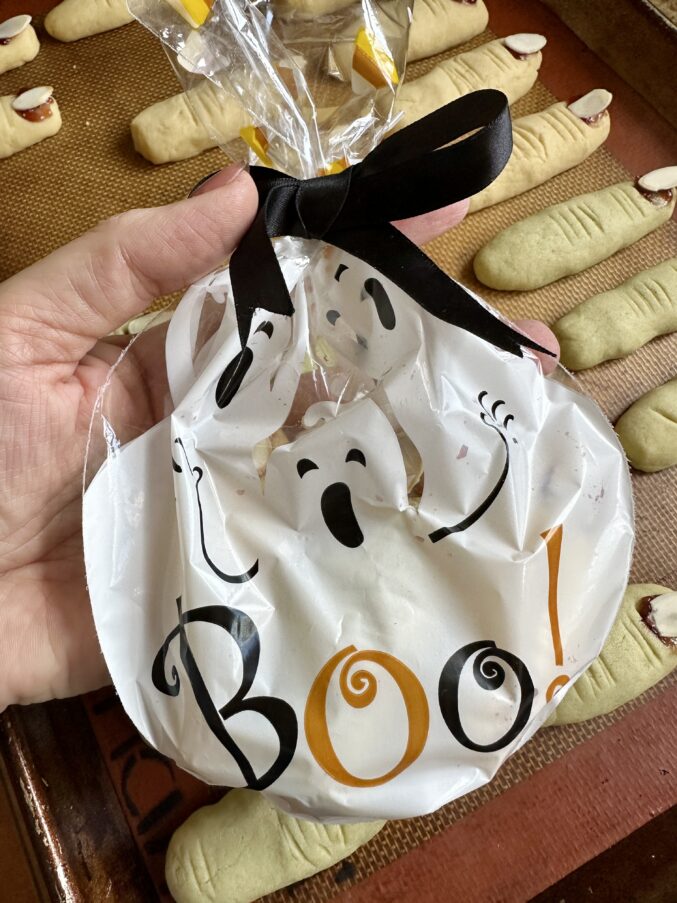
Witches fingers cookies are perfect to throw into a little treat bag for Halloween trick or treaters, too!
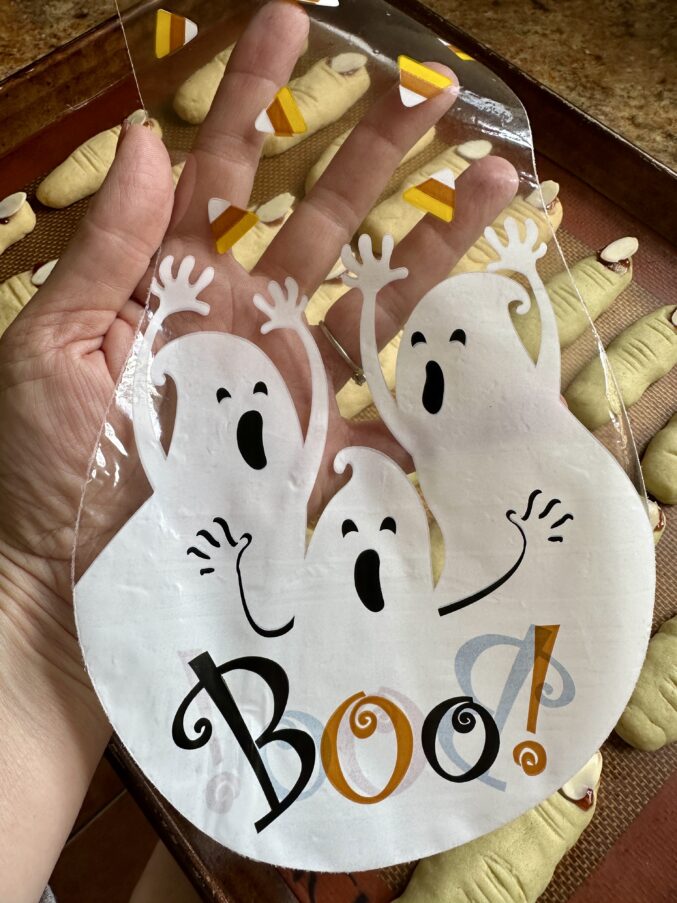
Fill and close with a twist tie. Add a ribbon for a professional touch! These are what my neighbor children received.
Witches’ Fingers Halloween Cookies
(Witches’ Digits)
Recipe inspired by Huffington Post recipe by D. Reinhold Makes about 30 fingers
FULL PRINTABLE RECIPE BELOW
Here’s what I did differently: I used raspberry jam instead of gel. I personally love jam with shortbread type cookies. I also dislike almond extract, so I omitted it for a plain cookie.
Ingredients
- butter
- confectioner’s sugar
- egg
- vanilla extract
- flour
- baking powder
- salt
- almond slices
- raspberry jam
Directions

Cream butter and sugar until smooth.
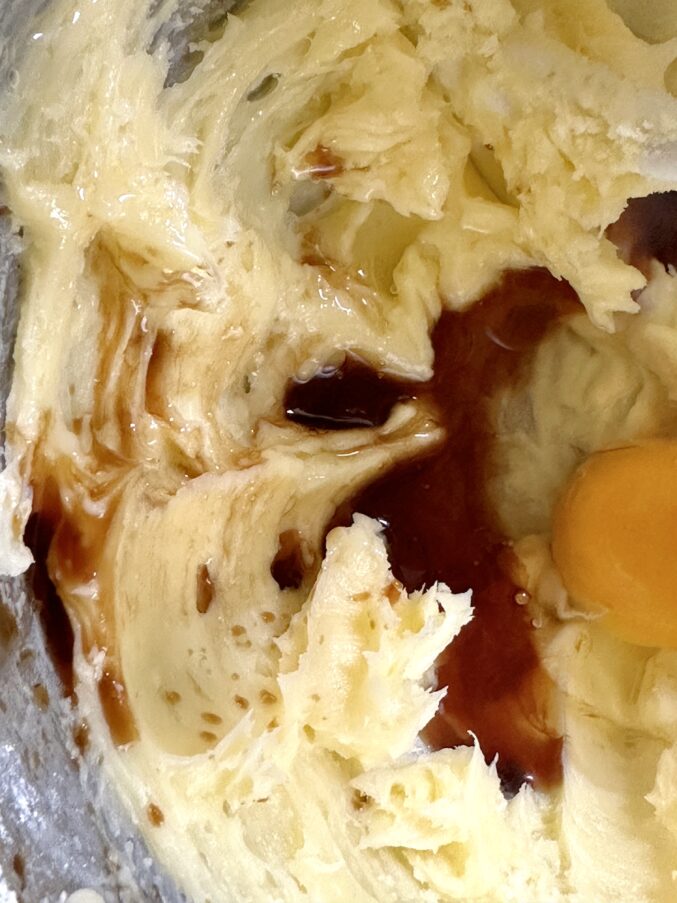
Add the egg and vanilla and mix well.
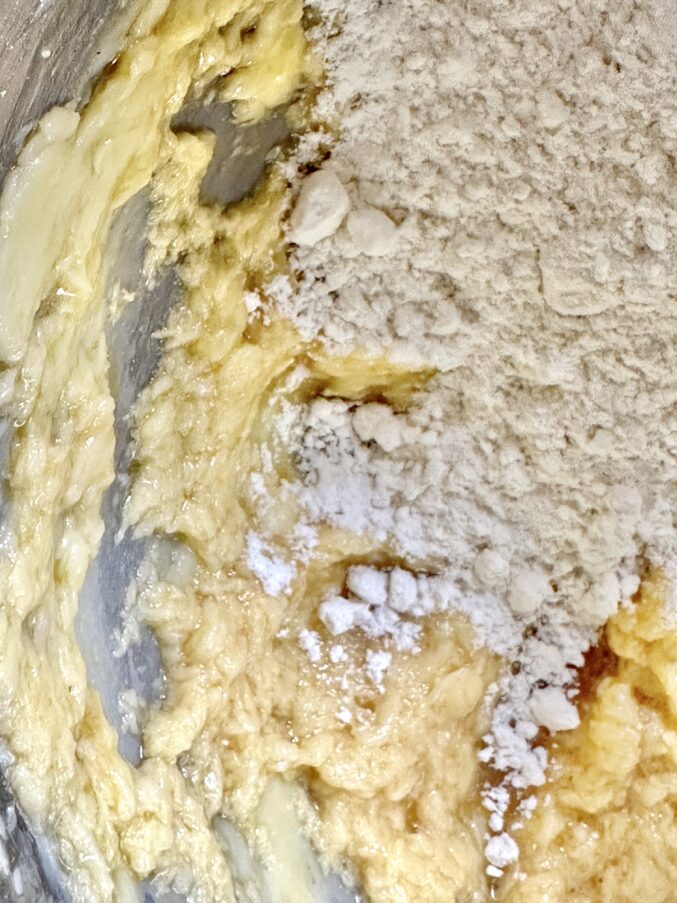
Gradually add flour, baking powder and salt to the mixture.
Refrigerate the dough for about half an hour, so it’s not too soft to handle.
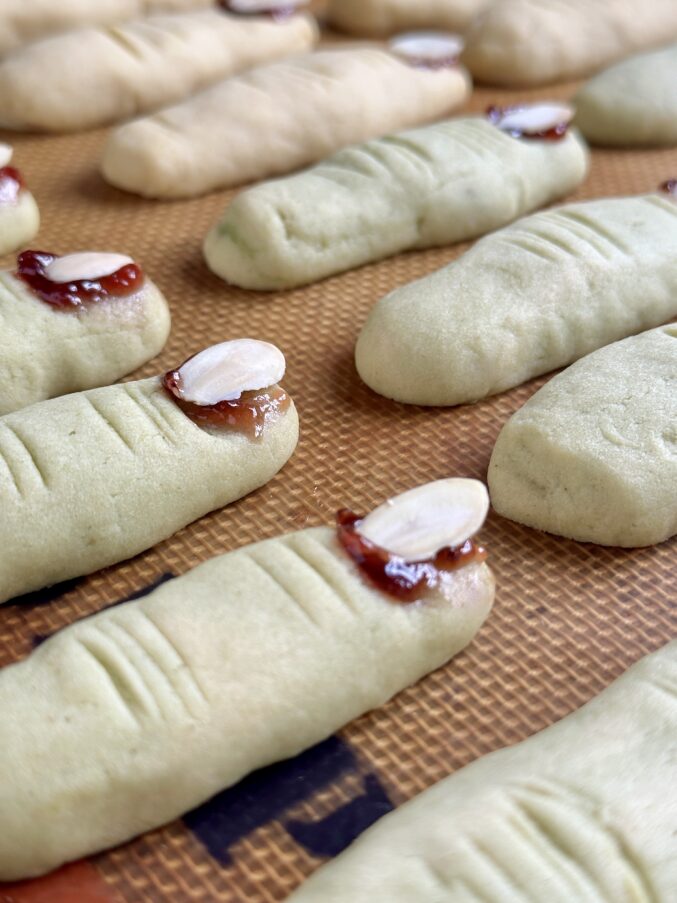
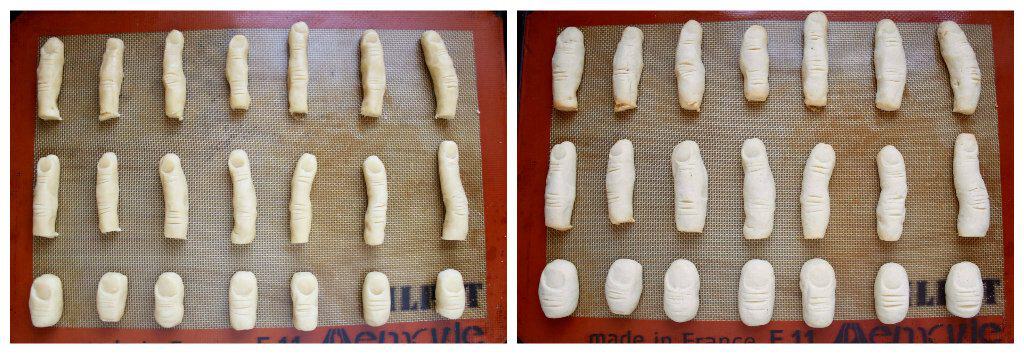
Now, begin making the cookies by taking pieces of dough and rolling into a thin “finger” shape. They can be long and thin or fat and short, they all look great in the end. Make them a little crooked for a more authentic “witch” look.
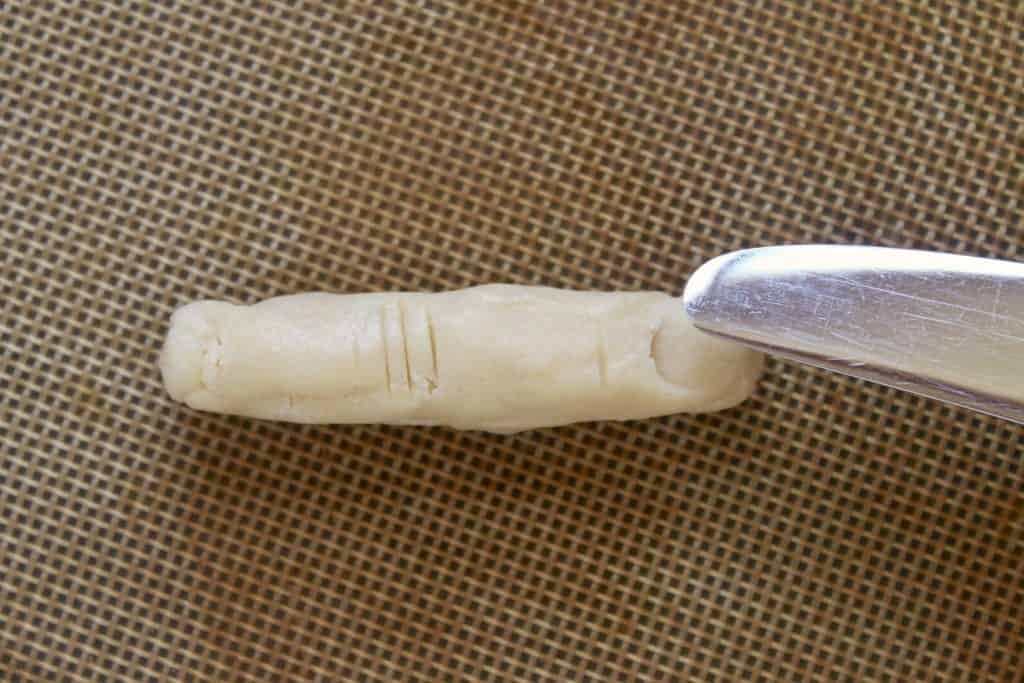
Use your own fingers to help you with the knuckle marks.
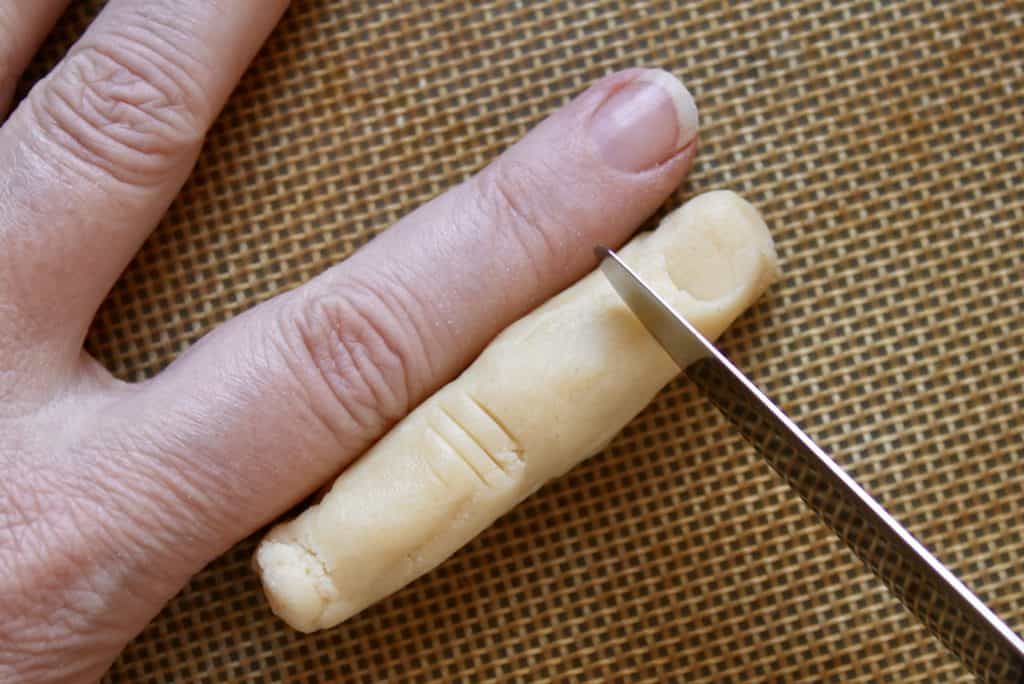
Make the nail bed with the tip of a butter knife.
Here’s a tray full of fingers ready for the oven–freaky!
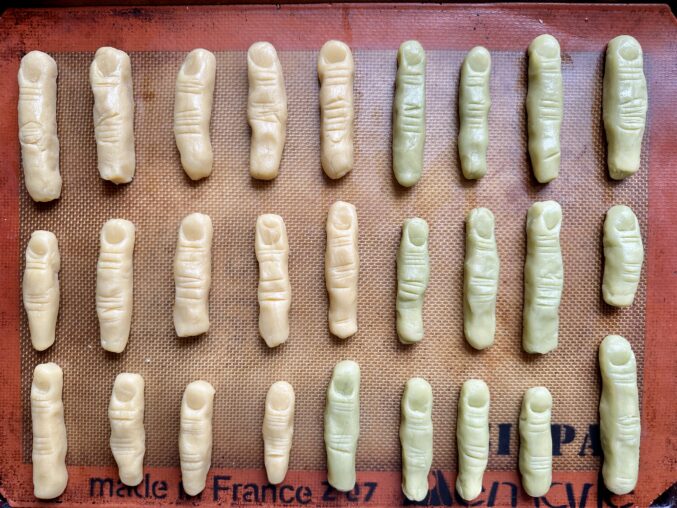
Before and after baking another batch. If you don’t want them to spread too much, or if it’s warm in your kitchen, refrigerate the shaped cookies for 15 minutes before baking.
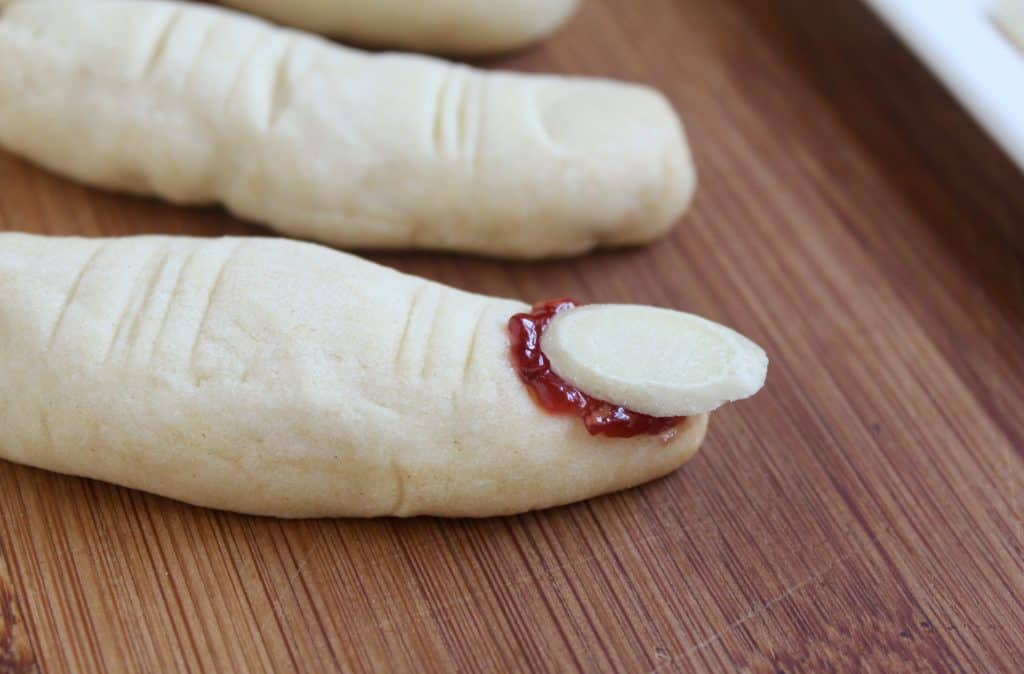
Adding the jam and almond slice is easy and fun!
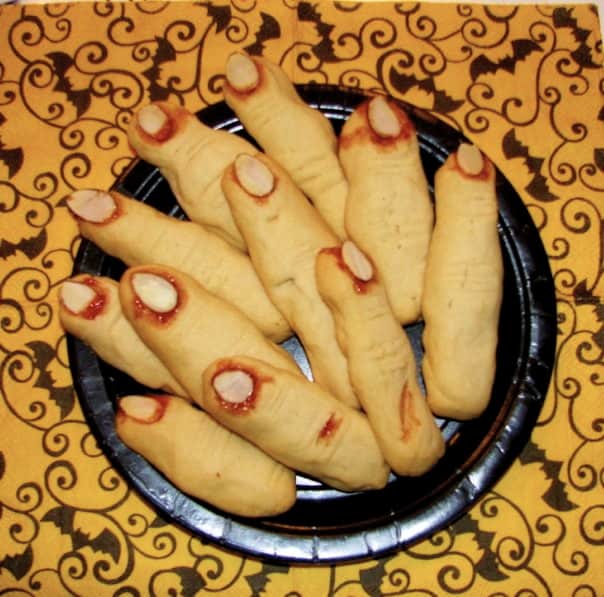
This is my original photo from 2012. Eeek! Now that’s scary! 😱 (Photos updated Oct. 2018 and 2025)
Happy Halloween!

Don’t miss another recipe or travel post, sign up for my free subscription!

Witches’ Fingers – Scary Halloween Cookies
Ingredients
- ½ cup unsalted butter at room temperature
- ¾ cup confectioner's sugar
- 1 egg
- 1 tsp vanilla extract
- 1 ⅓ cups all-purpose flour
- ¼ tsp baking powder
- ⅛ tsp salt
- ¼ cup raspberry jam or strawberry jam (even better as it's more red) as needed
- 30 almond slices pick out the ones that aren't broken
Instructions
- Preheat oven to 325℉ (160℃).
- Cream butter and sugar until smooth.
- Add the egg and vanilla and mix well.
- Gradually add flour, baking powder and salt to the mixture.
- Refrigerate the dough for about half an hour, so it's not too soft to handle.
- Begin by taking pieces of dough and rolling into a thin "finger" shape. They can be long and thin or fat and short, they all look great in the end. Make them a little crooked for a more authentic "witch" look.
- Use a knife to make the knuckle marks and then an indentation for the fingernail.
- Place on silicone sheet lined baking tray about 2" apart. Bake for 15-20 minutes or until just beginning to brown. Cool on rack.
- Put a little jam on the nail bed and add an almond slice. Store in tin.
Notes
- Use your own fingers to help you with the knuckle marks.
- Make the nail bed with the tip of a butter knife.
- If you don’t want them to spread too much, or if it’s warm in your kitchen, refrigerate the shaped cookies for 15 minutes before baking.
- Make the night before or early in the day so jam has time to set/dry a little before serving or packaging.
Nutrition
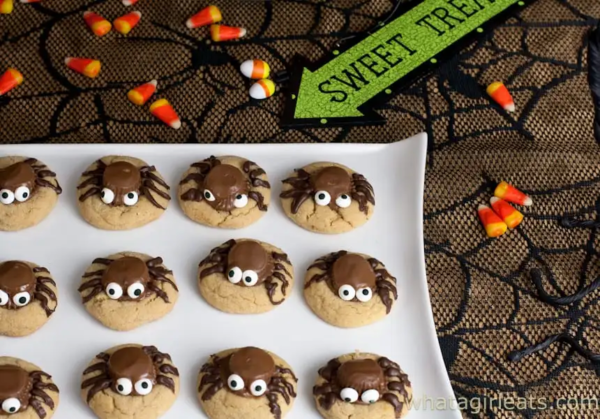
Want a less scary cookie treat? Try these peanut butter cup cookie spiders from my pal Cynthia at What a Girl Eats.
Leave a note if you make these, I’d love to hear from you!
Christina’s Cucina is a participant in the Amazon Services LLC Associates Program, an affiliate advertising program designed to provide a means for sites to earn advertising fees by advertising and linking to Amazon.com.
These are actually so scary looking I think I’d find it hard to put one in my mouth, but they sound delicious so I’d definitely give it go! Happy Halloween!
Both are very true statements! Happy Halloween! :)
These look incredible! I think I’d be too scared to eat them but making them would be great fun!
My mother refuses to eat them!
Eeeewww! As you say, they sound delicious but look HORRIBLE! Which is exactly the point :-)
Totally! :)
D*mn these look scary! :)
Ha ha!! :)
Aren’t those cookies great, in a disgusting, gross way of course? They have always been a hit in whatever classroom I take them to. Thanks for linking up to me!
You might also want to take a look at my Deviled Spider Eggs http://www.shockinglydelicious.com/halloween-deviled-spider-eggs/
Happy Halloween!
Thank YOU, Dorothy! I LOVE the Deviled Spider Eggs; I bet that would get kids that don’t like eggs to change their minds!