

Halloween Cookies – Best Tasting Recipe and Decorating Ideas
Halloween cookies are a great project to help kids (and adults) get excited about the last day of October festivities. Here are a few spooky and sweet cookie decorating ideas!

Originally published October 31st, 2012.
Halloween Cookies – Decorating Ideas
Whenever I want to decorate cookies, I just make a batch of simple shortbread-type cookies. I then decorate them with piping bags, and plastic condiment bottles (they work great for filling in spaces!)
I use buttercream in the piping bags to outline the Halloween cookies, and runny icing in the bottles.
Runny icing = confectioner’s sugar mixed with water or milk to a runny consistency, so it flows nicely filling in the cookie spaces, but not too thin that it runs out of the lines, mixed with the colors of your choice.

Have you ever made witches’ fingers cookies? They’re so much fun!


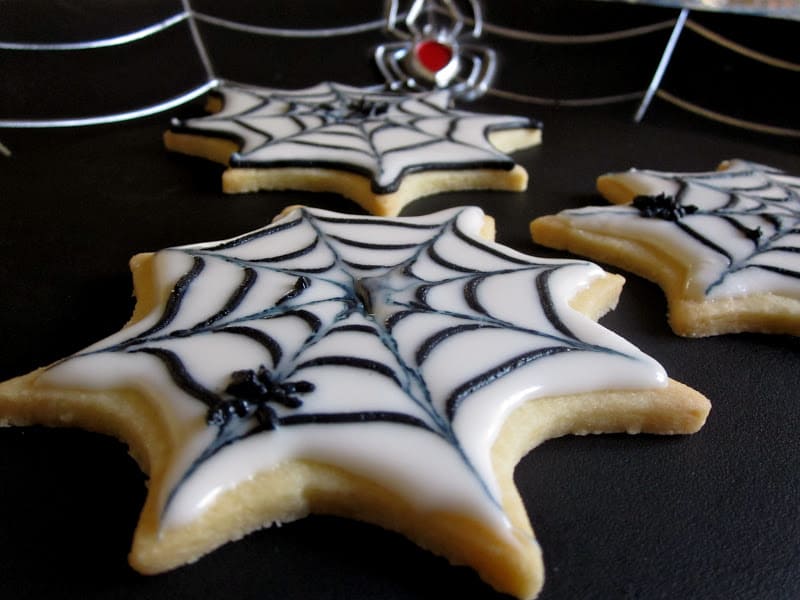
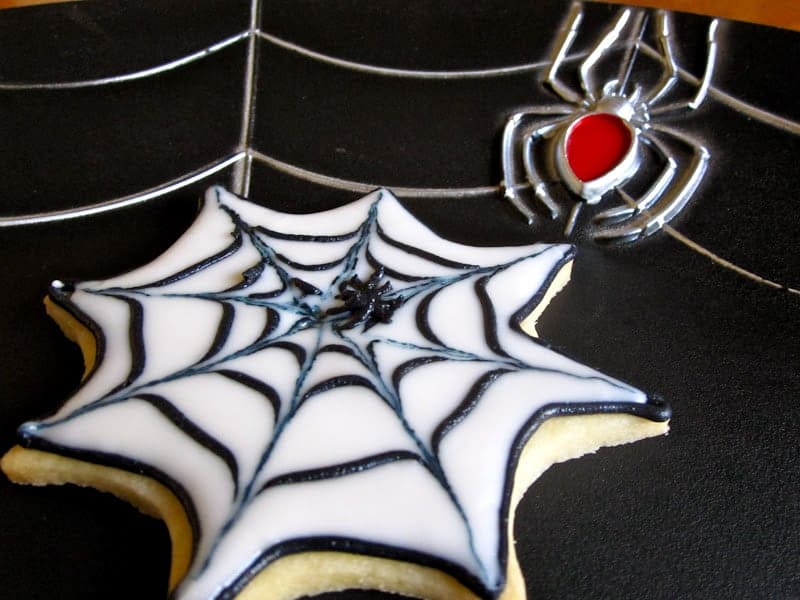
Easy spider web cookies can also be made on plain round cookies, no special cookie cutters necessary!
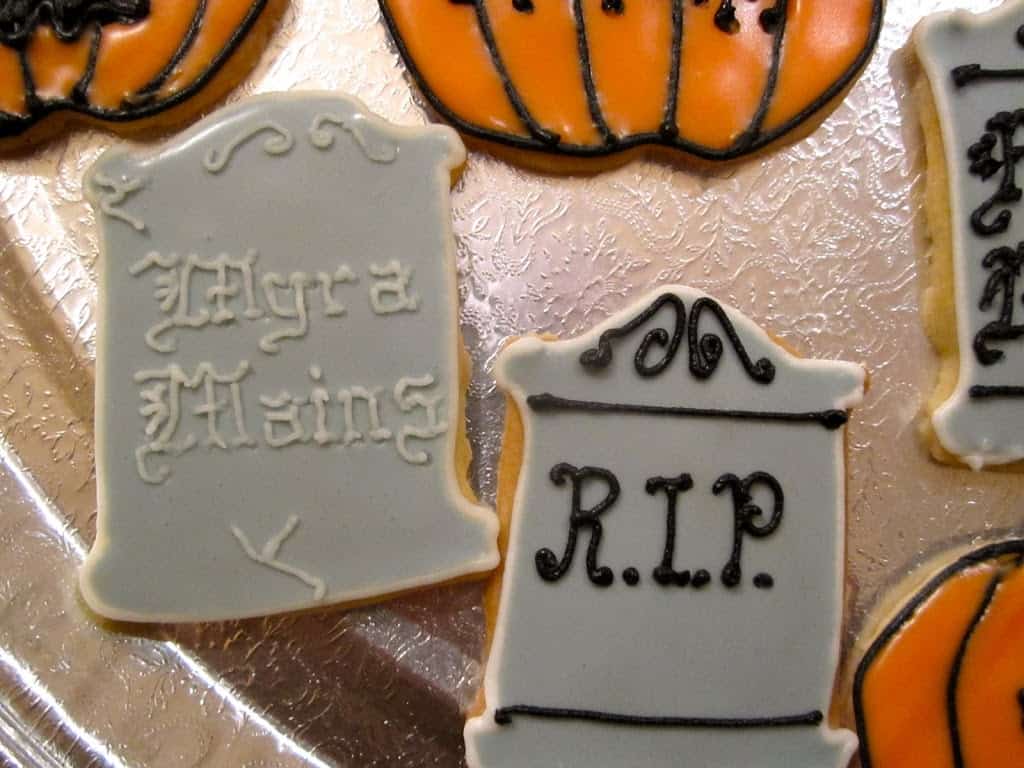
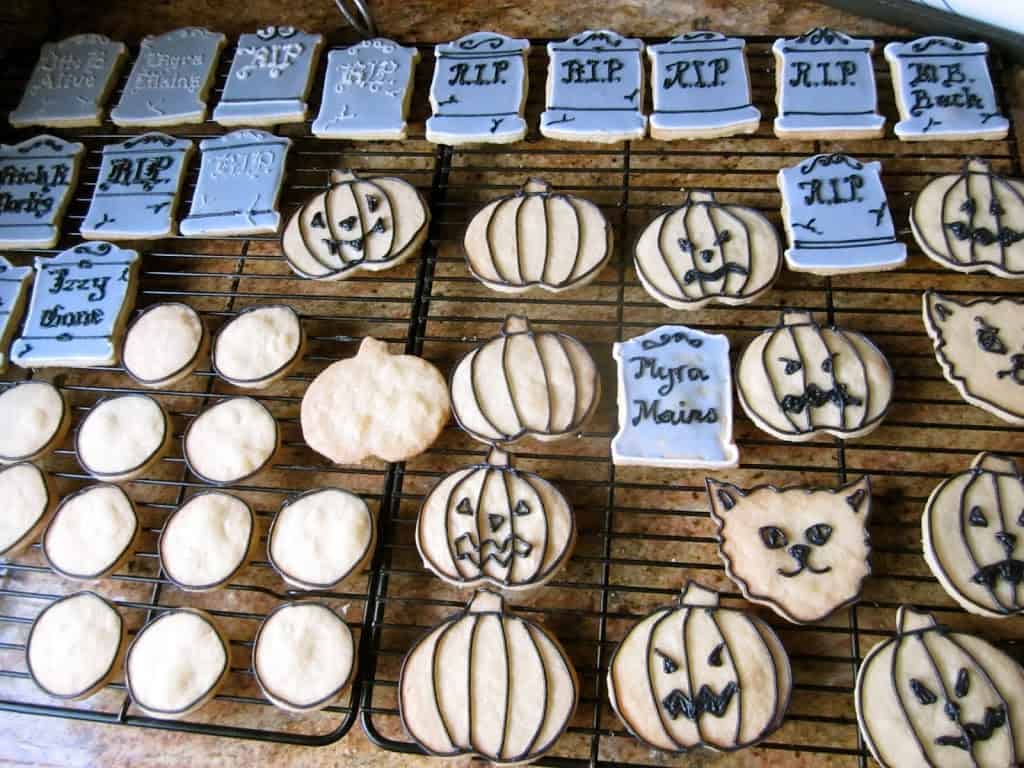
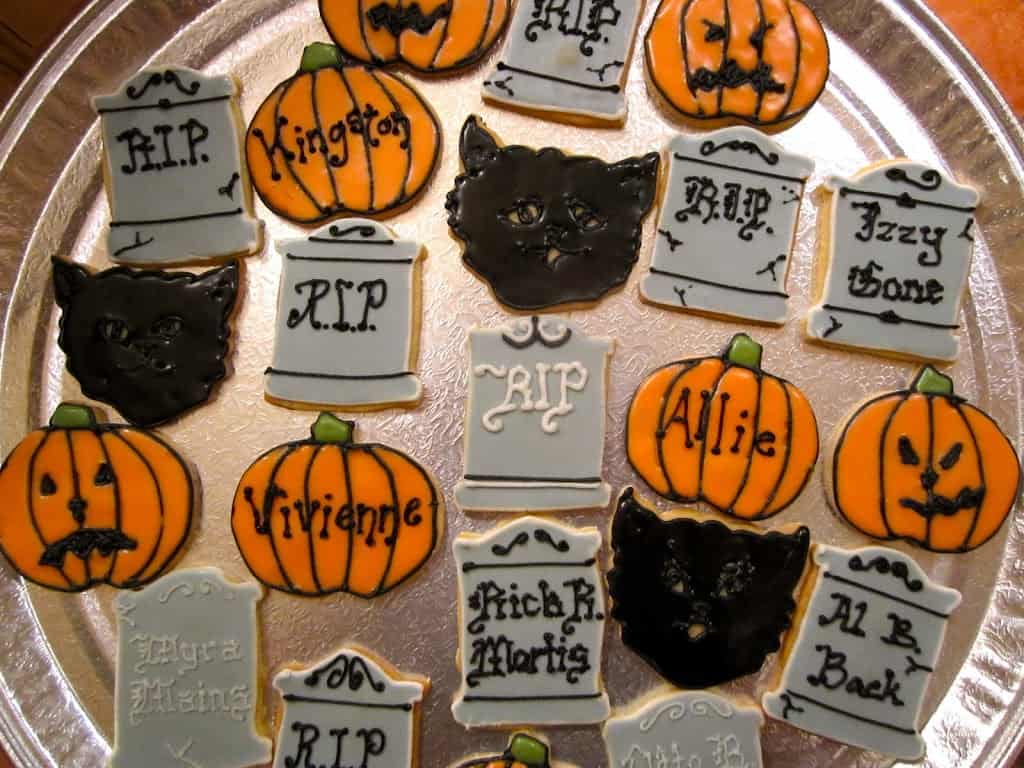
Here are Some Headstone Halloween Cookie Ideas.
R.I.P.
Izzy Gone
Rick R. Mortis
Otto B. Alive
Ded N. Gone
Al B. Back
Myra Mains
I love to decorate the pumpkin cookies then personalize them for children. They love them, too!
Just be sure to allow the flowing (soft) icing to set completely before adding the text. I usually allow them to set overnight, just to be certain that I won’t ruin what I’ve already done. This is a fun family project, or great to arrange when kids have a play date before Halloween. Encourage them to bake and cook whenever possible; it’s a wonderful skill to have.
These Halloween cookies are also great to give out to trick or treaters. Simply put one or two in a small, food-grade plastic bag with a twist tie. However, you probably only want to give them to children whose families know you (or they may get dumped, and that would be very sad)!

Trolls toes are another option for Halloween. Here’s the cookie recipe I use for decorating individual treats.
Halloween Cookies
Ingredients
- 2 stick butter (if using salted, skip the salt)
- ⅓ c sugar
- 1 egg
- 3 ½ c flour all purpose (plain)
- 3 c confectioner's sugar (icing sugar)
Instructions
- Preheat oven to 400˚F (200˚C)
- Cream the butter and sugar until it comes together.
- Add the egg and mix well.
- Next add the flour until it forms a crumbly consistency.
- Turn onto a floured surface and work it into a smooth dough gently, but do not overwork the dough.
- Roll out quite thinly (about 1/8") and cut into rounds with a cookie cutter.
- Place on lined baking sheet and bake for 8-10 minutes (I turn them once through baking).
- Remove and place on cooling rack.
DECORATE COOKIES
- Mix the confectioner's sugar with a spoonful of water at a time until it becomes the right consistency to decorate (like glue.)
- Add colors as desired then decorate the cookies using the photos as inspiration.
Notes
- Be sure cookies are completely cooled before decorating.
- Allow icing to set before putting them away or packaging. I like to leave them overnight for best results.
Nutrition
HAPPY HALLOWEEN!
Don’t miss another recipe or travel post, sign up for my free subscription!
Christina’s Cucina is a participant in the Amazon Services LLC Associates Program, an affiliate advertising program designed to provide a means for sites to earn advertising fees by advertising and linking to Amazon.com.
You make the best Halloween cookies!!!
Thank you, Cathy! You’re too kind!
These are so cute! I love the spider webs. I wish I’d seen this post last week when my students were studying spiders!
Oh darn, they would have loved them!