Back to School Cookies (You’ll Love Packing Them, Your Kids Will Love Eating Them)
Back to school cookies is just the name I gave these incredibly yummy cookies. Whatever you choose to call them, you will get requests for them to be made over, and over, again! Addictive is what they really are.
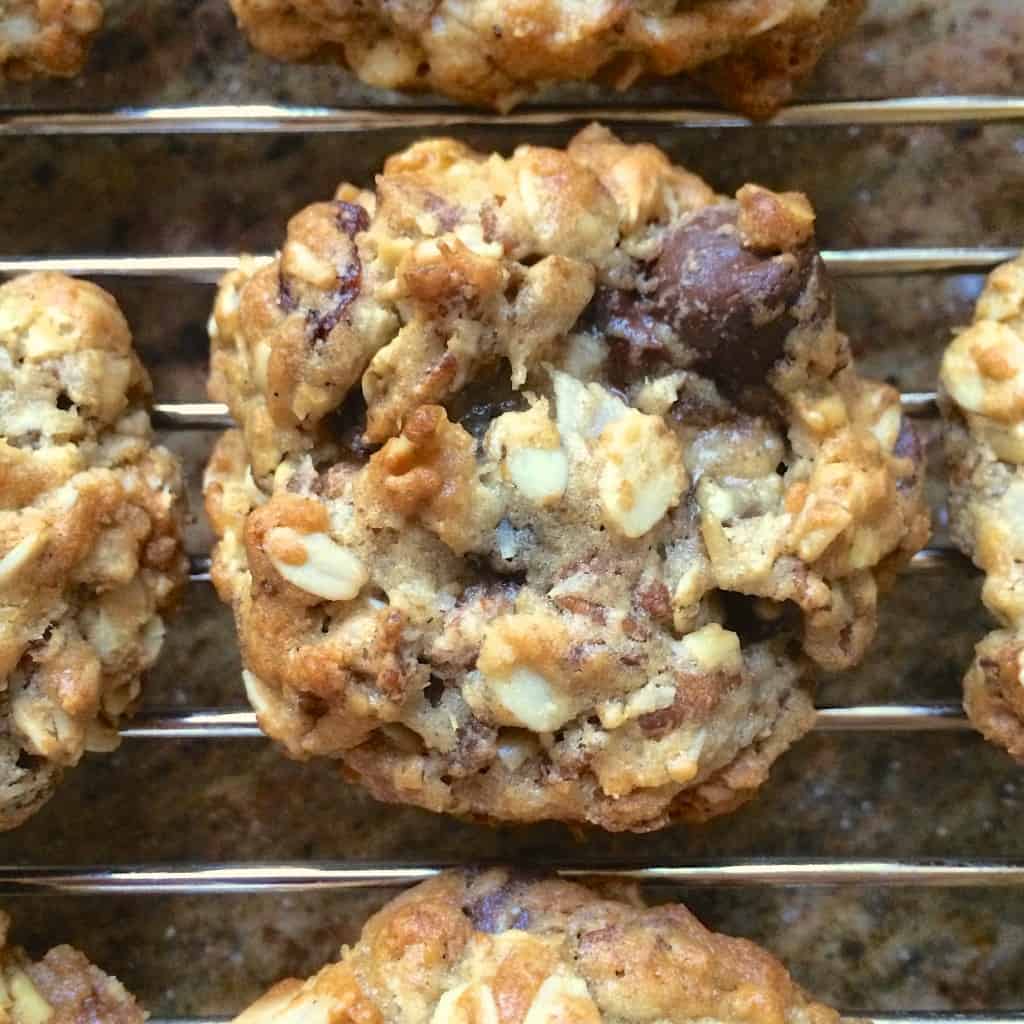
I’ve realized I don’t have many cookie recipes on my site, and that will have to change, and I’m starting with these “back to school cookies.” Someone recently informed me that people google, “kitchen sink cookies” when looking for this type of cookie–who knew?
This post contains Amazon affiliate links for your convenience, at no additional cost to you.

Back to School Cookies: great for lunch boxes and care packages!
As you may know, my son is at Georgetown University which is on the other side of the country, so I’m limited to the sort of cookies and food I can send him. Chocolate chip cookies are great, except they’re just never as good as when they first come out of the oven, right?
Why not try this chocolate chip banana bread recipe?

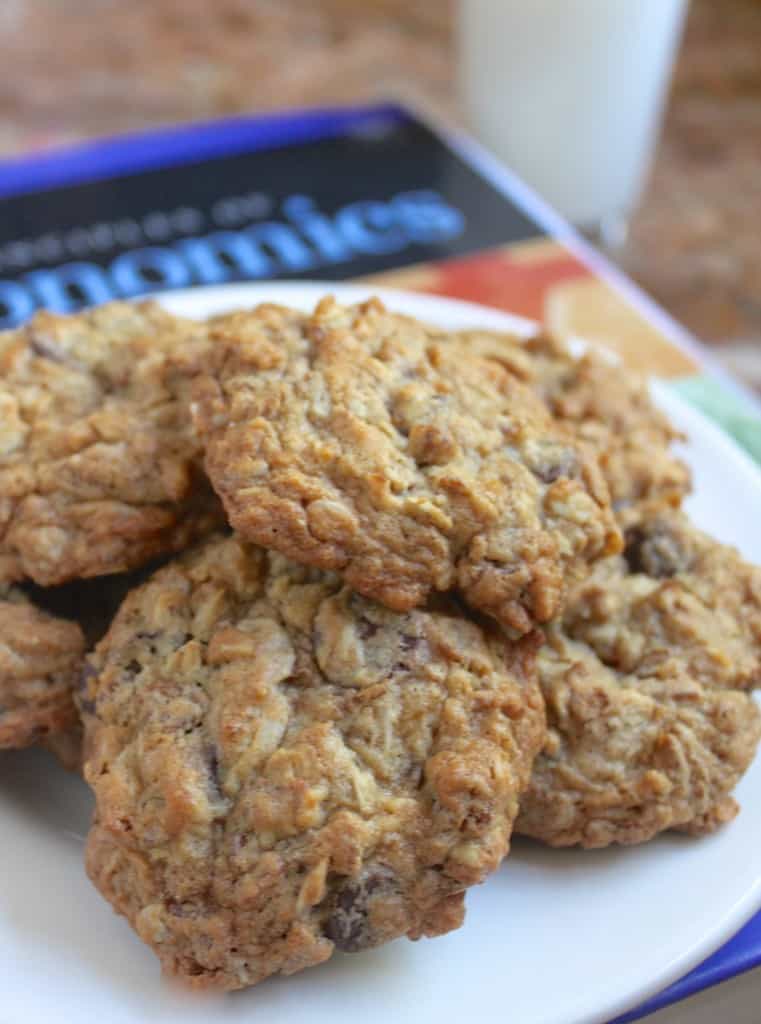
These back to school cookies are almost always in his care packages; in fact, the photo above is from a batch I made for him to take with him when he flew back to school for his senior year, about two weeks ago. I still had some left to send in my daughter’s lunches too, since she had already started her senior year of high school. Yikes, where does the time go?

And if you’re looking for the cutest cookies, ever, look no further than these adorable hedgehog cookies!

A sneaky way to add all sorts of nutritious ingredients!
What I love about these cookies, is that I can throw in so many healthy ingredients, but as long as there are a few chocolate chips, kids still love them. Instead of giving them prepackaged, processed cookies full of unknown ingredients, I make a big batch of what I call, “back to school cookies”, and often freeze them for later (either the dough, or the baked cookies).
You may also enjoy this blood orange ricotta cookie recipe!

In this batch I used a natural raisin bran, along with oats, coconut and some ground flaxseed, but you’ll see how flexible the recipe is: you can add nuts, other cereals, grains, dried fruit, etc. Ultimately, these back to school cookies are totally customizable. Make them your own way, adding your favorite cereals and additional ingredients. And if you’re looking for a more simple autumn cookie, try Taylor Swift’s chai cookie recipe!
Consequently, everyone will be asking you to make these cookies over and over again, and you’ll be happy to know that there’s a lot of nutritional ingredients, instead of chemicals, corn syrup and preservatives.
Back To School Cookies
(similar to Kitchen Sink Cookies)
adapted from a recipe cut from a magazine? yield: 40 cookies
FULL PRINTABLE RECIPE BELOW
Ingredients
- flour
- baking soda
- salt
- cinnamon
- freshly grated nutmeg
- butter, softened
- brown sugar
- sugar
- milk
- vanilla
- eggs
- cereal (I used an organic raisin bran, but any similar flake cereal will work)
- old fashioned oats (rolled oats)
- steel cut oats
- (ground flaxseed or hemp seed) -optional
- flaked or shredded coconut (natural, unsweetened)
- dried fruit or nuts
- quality dark chocolate chips or chunks
Directions
NB: I hate putting the number of cookies this batch will make as it truly depends on how large or small you make them. I will add, though, that this recipe makes a WHOLE LOTTA cookies! It’s a big batch, so divide it in half if you don’t want to make enough for your entire block! :)
Make the Back to School Cookie Dough
Preheat oven to 350º F (175º C)
Put the flour, baking soda, salt, cinnamon and nutmeg in a bowl and set aside. In a large bowl, put the cereal, two types of oats, (flax/hemp seed), coconut, dried fruit and chocolate chips, and also set aside.
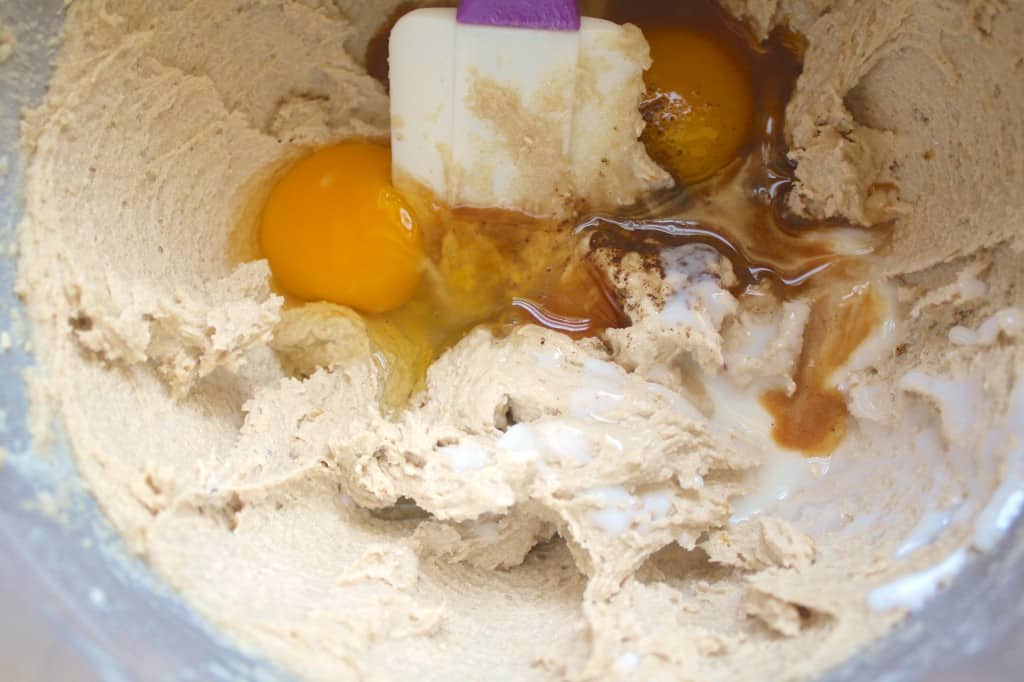
In a large mixing bowl (for a stand mixer if you have one) cream the butter, sugar and brown sugar for about 5 minutes. Then add the milk, vanilla and eggs and mix well.
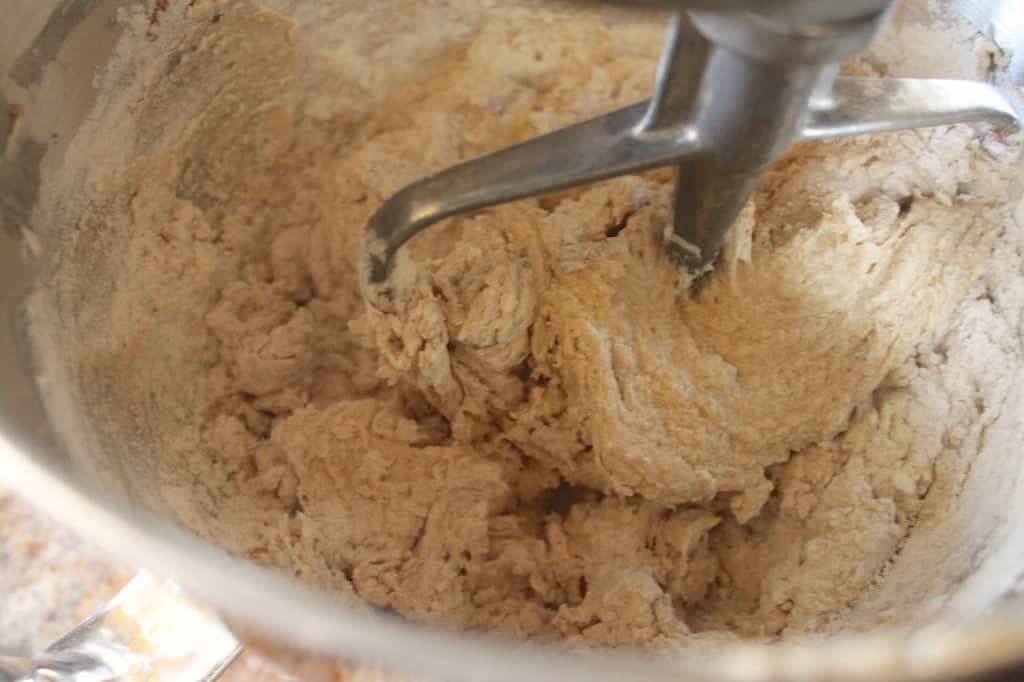
Next, add the contents of the first bowl with the flour, and mix in slowly.
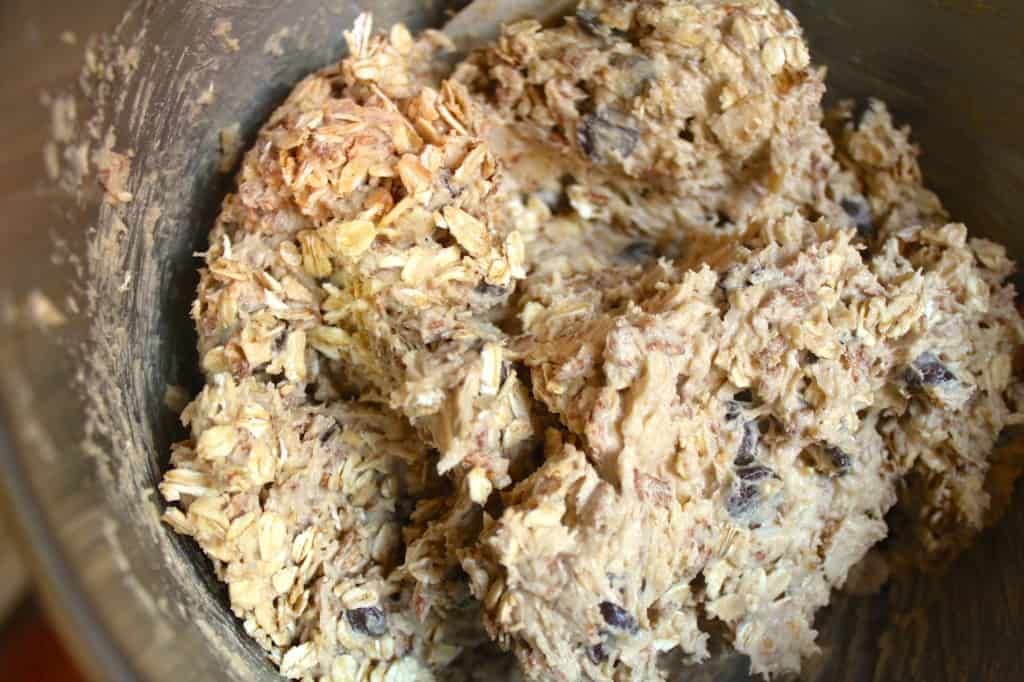
When well incorporated, remove the bowl from the stand mixer and add the contents of the second bowl, with the oats and fruit, etc. and stir in with a large wooden spoon, until evenly mixed.
Next, drop by heaped teaspoonfuls or larger (depending on how large you prefer your cookies), onto a lined cookie sheet. I love my Silpat baking sheets.
Bake the Back to School Cookies
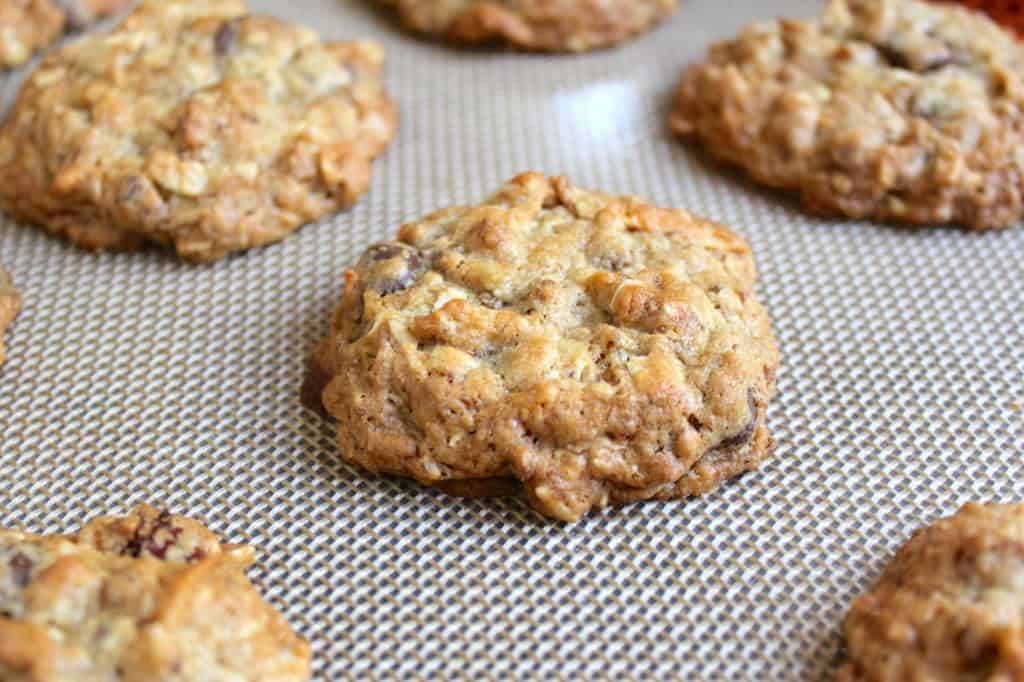
Bake in preheated oven for 5 minutes, then turn 180 degrees, and bake for another 4 to 6 minutes. Look for golden brown on the edges (the center should still be a little pale).
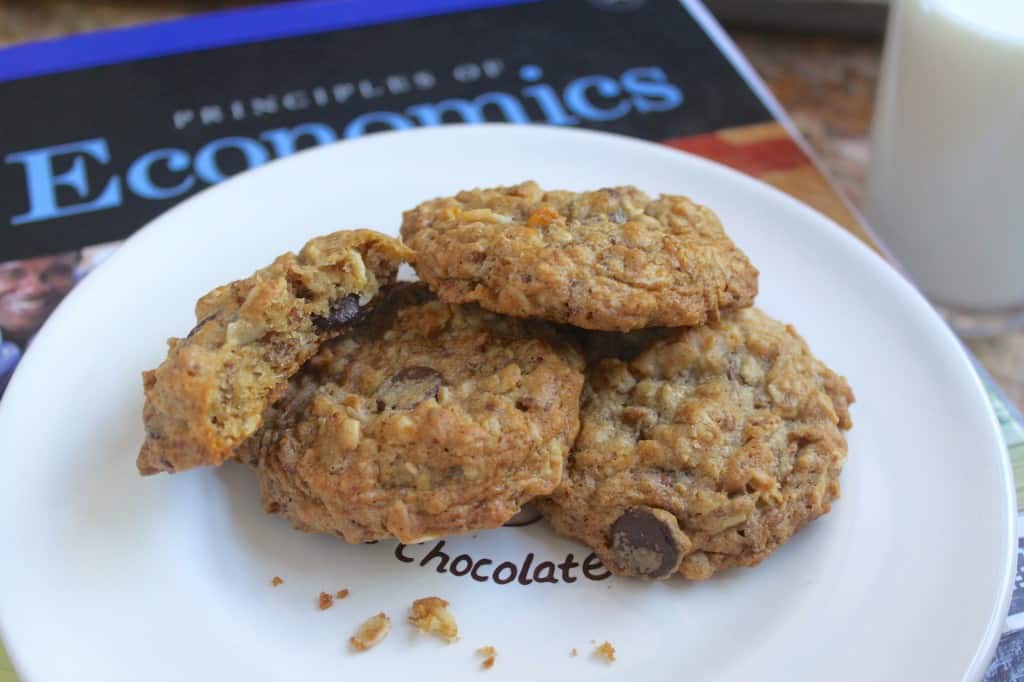
Finally, remove from pan with metal spatula and place on cookie rack to cool. Back to School Cookies are lovely when served warm, with a glass of milk or cup of tea!
Subscribe to my free weekly emails and never miss another post!

Back to School Cookies
Ingredients
- 1 ½ cups flour
- 1 tsp baking soda
- ¼ tsp salt
- ½ tsp cinnamon
- ¼ tsp nutmeg
- 1 cup butter softened
- 1 cup brown sugar
- ½ cup sugar
- 1 Tbsp milk
- 2 tsp vanilla
- 2 eggs
- 1 cup cereal (I used raisin bran, but any similar flake cereal will work)
- 2 cups old fashioned oats
- ½ cup Coaches' Oats or steel cut oats
- 1 Tbsp ground flaxseed or hemp seed -optional
- 1 cup flaked coconut (natural, unsweetened)
- ½ cup dried fruit or nuts
- 1 cup chocolate chips
Instructions
- Preheat oven to 350º F (175º C).
- Put the flour, baking soda, salt, cinnamon and nutmeg in a bowl and set aside. In a large bowl, put the cereal, two types of oats, (flax/hemp seed), coconut, dried fruit and chocolate chips, and also set aside.
- In a large mixing bowl (for a stand mixer if you have one) cream the butter, sugar and brown sugar for about 5 minutes.
- Then add the milk, vanilla and eggs and mix well.
- Add the contents of the first bowl with the flour, and mix in slowly. When well incorporated, remove the bowl from the stand mixer and add the contents of the second bowl, with the oats and fruit, etc. and stir in with a large wooden spoon, until evenly mixed.
- Drop by heaped teaspoonfuls or larger, depending on how large you prefer your cookies and bake in preheated oven for 5 minutes, then turn 180 degrees, and bake for another 4 to 6 minutes, or until golden brown on the edges (the center should still be a little pale).
- Remove from pan with metal spatula and place on cookie rack to cool. Lovely when served warm, with a glass of milk or cup of tea!
Notes
- Add or omit the individual added ingredients to make them customized to your own liking.
Nutrition
Christina’s Cucina is a participant in the Amazon Services LLC Associates Program, an affiliate advertising program designed to provide a means for sites to earn advertising fees by advertising and linking to Amazon.com.


a dozen cookies
These cookies are so, so good…the secret is the nutmeg and cinnamon …wow! I didn’t change a thing…the nuts I used were homegrown pecans and I added golden raisins. The “ dozen cookies” ae what I would call a bakers dozen, best for breakfast, and hot tea in the afternoon. Thank you for sharing with us.
Sandra Winfield